


Related Articles

12 iPhone Photography Tips to Make Your Photos Pop
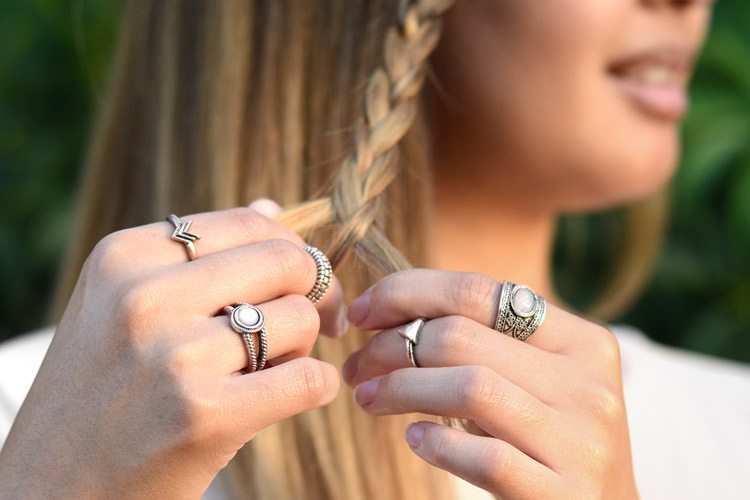
Do you have a family event like a wedding, baptism or reunion coming up? If you want to be sure to capture family moments or even just make your meals look gourmet, we have a few tips for you! With the huge improvements in cell phone cameras, you can document every moment in life from your most recent coffee break to your next vacation. Improve your photography skills and make your beautiful moments look even better with the 12 iPhone photography tips we outline below!
We included photo examples for each tip so you can see the change in quality these easy tricks can make. Once you have mastered photography, show off your new talent with one of our photo gifts! If you are short on time or want to save the tips we share, click on the orange button below. It summarizes the tips for easy reference.


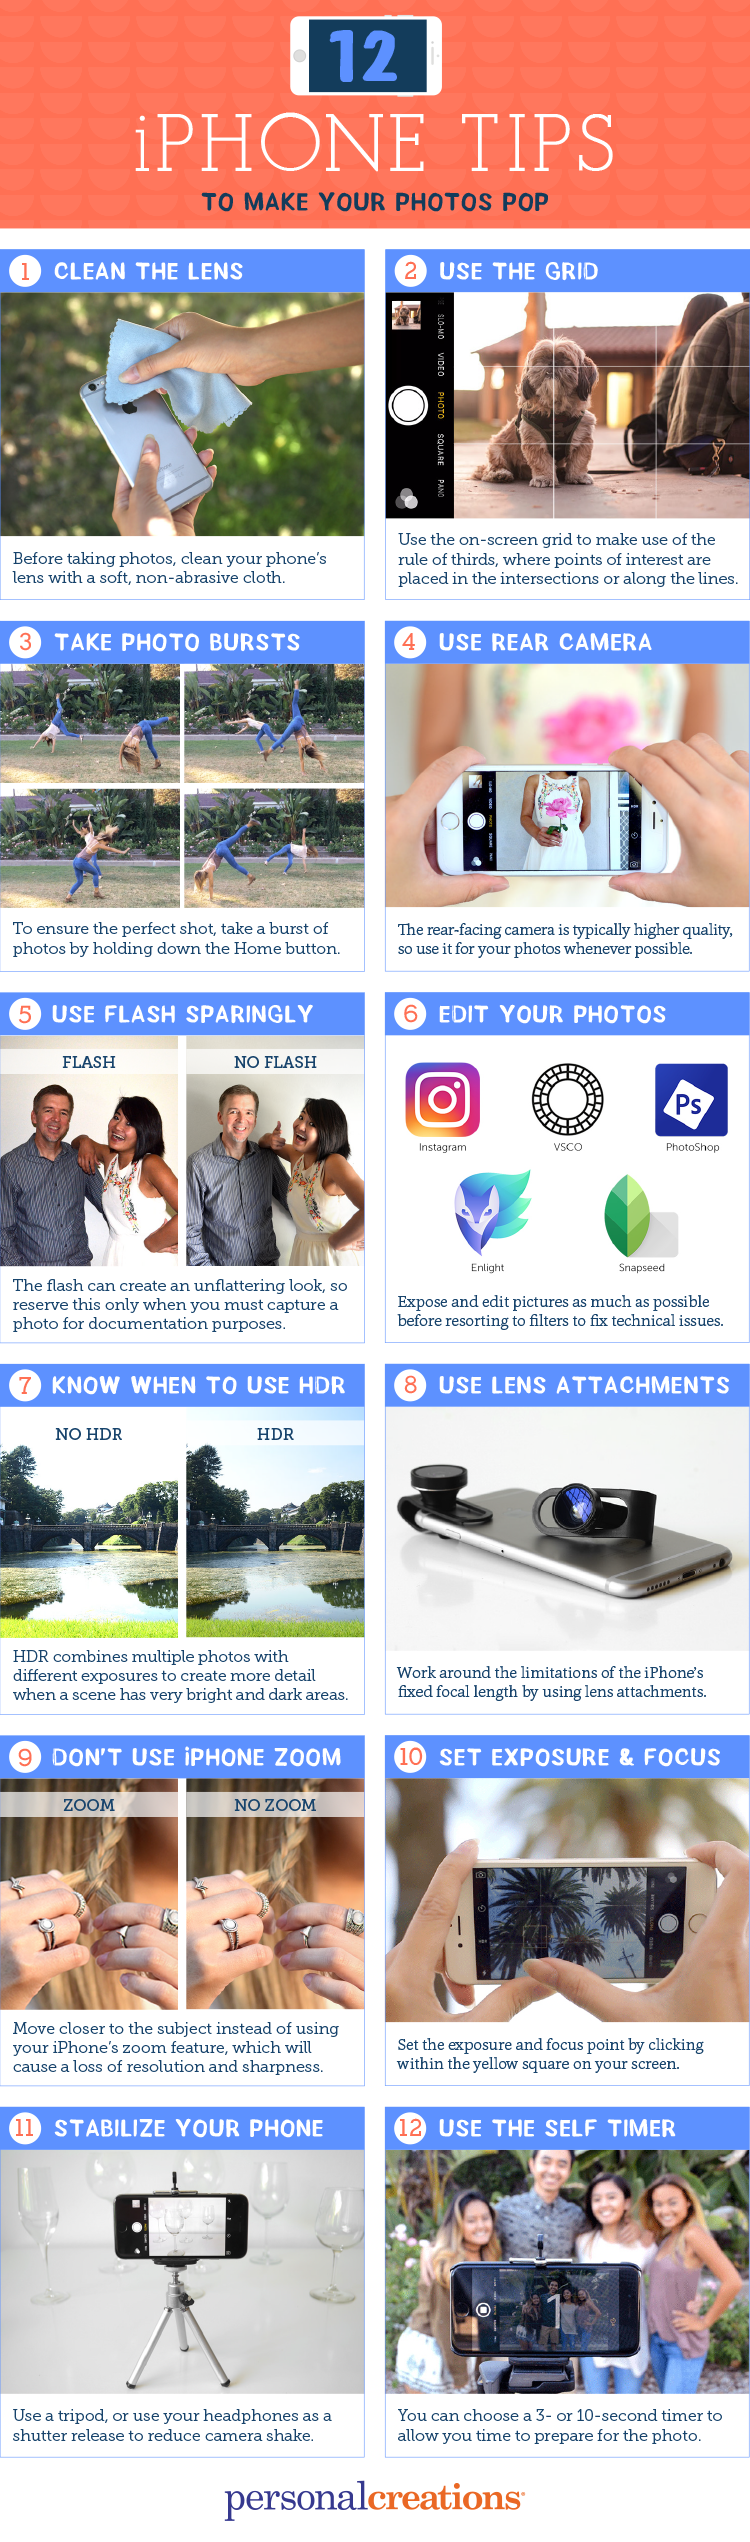
Blow off any dust or debris, then use a microfiber cloth to remove any remaining oils or smudges from the front and back lenses to ensure your shots are clear.

Turn the grid on under the settings menu which can be found under: Settings > Photos & Camera > Camera. The grid is a great tool to help you compose shots and make use of the rule of thirds. This rule of photography entails dividing your shot up into an imaginary grid of nine squares, like on the photo below. Place your focal point along intersections because the eye naturally goes to one of these points rather than the center of an image. You can see the dog is at the intersection of two grid lines!


To take a burst of photos simply hold down the shutter button for as long as you want the camera to capture images instead of just pressing and releasing it. This is a great feature to use when taking group photos because it can help avoid blinking. It is also helpful to find the perfect shot in a busy scene or action shot.


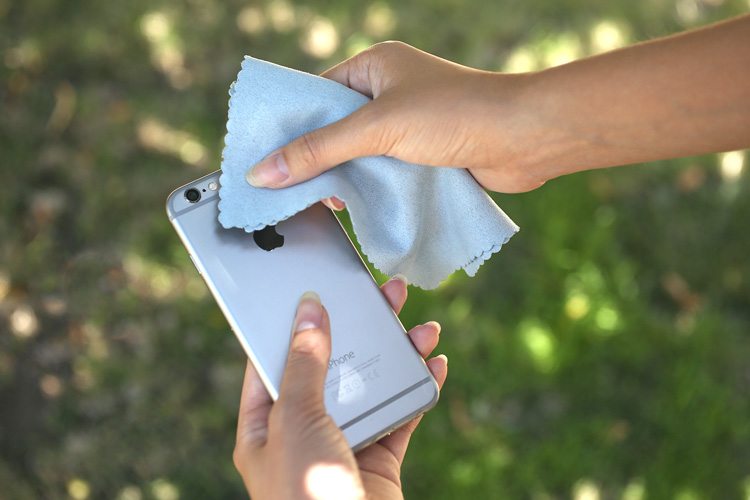
The rear-facing camera produces much higher resolution photos. It also has image stabilizing functions, slow motion capture and a flash. Reserve the front-facing camera for selfies and FaceTime.

When the main light source (such as the sun) is directly behind the subject, the subject will appear dark. This is the best time to use flash, so you can fill in those shadows for a more balanced image. Otherwise, flash creates overexposed whites and harsh shadows for an unnatural look.


Sometimes filters aren’t enough to fix a poor image. Capturing an image properly will give you more room to play with filters for artistic purposes. Try out these apps for post-processing images on your iPhone.
![]()

HDR stands for high dynamic range. The HDR setting on your phone aims to help by combining multiple photos with different exposures so you can get more detail, especially when a scene has lots of very bright and very dark areas.


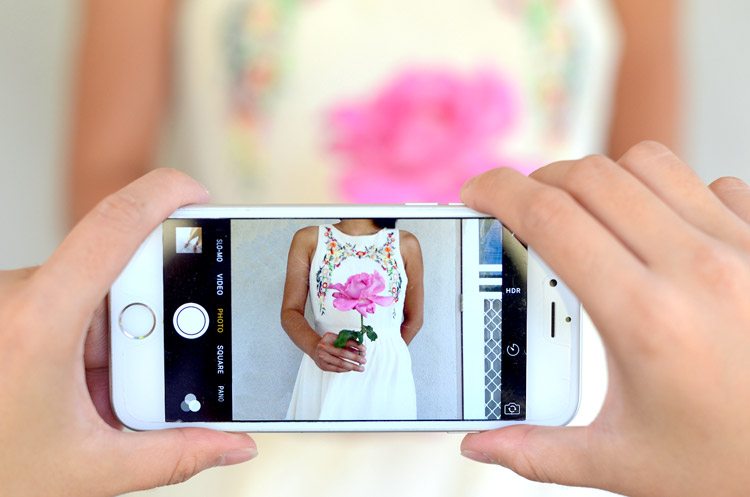
The iPhone has an equivalent focal length of around 31mm and there’s no physical zoom on it. You can capture a wider range of images by using lens attachments, commonly available in wide-angle, macro and fish-eye variations.

Only use digital zoom when you can’t move any closer to your subject. It essentially works to frame or crop the image. You’ll actually lose resolution and sharpness by using digital zoom.

The iPhone is programmed to automatically choose a focus and exposure point based on many different factors. It generally does a good job of choosing, but in difficult scenarios you can simply tap on the screen to have the iPhone refocus and re-expose the area you want.
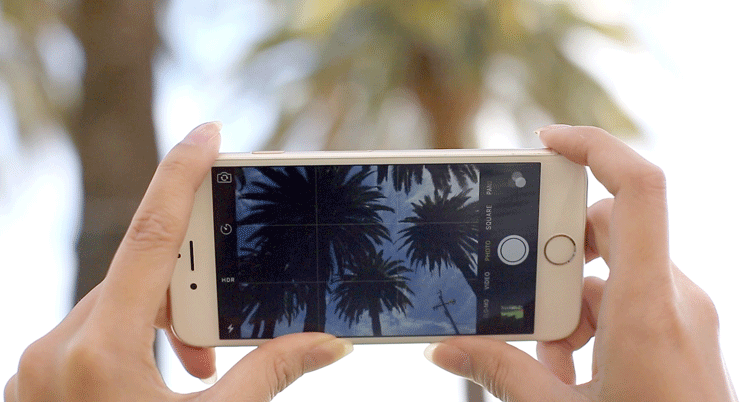

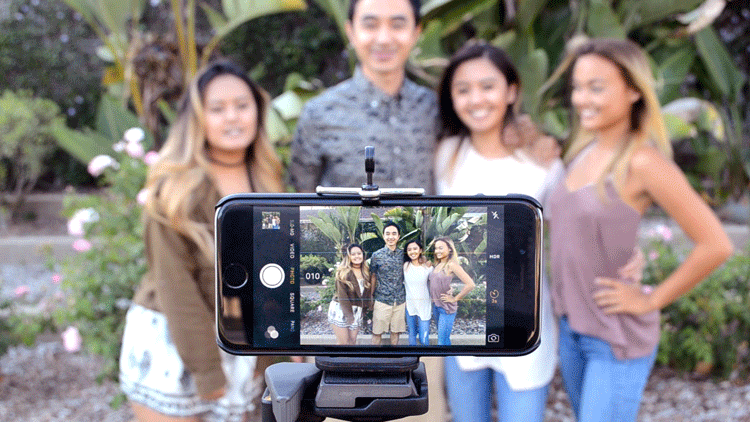
Stabilize your phone for sharper images with a tripod. Additionally, you can use your Apple headphone buttons as a shutter release to further reduce camera shake.


Within the camera app you can choose a timer of 3 seconds or 10 seconds so you can press the shutter and prepare for the photo.
Below is the infographic that reiterates the tips above. Save or share so you can easily review when you are taking the next round of family photos or even just wanting to share the beautiful meal you made for dinner.