Related Articles

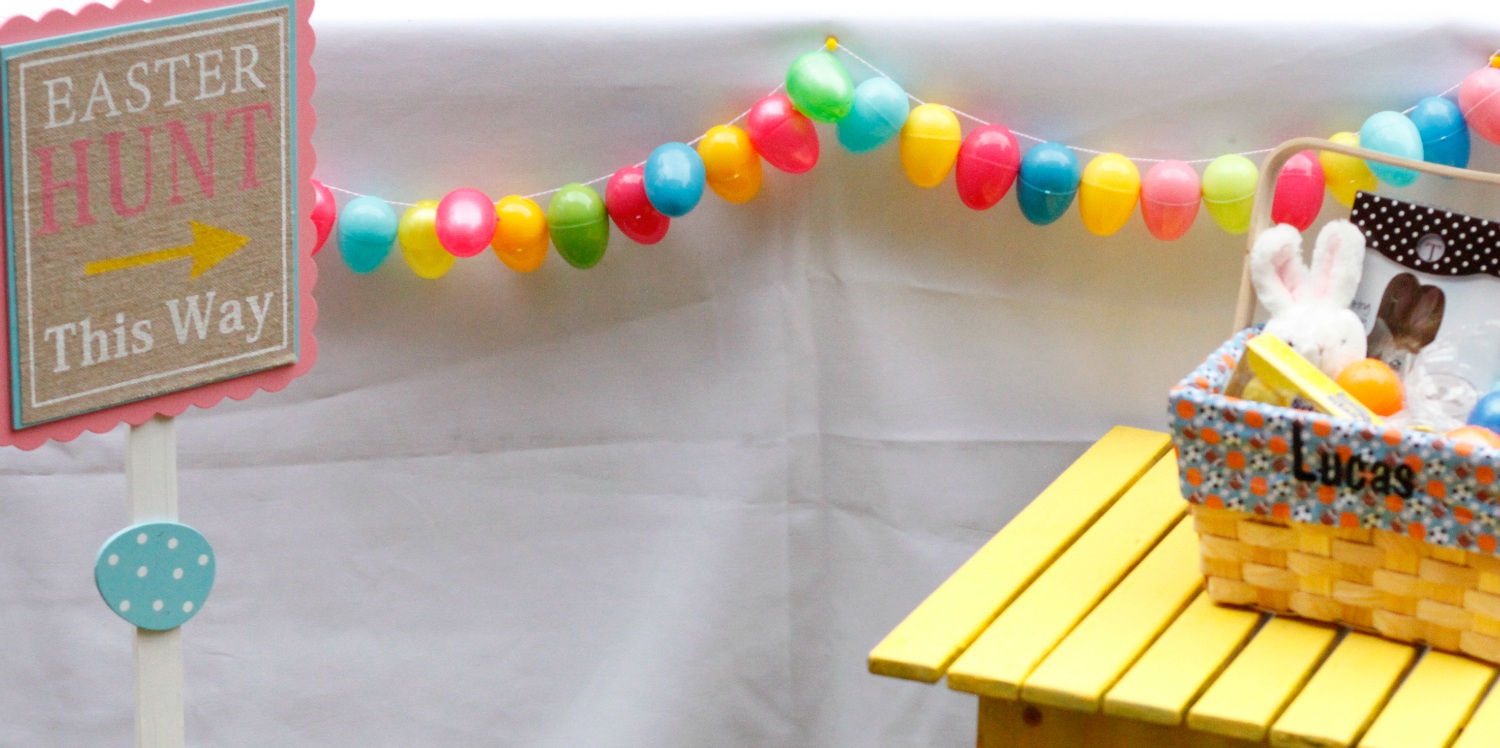
Simple DIY Easter Egg Garland
Written by Piera Jolly of Jolly Mom for Personal Creations Blog.
Spring is officially here and with that comes Easter, which is one of our family’s favorite holidays. We host an Easter Egg Hunt for friends and family every year and it is so much fun! My favorite part? The decorating. Today I want to share with you how to make an Easter Egg Garland made from plastic eggs.
It is the perfect way to decorate your home for Easter and it is very simple to make!
(pictured above: my 6 year-old’s super cute, personalized Easter basket from Personal Creations)
DIY Easter Egg Garland Instructions
Materials:
- Plastic Easter eggs (look for the ones with holes on bottom)
- Thin string
- Needle
Instructions:
Cut a piece of long string (as long as you want the garland to be). Tie a knot on one end and thread the other end of the string through the needle. Then, simply take the needle and thread and pass through the bottom two holes of the plastic egg. Repeat until the garland is your desired length.
Are you ready to make an Easter Egg Garland? Leave a comment below about how yours turns out, or share a fun Easter craft of your own!

Piera Jolly is the founder and editor-in-chief of JollyMom.com, a savvy and popular blog that provides moms with helpful parenting information, fun child-friendly activities, craft ideas, recipes, and the latest trends for moms, kids, and families. JollyMom.com is also proud to have been named a Top 10 Inspiring Blogger by Mashable, a Power Mom by Nielsen and one of Access Communication’s Top 50 Mommy Blogs!


