Related Articles

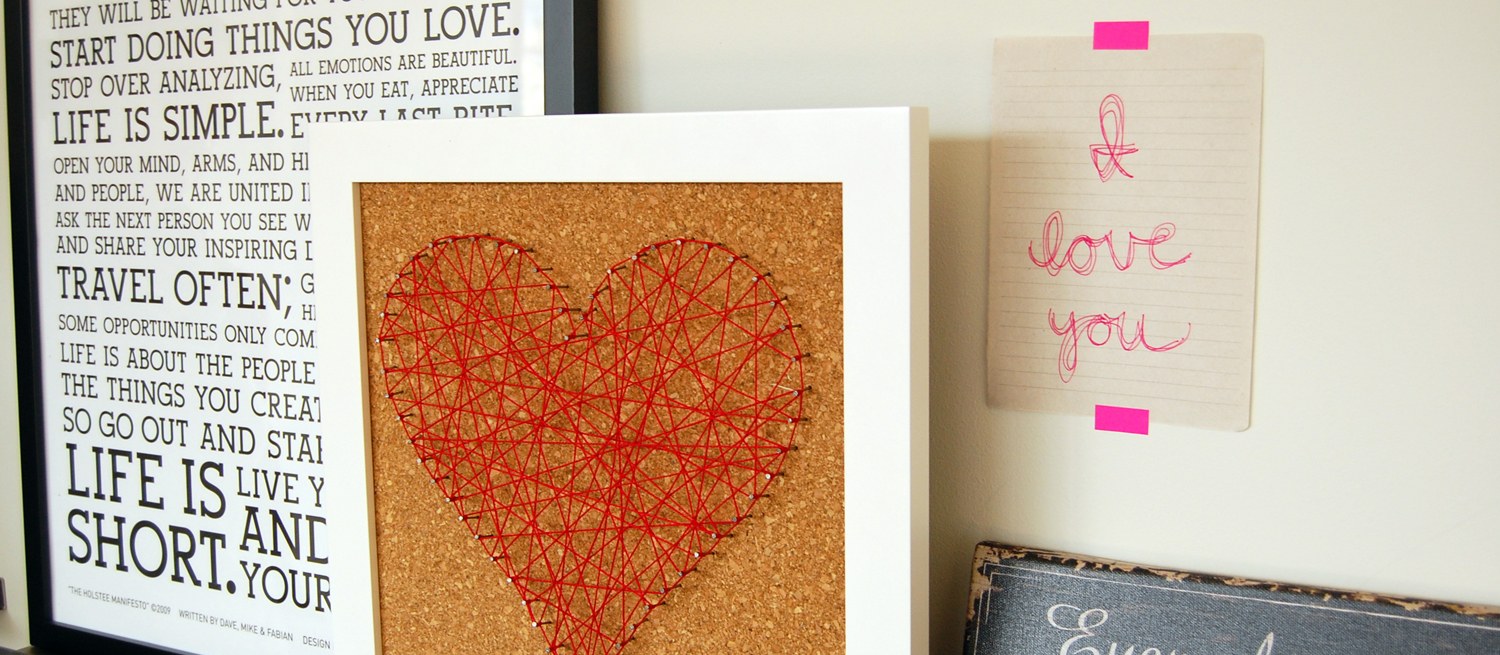
DIY String Art
Have some empty space on your wall that you’re looking to fill? Bring out your creative side, and make decorative string art with just a few simple materials. Follow our step-by-step demonstration and show off your art in time for Valentine’s Day.
What you’ll need to get started…
Materials
- Two corkboards
- Box of nails
- Outline of a word, name, or image
- Colored string
- Frame
- Glue Gun
Preparation
Print out the shape, image or word you want to use in your project then cut it out with a pair of scissors.
Stack the corkboards on top of each other then place your image on top. Outline your image with the nails – be sure to space them out and push the nails far enough into the corkboard so the nails don’t move.
Tie your colored string to one of the nails then remove your printout.
Now it’s time to outline your shape with the string to make it really stand out.
Next, tie the string to every third nail or as needed and work your way back to the original nail. As you move the string from one nail to the other, cover all the gaps in your design. When you’re finished, add a small drop of hot glue where you tie off the string on the last nail then trim the end of the string.
Now it’s time to show off your string art in a frame! Be careful not to push the nails further into the corkboard when you frame your project.
With this project you can create amazingly simple yet elegant designs for any occasion. From your initials to outlines of your home state or even shapes and animals, this fun project will spark your creativity and add some color to your home or office. What are you going to make first?


