Related Articles
5 Spooktacular Halloween Hats for Every Little Goblin
5 Halloween Hats For The Spooky Season
Halloween is just a few weeks away. And with the spooky season upon us, it’s time to start thinking about costumes and potential Halloween parties! Nothing says Halloween like a fun hat you can DIY at home. Whether your little one wants to be a spooky spider or an adorable pumpkin, we have created six how-tos for a Halloween hat they’ll be proud to wear.
What would a pirate be without his hook and hat, or a bat without its wings? These printables are fast and easy to complete, and most can be put together using a few basic supplies. Make these crafts with your little ones as a fun pre-Halloween activity.
Their DIY hat will be a hit on Halloween and the best part? These are reusable and super easy to make for next year. Don’t forget to send them off with a fun personalized trick-or-treat bag to complete the experience!
5 Halloween Hats For The Spooky Season
Below, we show you how to create several fun hats—from a Frankenstein crown to a super spooky spider hat. Check out our choices with your kids and have them decide which one fits them best. Don’t have a costume yet? Use these hats as inspiration and go full-on DIY this year!
Pirate Hat

Ahoy Matey! This Halloween, give your little captain of the sea a hat to complete his look! Simply print out our band and let your kid color in his skull and bones. Crunching for time? Print the colored in black band to save you a few minutes! Your child will be ready to take on the great sea, aka the sea of houses for trick-or-treating!
Supplies
- White cardstock
- Scissors
- Hole punch
- Tape
- Thin elastic
Directions
- Print the hat template either colored in or print white.
- Cut out the hat. If printing the white hat, have your child color in the hat.
- Next, punch holes where marked on the hat.
- Tie or tape thin elastic onto the hat as the head strap, adjusting the size as needed.

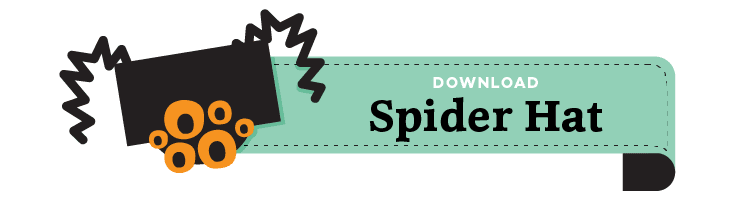
Spider Hat

A DIY spider hat makes for an easy, adorable costume. Add a black or orange top and bottom and your child’s costume is complete. This is a great option for a school Halloween party since kids can still wear regular clothing with their hat.
Supplies
- White paper
- Scissors
- Glue stick
- Marker
- Stapler/extra strength glue
Directions
- Print out the spider’s eyes and headband on white paper.
- Have your little one color in the headband in their desired color.
- Alternate option: Print headband in black.
- Print out headband strips and legs and have your child color in, or print in black.
- Glue eyes on the center of the hat.
- Cut out the printables and glue eyes on the center of the headband.
- Form the hat by gluing or stapling the strips together. Depending on the width of your child’s head, you may need more than two strips.
- Cut out the narrow strips to create the spider’s legs. Fold accordion style or fold the paper alternatively from the front and back in zig-zag folds. and glue evenly onto the crown/hat.
Frankenstein Crown

Frankenstein is commonly associated with Halloween, with his spine-chilling appearance and moans and groans. That’s why he’s the perfect fit for your child’s Halloween costume this year. Once you’ve created your Frankenstein crown, tell your little one they must eat all their green vegetables before they go out trick-or-treating!
Supplies
- White paper
- Scissors
- Glue stick
- Thin elastic
- Hole punch
- Markers
Directions
- Print out the Frankenstein crown onto white paper.
- Have your little one color it in.
- Next, print out Frankenstein’s stitches. Cut these out and glue them onto the band.
- Punch holes on either side of the hat.
- Then, attach thin elastic, securing with ties or tape.

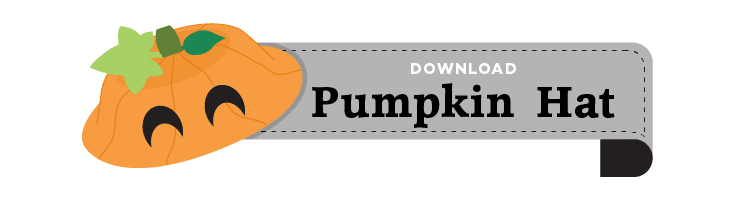
Pumpkin Hat
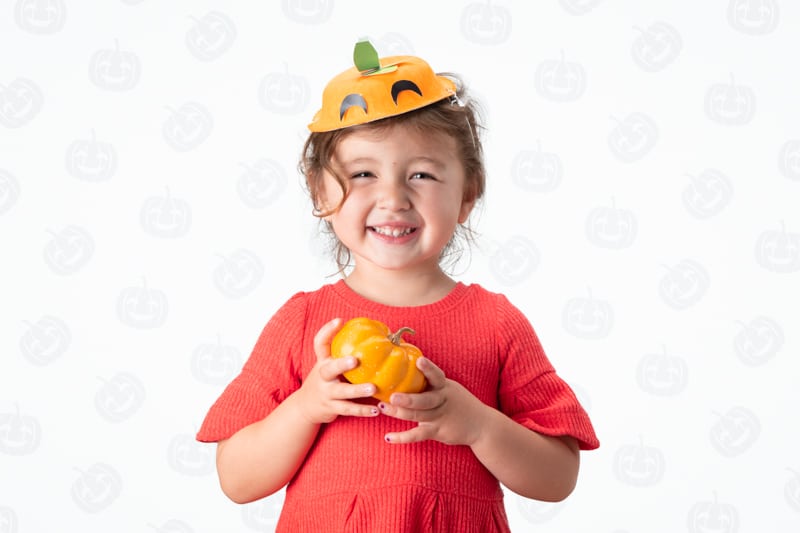
For children who may be too young for a traditional spooky costume, consider crafting a classic pumpkin hat. This is super simple to do and takes no more than half an hour to complete. A pumpkin hat is great for fall family photos and Thanksgiving as well!
Supplies
- 20 oz paper bowl
- Orange paint
- Foam brush
- White cardstock
- Glue
- Scissors
- Hole punch
- Thin elastic
Directions
- Flip your bowl upside down and paint the outside orange. Then set it aside to dry completely.
- Print the printables and cut out the leaves. Glue one leaf to the center of the bottom of your bowl and additional leaves throughout the pumpkin top. Glue eyes in the center of the bowl.
- Then fold your stem along the dotted lines next to the leaf and attach with glue or tape.
- Next, punch a hole on either side of your bowl. Cut the length of your elastic cord to fit around your child’s head.
- Place one end of the elastic cord through each of the holes and secure with knots.
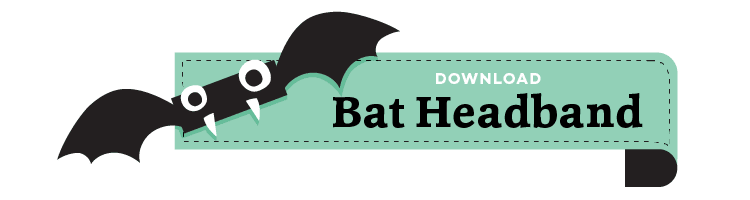
Bat Headband
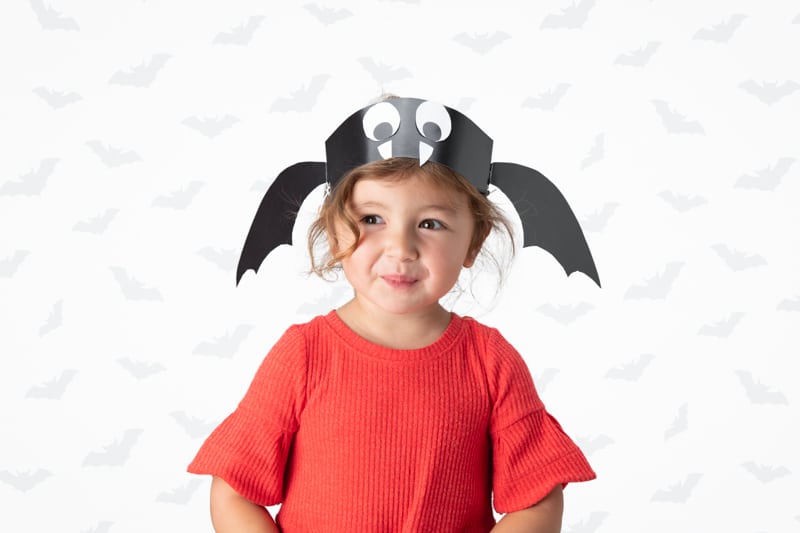
For a simple and creative DIY bat craft, try a bat headband! Create your bat headband for your child’s Halloween party with friends or for trick or treating on Halloween night. Read up on bats before they dress up so they can share some facts with their trick-or-treating pals.
Supplies
- White cardstock
- Hole Punch
- Scissors
- Glue stick
- Stapler
- Thin elastic
Directions
- Print out the wings on white paper and cut out.
- Print out the two eyes, fangs and nose.
- Glue the eyes, fangs and nose to the center of the headband.
- Fold the edges of the wings about a ½ inch (marked) and staple each side so they have movement.
- Hole punch either side of the hat and attach with thin elastic, creating knots to secure.