Related Articles
Creative Caramel Apple Ideas
Autumn means all sorts of delicious foods and treats are on the way, but few are as quintessentially fall as caramel apples. A bit healthy, a bit indulgent, these sticky and crunchy treats are the perfect blank canvas for endless decorating options. And the results can make the perfect showpiece for your Halloween party table. With a few simple tips, you can help your family and friends create tasty variations on the classic dipped apple. And the best part: whether you pile on the toppings or stick to simple decorating, the result will always be personalized and special.
Prep Work
Things You’ll Need:
- Apples
- Wooden craft sticks or skewers
- Sheet pans
- Parchment paper
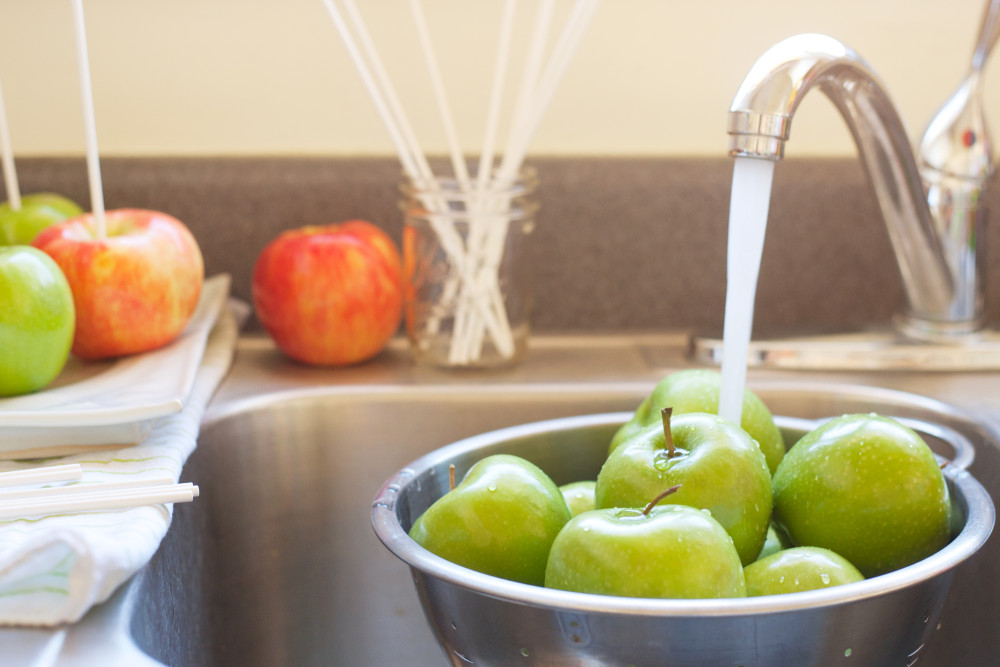
Before you get to dipping, take a few extra minutes to prep your apples for the best decorating results. Germs and bacteria love nooks and crannies, so rinse the apples under warm running water, making sure to scrub inside the stem area and calyx on the bottom with your fingers. Better yet, recruit one of your little ones — and their little fingertips — as your sous chef. Rinsing apples is a great opportunity to talk to kids about the importance of clean food and hand washing. After rinsing, dampen a cloth with hot water and wipe the apples to remove any waxy residue. Remove the stem and press a wooden craft stick or skewer into the top of the apple if you plan to dip it whole. After the apples dry, give the skins a light scuff with a dry nylon scrubby pad to help the caramel stick.
DIY Caramel Apple Bar
Things You’ll Need:
- Store-bought caramel candies
- Chopped nuts
- Dried fruit
- Crumbled cookies
- Chocolate chips
- Candied popcorn
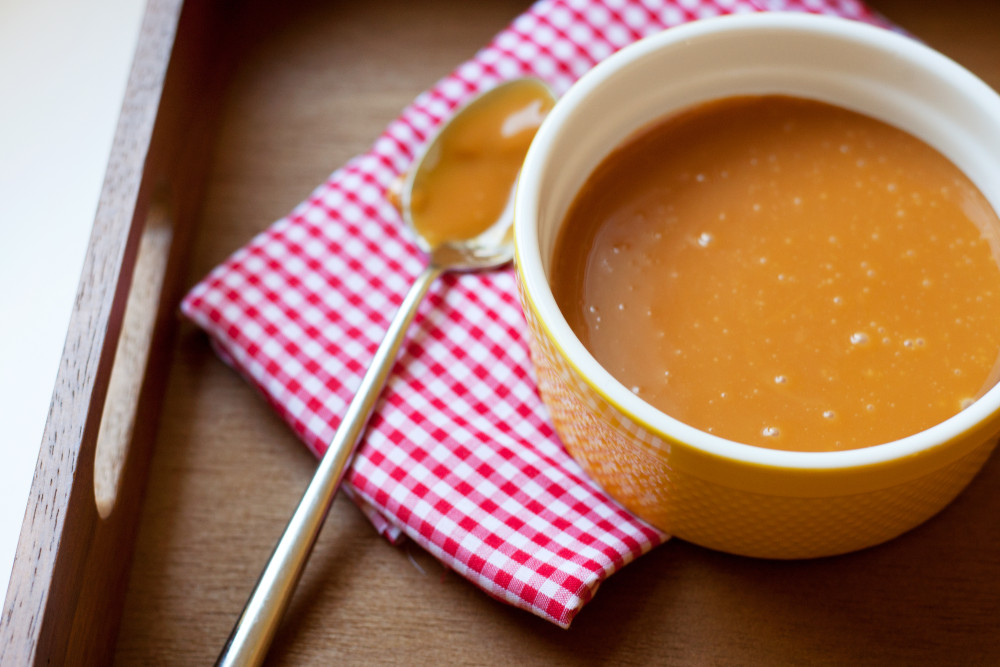
Carmel apples become a snack and a party activity when you invite kids and party guests to get their hands sticky with a DIY dipping and topping bar. Simply set out sliced apples, a caramel dipping station and assorted toppings and let your guests go wild. For the dipping station, melt a package of caramel candies mixed with 1/2 tablespoon of water in the microwave, set to medium, for 2 to 3 minutes. Use a shallow microwave-safe bowl and stir the caramel every 30 to 45 seconds until it’s completely melted; transfer the caramel dip to a serving bowl and set it at the front of the topping line.
Next, set up the toppings. Caramel works with just about anything, so you have a lot of freedom. Chopped nuts, dried fruits and granola add a natural touch to the decadent dip. Crumbled cookies, candied popcorn, and chocolate chips add varying levels of sweetness. Pour each topping in a separate bowl and arrange them on the serving table or counter, just like a buffet line. Set a place card with the name of the topping in front of each bowl to avoid a guessing game. Next, slice your favorite variety of apple into wedges for easy dipping — a tart Granny Smith makes a great combo with any topping — and insert a wooden craft stick or skewer in each piece.
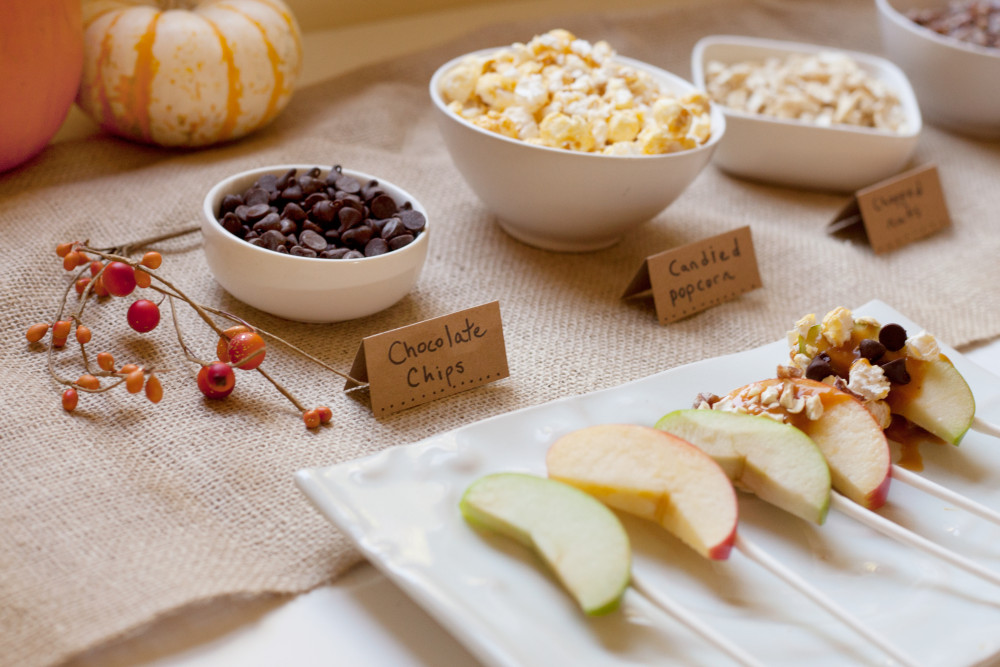
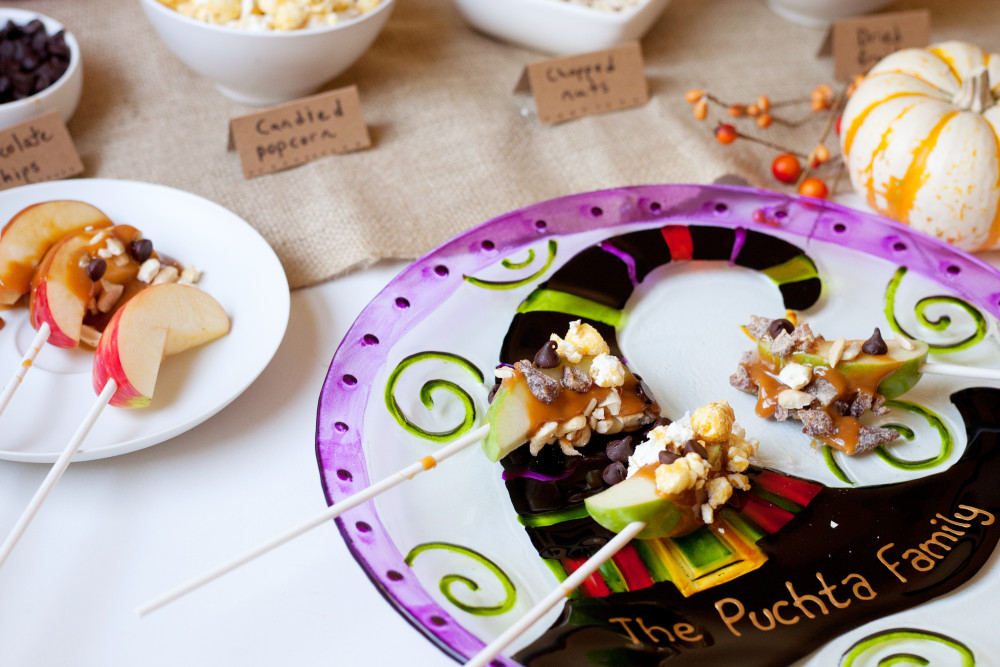
Let each guest dip their apple wedges in the caramel and make their way down the bar, coating as they go. Place a serving platter at the end of the topping bar for the guests to set their apples when finished. Chill the apple wedges in the refrigerator for about 1 hour before serving, then let guests enjoy their creations.
Autumn Aromas
Things You’ll Need:
- Cinnamon sticks
- Store-bought caramel candies
- Spices: allspice, cloves, nutmeg
- Cashews
- Almonds
- Pistachios
- Dark chocolate
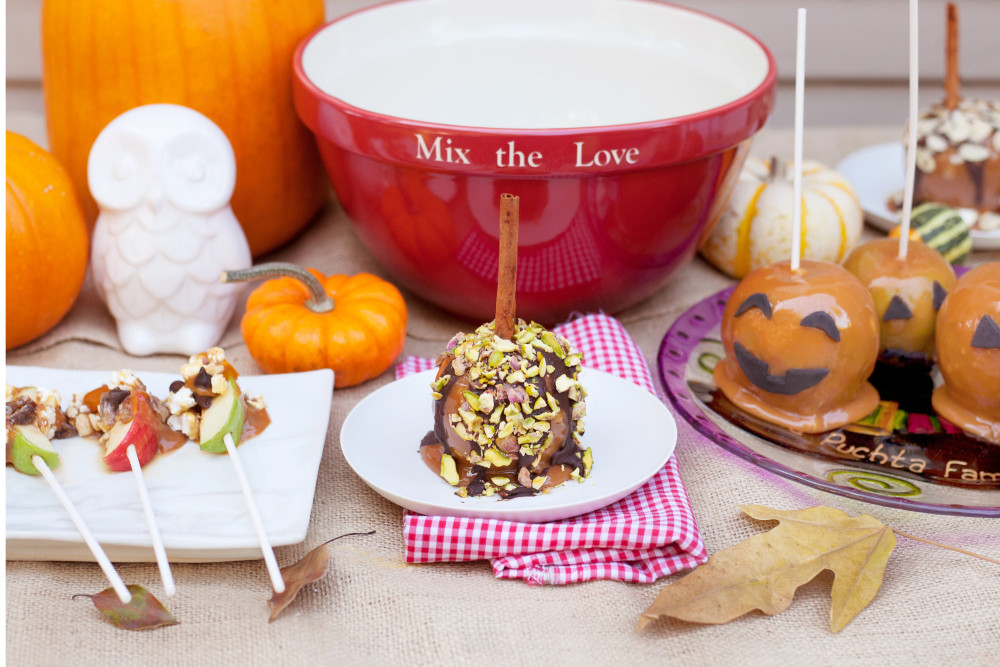
Tie all the scents and flavors of the season – cinnamon, allspice, cloves and nutmeg – into each sensational bite. An apple this fancy deserves a special autumn-themed embellishment, so substitute real cinnamon sticks for wooden skewers to really bring the holidays to life.
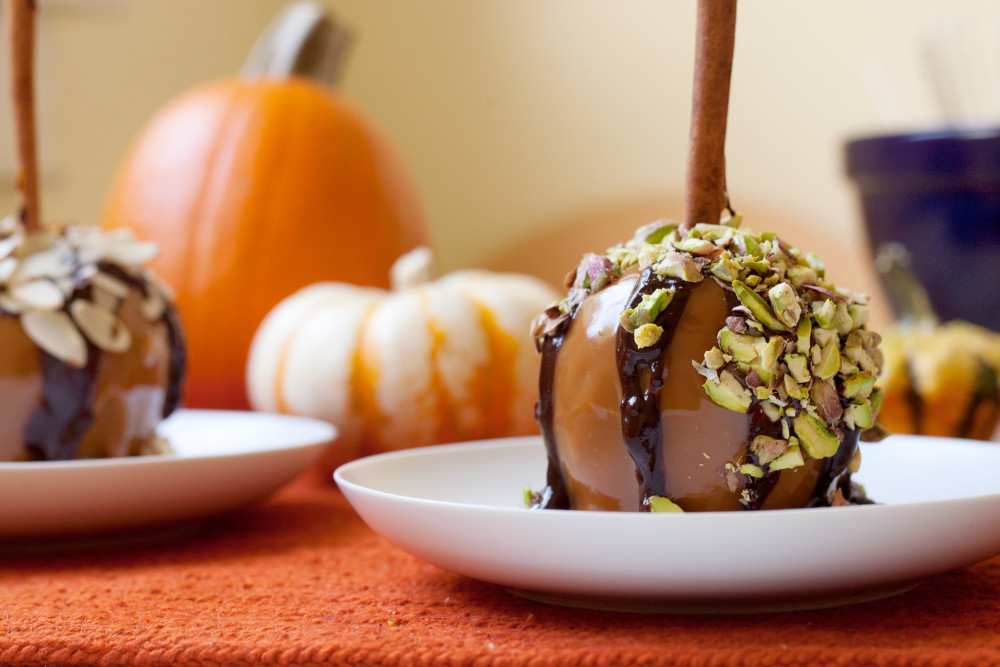
Melt a pack of caramels mixed with 1/2 tablespoon of water in a microwave set to medium for 2 to 3 minutes. Use a microwave-safe bowl and stir the caramel every 30 to 45 seconds until completely melted. Pour the caramel in a bowl for dipping.
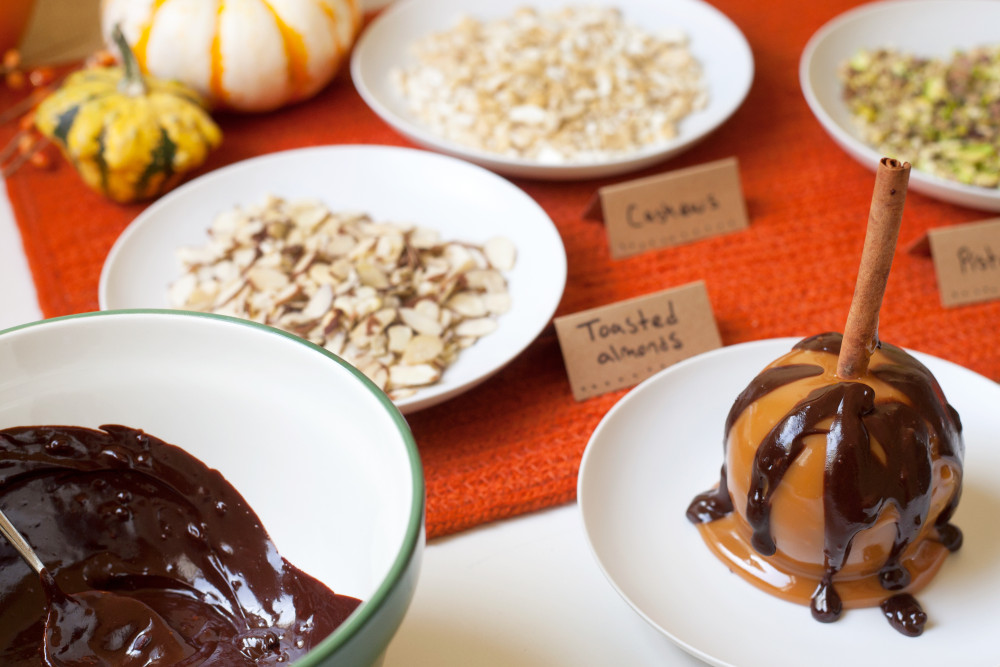
Set up your coating station three ways: one plate for crunch, one plate for toastiness and one plate for smoothness. For smoothness, spread an even layer of crushed cashews on a plate; for crunch, use toasted almonds; for an easy bite that won’t test your teeth’s toothiness, use pistachios. Dip each apple in the caramel and roll it in one of the coatings; you can also coat a separate portion of each apple in a different topping. Stream drizzles of melted dark chocolate, spooned from a mixing bowl, down the sides. Refrigerate the apples until the caramel is firm, about 1 hour, before serving.
The Great Pumpkin
Things You’ll Need:
- Brown sugar
- Condensed milk
- Light corn syrup
- Butter
- Orange paste food coloring
- Black fondant
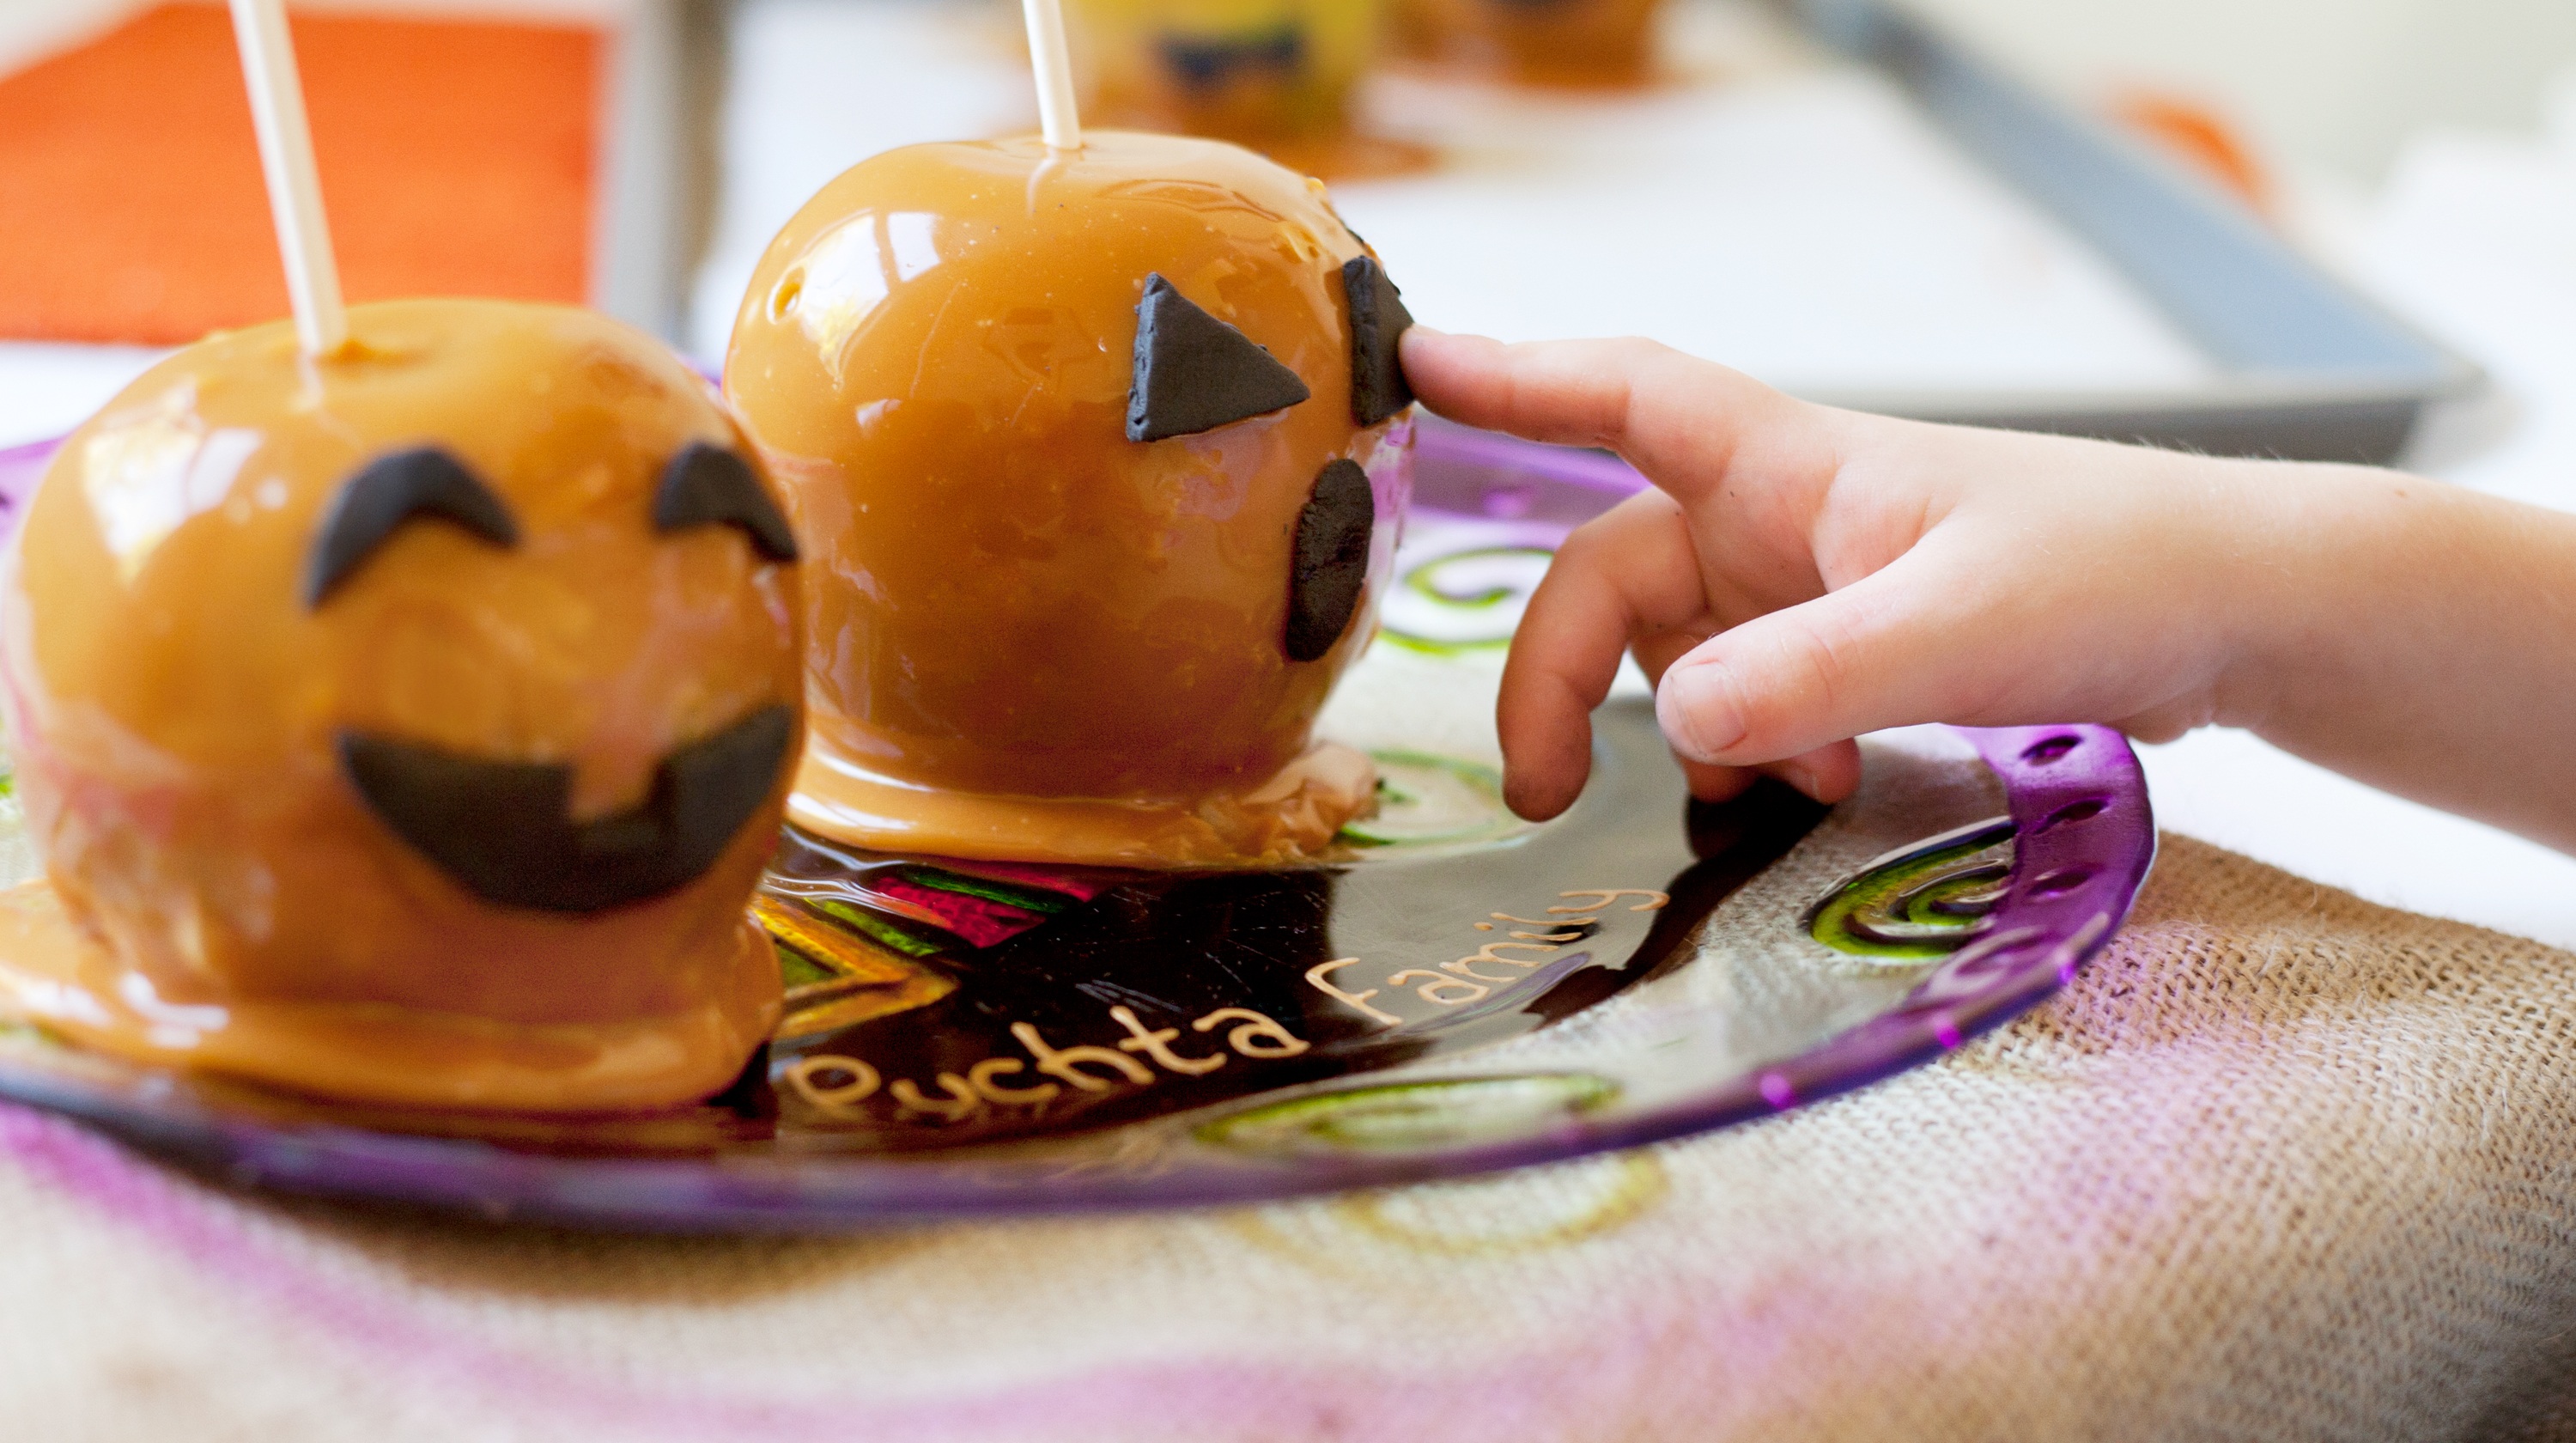
With shiny orange caramel and spooky jack-o’-lantern designs, pumpkin apples put you and your chefs-in-training in the mood for a spooktacular Halloween. Little hands have no problem putting a face on these miniature jack-o’-lanterns with rolled fondant cut-outs and a soft caramel coating for the base.
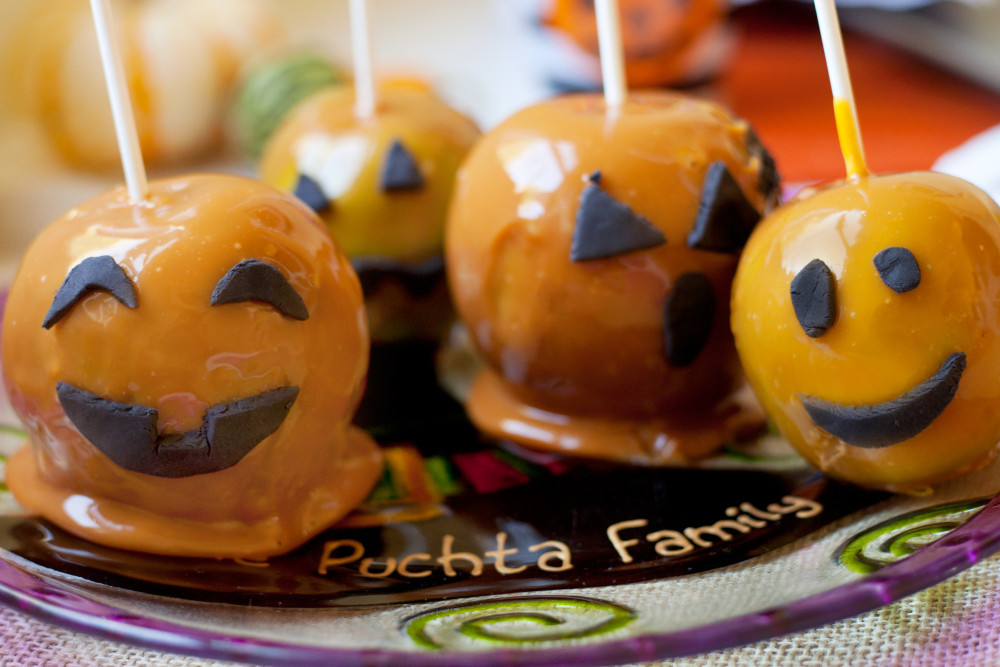
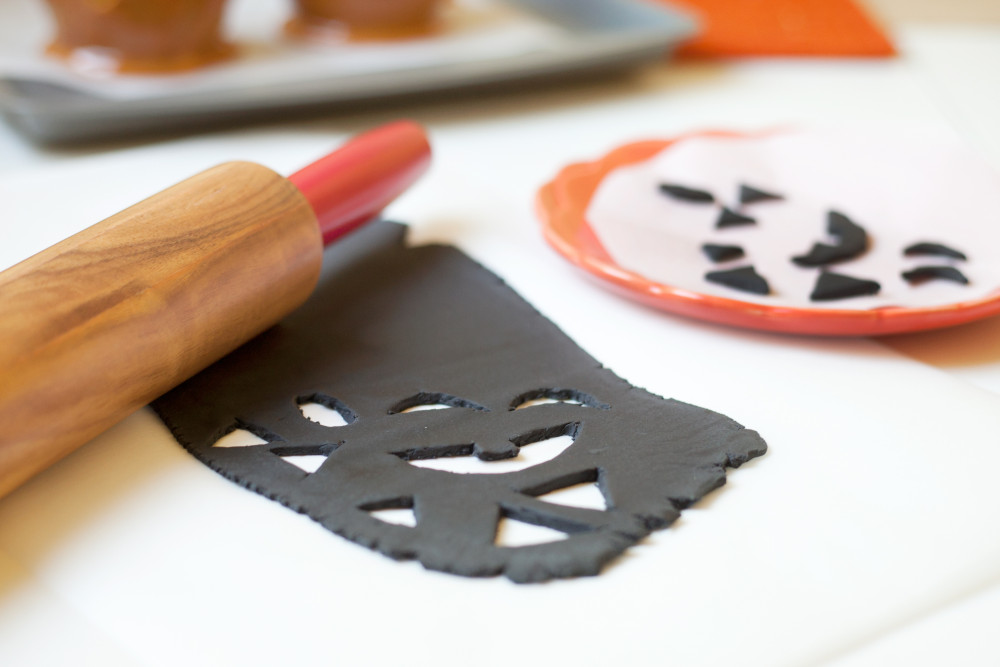
Give your pumpkins their very own personality with an expressive face. The night before you want to serve the caramel apples, roll out a package of black rolled fondant to 1/4 inch thick using a rolling pin. Fondant is available at most craft and specialty food stores, and it’s as easy to work with as cookie dough. Cut the toothy grins, eyes and noses from the fondant using a sharp paring knife and place them on a piece of parchment paper. Cover the pieces with another piece of parchment and let them chill overnight in the refrigerator.
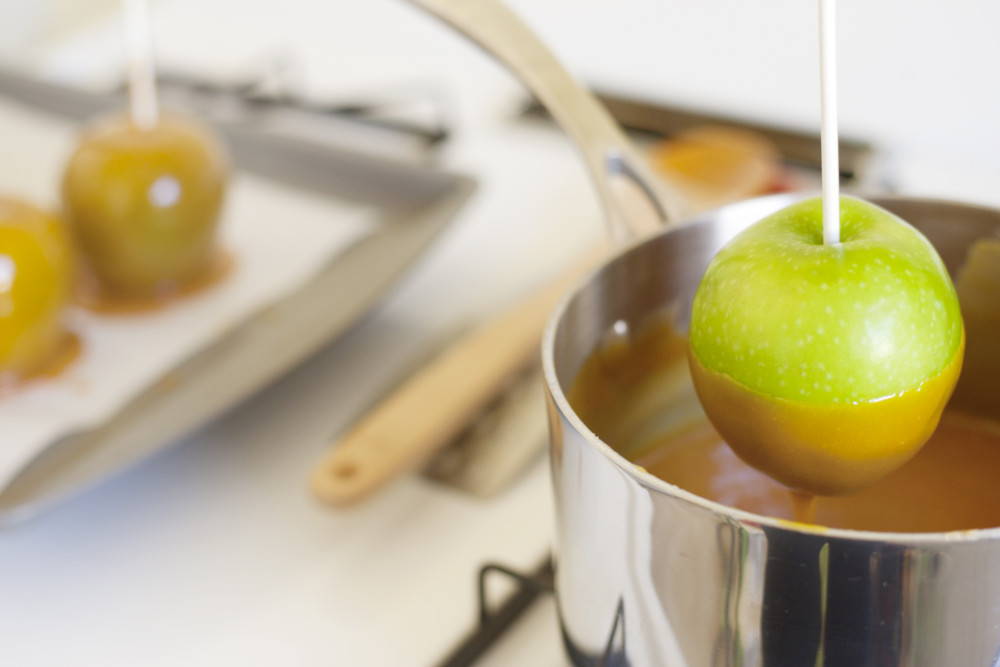
For the caramel base, heat 2 parts light brown sugar and 1 part each condensed milk, unsalted butter and light corn syrup over medium heat until it reaches 235 degrees Fahrenheit. Stir in enough orange-paste food coloring to create a rich pumpkin color. Dip the first apple in the caramel, then hold it over the saucepan for a few moments so the excess can drip away. Spoon extra caramel over the area where the skewer inserts in the apple; this prevents oxygen from entering the apple and shortening the shelf life. Place the apples stick-side up on a sheet pan lined with parchment paper and let them dry until tacky, but not completely set, about 10 minutes. You can also put the dipped apples in the refrigerator to cut the setting time by half
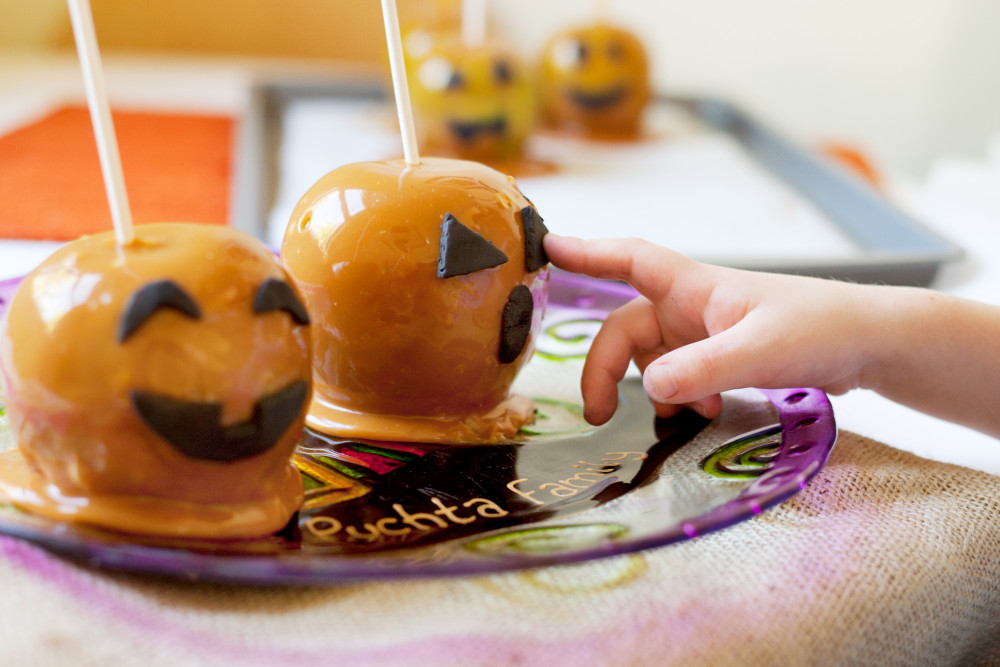
Arrange the apples on a plate or platter when you’re ready to decorate. Take the fondant shapes from the refrigerator and let your helpers attach them to the tacky caramel. If fondant isn’t in the cards for your caramel apples, substitute pieces of black licorice for the face shapes. Serve the apples on a Halloween-themed platter or wrap them in cellophane and pass them out during trick-or-treat.
These spooky, spicy and tasty ideas are just the beginning of your caramel apple adventures. Share your ideas below for what makes the perfect caramel apple decoration.


