Related Articles
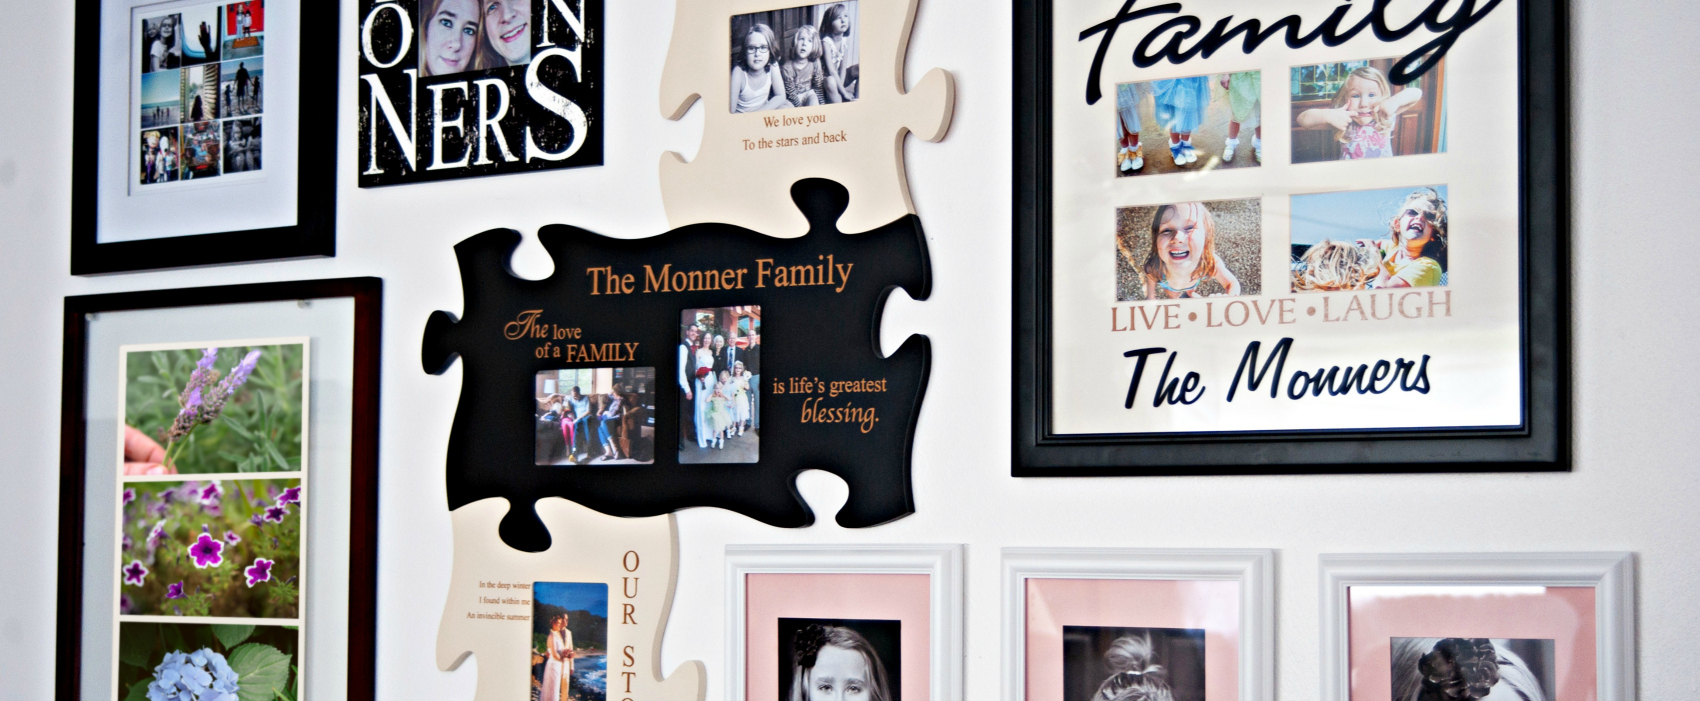
Make a Photo Gallery Wall in Your Home
It’s official — this is the year you will finally do something with all of the photos, souvenirs and trinkets you have collected for years, filling box after box that sit in the back of the closet and multiply. We say, don’t hide those mementos; keep them out where everyone can see them by creating your very own photo gallery wall.
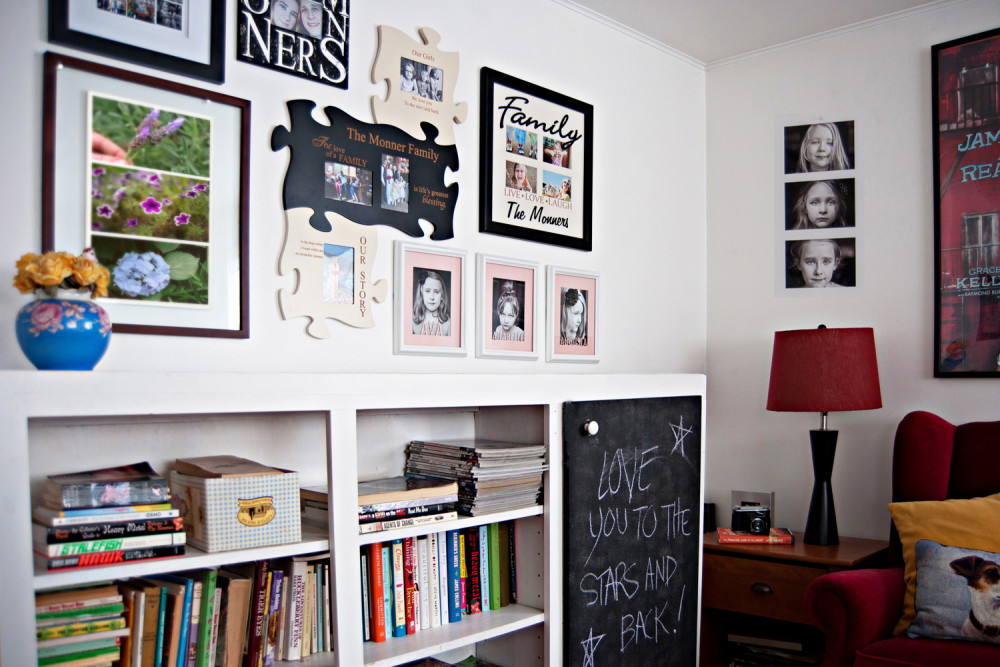
Things you’ll need before you get started:
- Frames
- Photo rails
- Small shelves
- Tape measure
- Painter’s tape
- Craft paper
Mix and Match the Memories
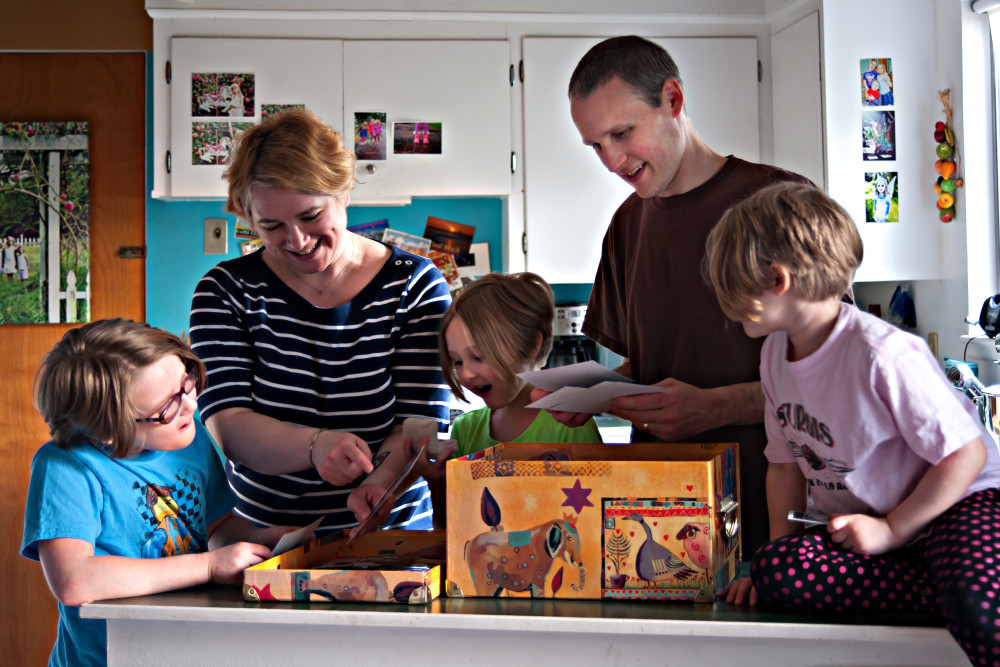
Mix your photographs with drawings and paintings by your children, book covers from cherished children’s literature or maps from memorable family vacations, along with tickets, posters or programs from special events. Get the kids involved by having them each pick one or two items they want to see on the wall. You might also add painted wooden or papier-mâché letters as a three-dimensional monogram.
Choose frames in the same style to create a neat, planned feel or tie everything together with frames in the same color. On the other hand, you can create the idea that your collection has grown over time by using a mixture of different frame styles. Avoid a sense of clutter by choosing two or three frame shapes and repeating them.
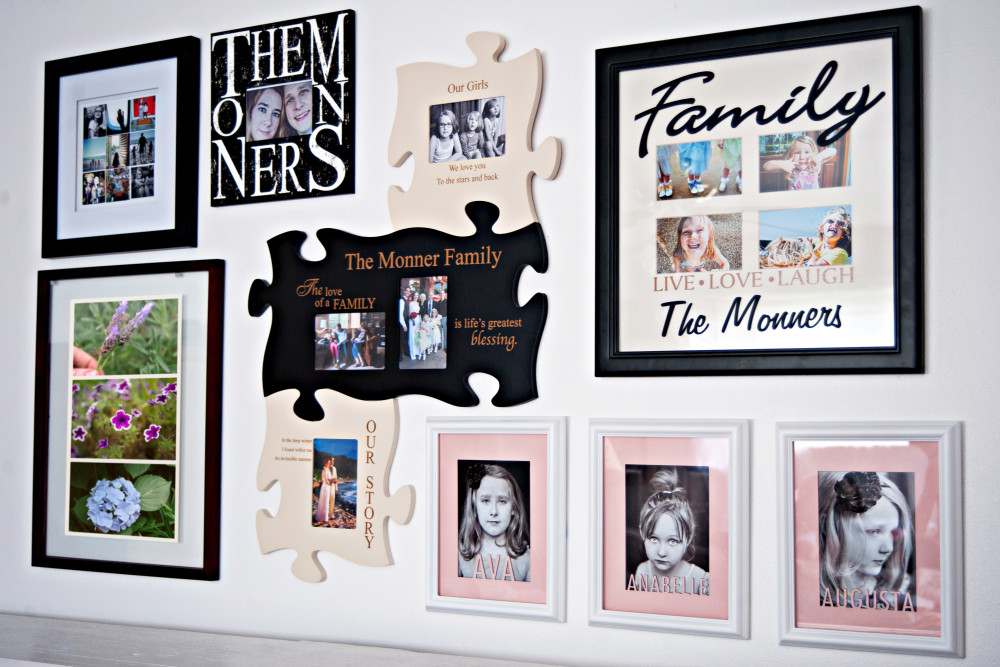
Pick one to three photos or other elements to serve as your focal point. For example, you might use a group picture in a family frame. Or, jazz up the center of the wall by using an unexpected frame option, like this puzzle of life display, with smaller elements filling the spaces around it.
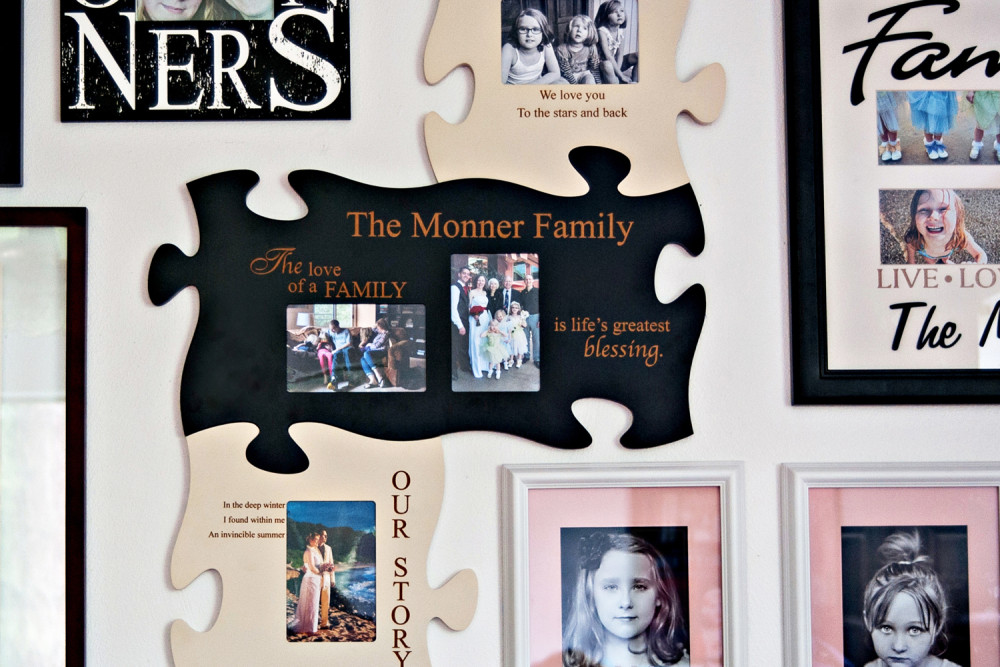
Add personalization to the pictures with embellishments on the frames or use name frames or family name frames to tell everyone who’s who.
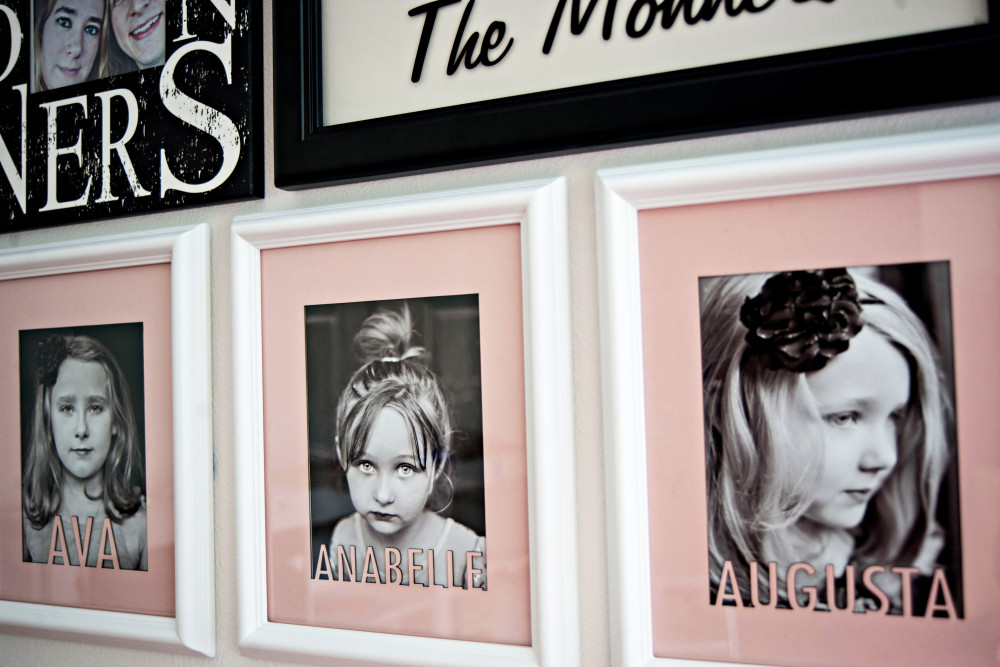
Constructing Your Wall
Get a little crazy when you choose a space for your gallery. While traditional staircase, large-wall or over-the-sofa areas are great choices, surprise guests with a gallery that hangs above a soffit or a picture window. Make a movable display without creating a Swiss cheese wall by hanging photo rails or small shelves and arranging your collection on them, instead of hanging the photos directly on the wall. Skip the traditional headboard for your bed and hang your collection in a grid arrangement above the mattress.
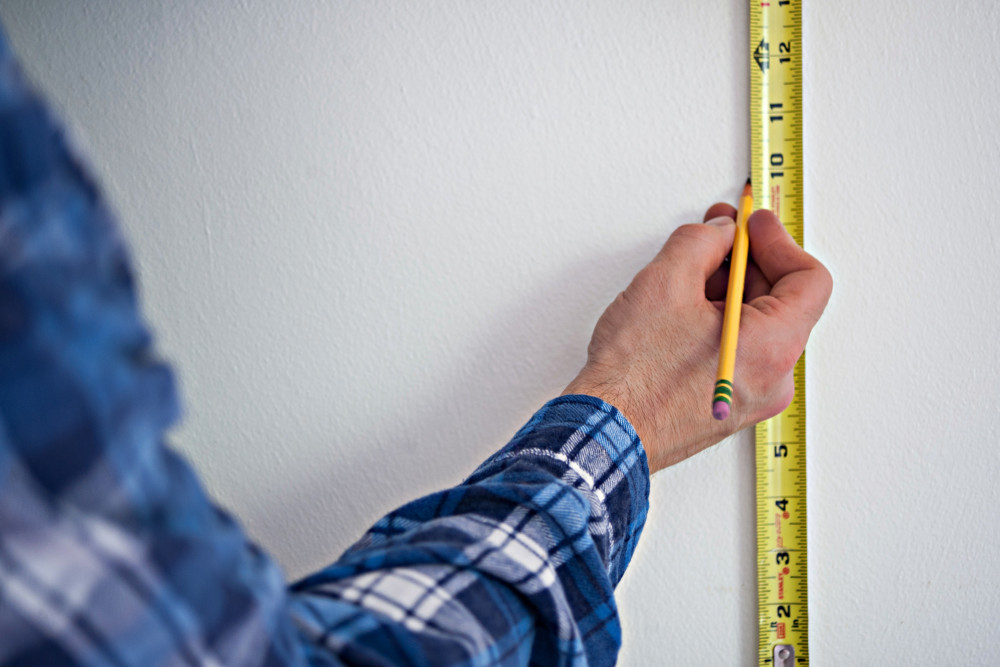
Measure the height and width of your display area. The center of your focal piece should be about 4 1/2 to 5 feet above the floor unless you are creating a gallery above furniture. In that case, the bottom of the lowest frame should be about 8 to 10 inches above the top of the furniture.
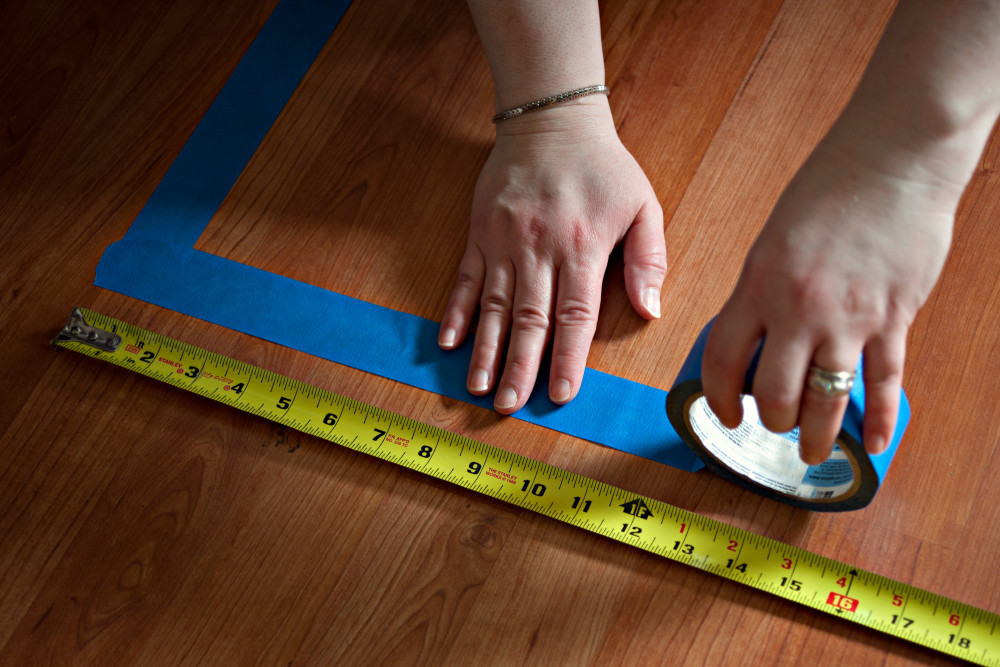
Use painter’s tape to mark a space on the floor with the same measurements as your wall display space. This is where you will lay out your design, so you don’t end up with extra holes in the wall.
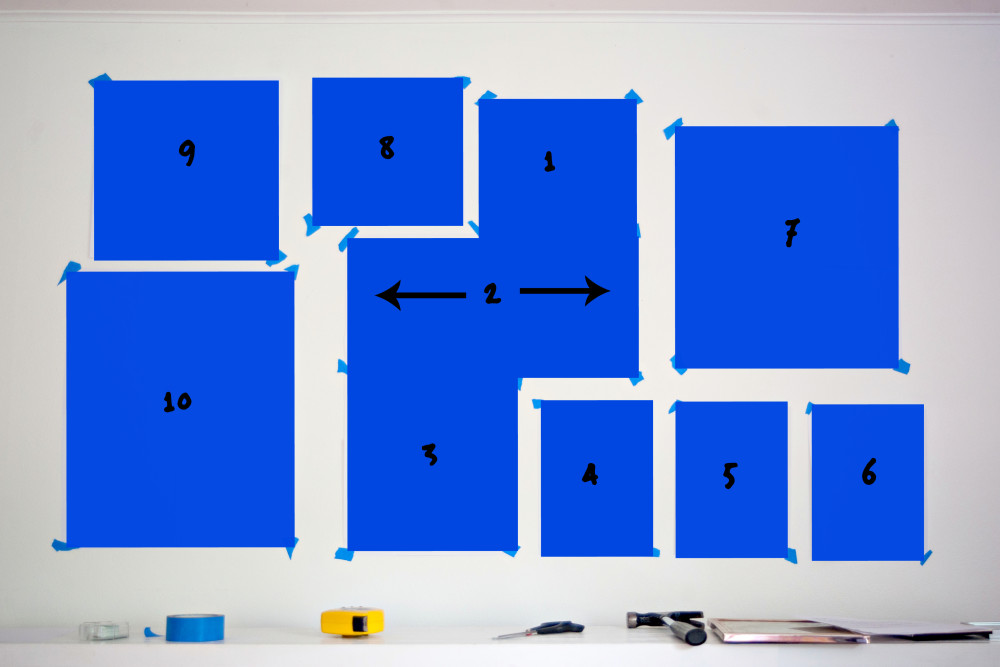
Trace each frame onto craft paper. Write a number on each template. Write the same number on painter’s tape and put the tape on the coordinating frame.
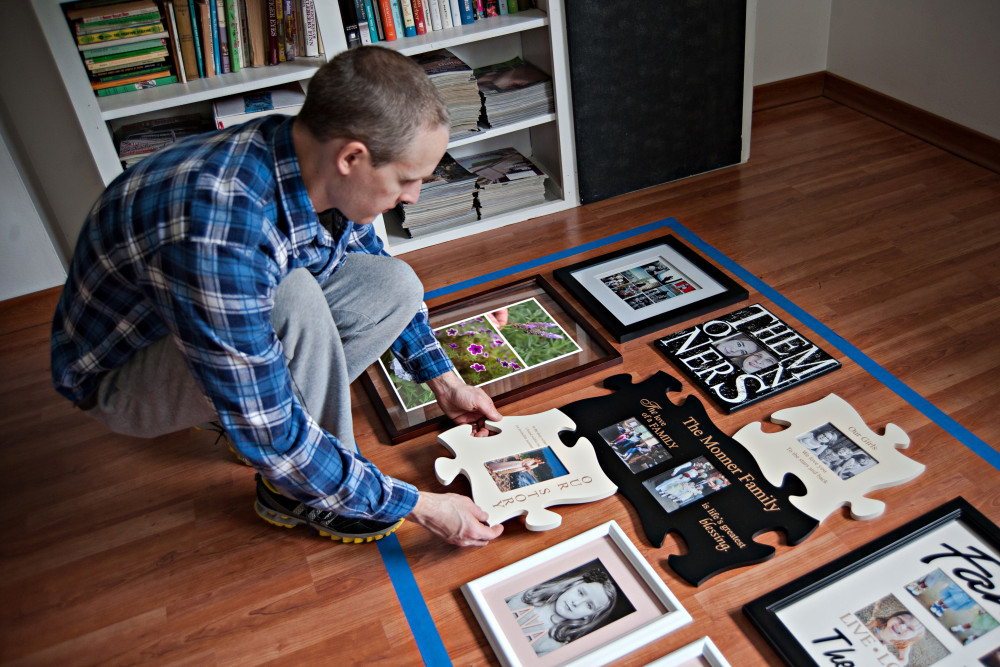
Lay the frames out in your taped floor area. Move the photos, mirrors and other elements around until you fall in love with the arrangement.
Tape the templates on the wall to match your design, using the numbers on the frames and the templates to get the papers in place.
Hold a Gallery Show
Hang your pictures on the wall or place them on the rails you selected. Have the kids weigh in on the final placements so they are just as excited as you are. Your photo gallery is now ready for its grand opening.
Already created a custom wall of memorabilia in your home? Take some photos to add to the gallery and use the comments section to share other ideas for gallery walls.


