


Related Articles
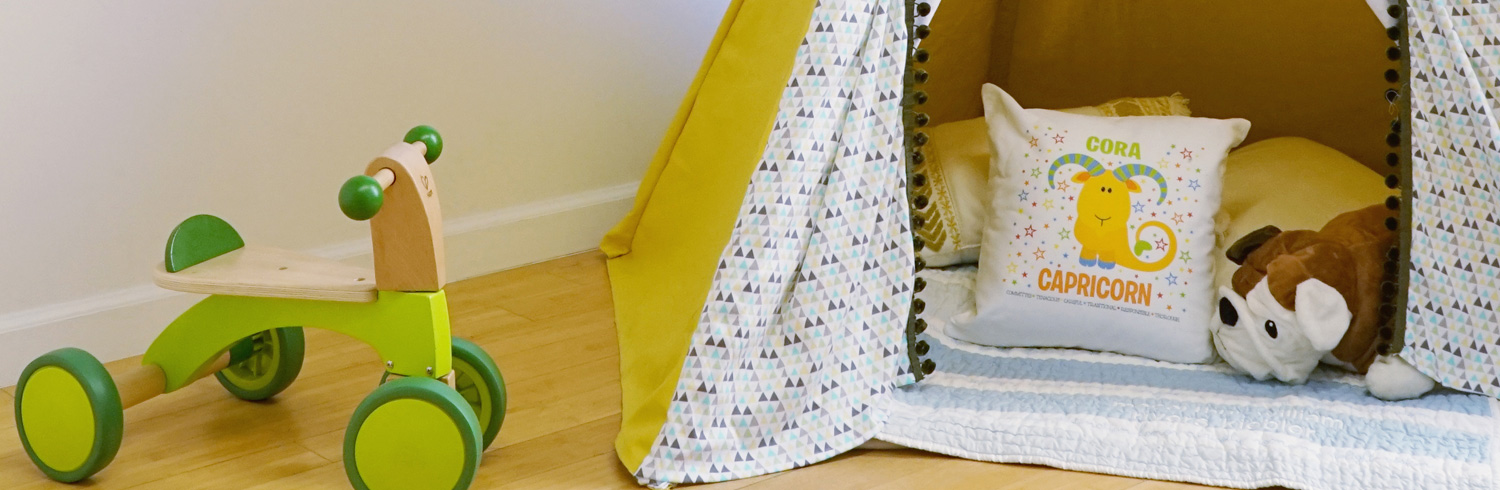
How to Make a Teepee for Your Kid's Room
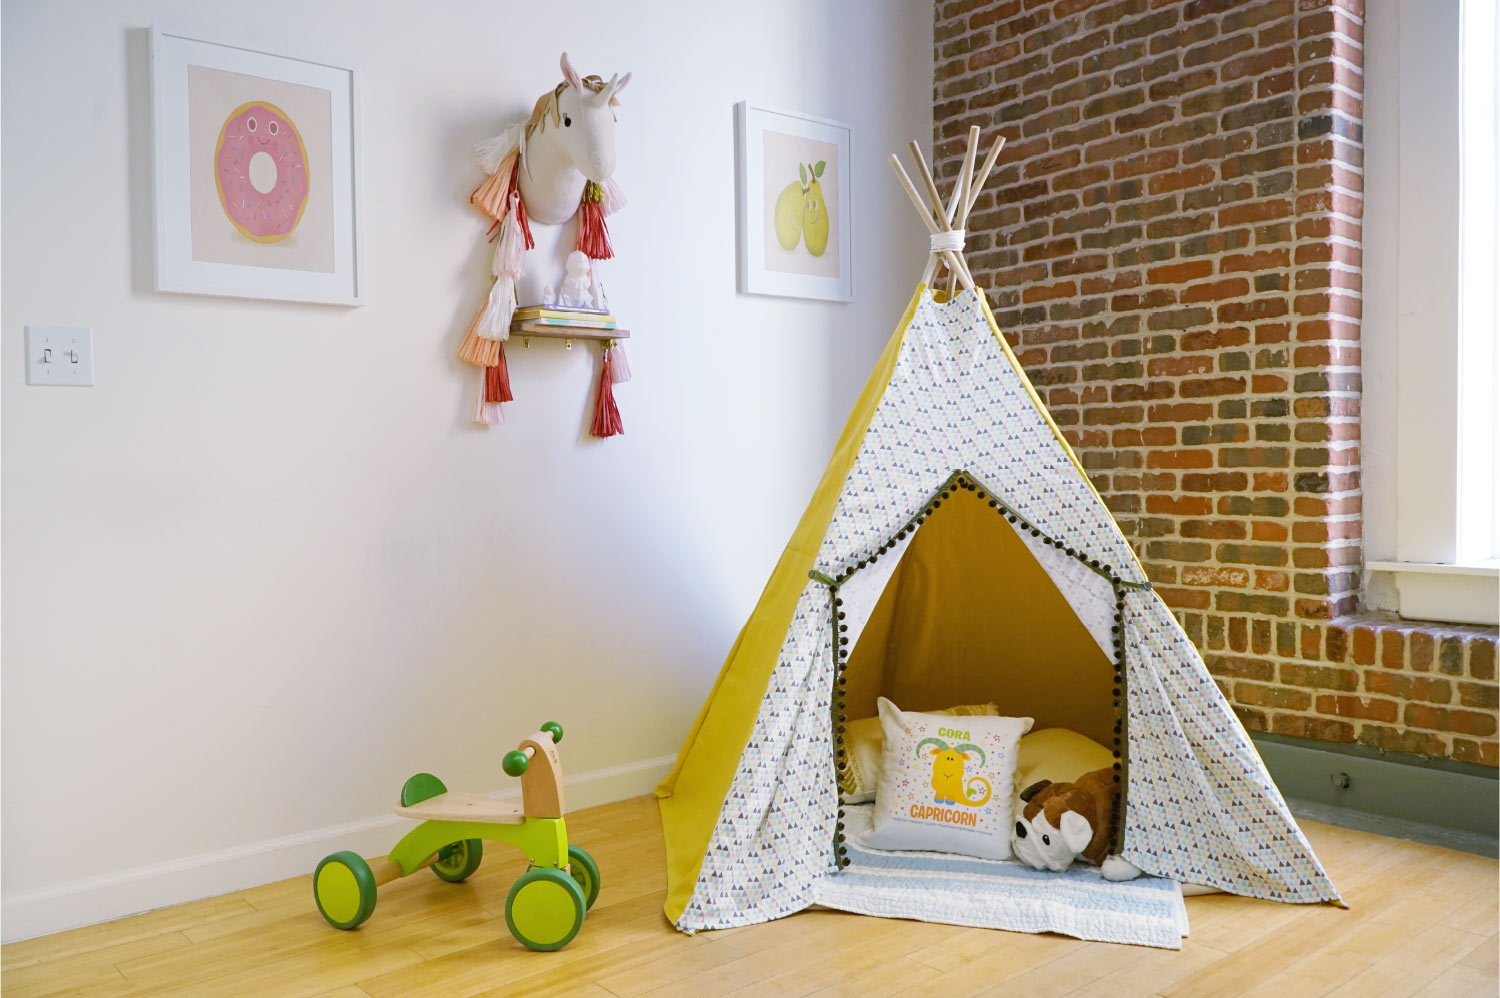
If your little one loves to build forts or curl up with a good book, a teepee might be just what they need! They can relax in their own private space or play games with their siblings and let their imagination run wild. You can even size the teepee up or down depending on the age of your child.
In-store, teepees can cost upwards of $100, so why not save some money, get crafty and learn how to make a teepee yourself? It collapses, making it easy to store under a bed or in the closet when it’s not in use, and stands about five feet tall, perfect for toddlers and young children.
How to Make a Teepee
This DIY teepee tutorial will take you about four to six hours to complete if you want to sew a covering. However, if you’d rather create a no-sew teepee, follow step one and two to make the teepee frame, then drape a drop cloth or sheet around it for a quick and easy alternative!
Materials

Frame materials
- 5 wooden dowels (6 feet tall)
- 1 yard of rope (¼ inch)
- Drill
- Sandpaper (optional)
Tent materials
- 4¼ yards of 57”- 60” sturdy fabric
- 4 yards of bias tape
- 4 yards of trim (optional)
- Fabric chalk
- Pins
- Measuring tape
- Matching thread
- Sewing machine
- Fabric scissors
- Buttons (optional)
Directions
Follow these nine steps to make the perfect teepee for your kids!
Tip: If you want to save money on fabric, you can use a large drop cloth (or two) from a home improvement store. Paint designs on it with your child to make it extra personal!
Step 1: Drill holes in wooden dowels.
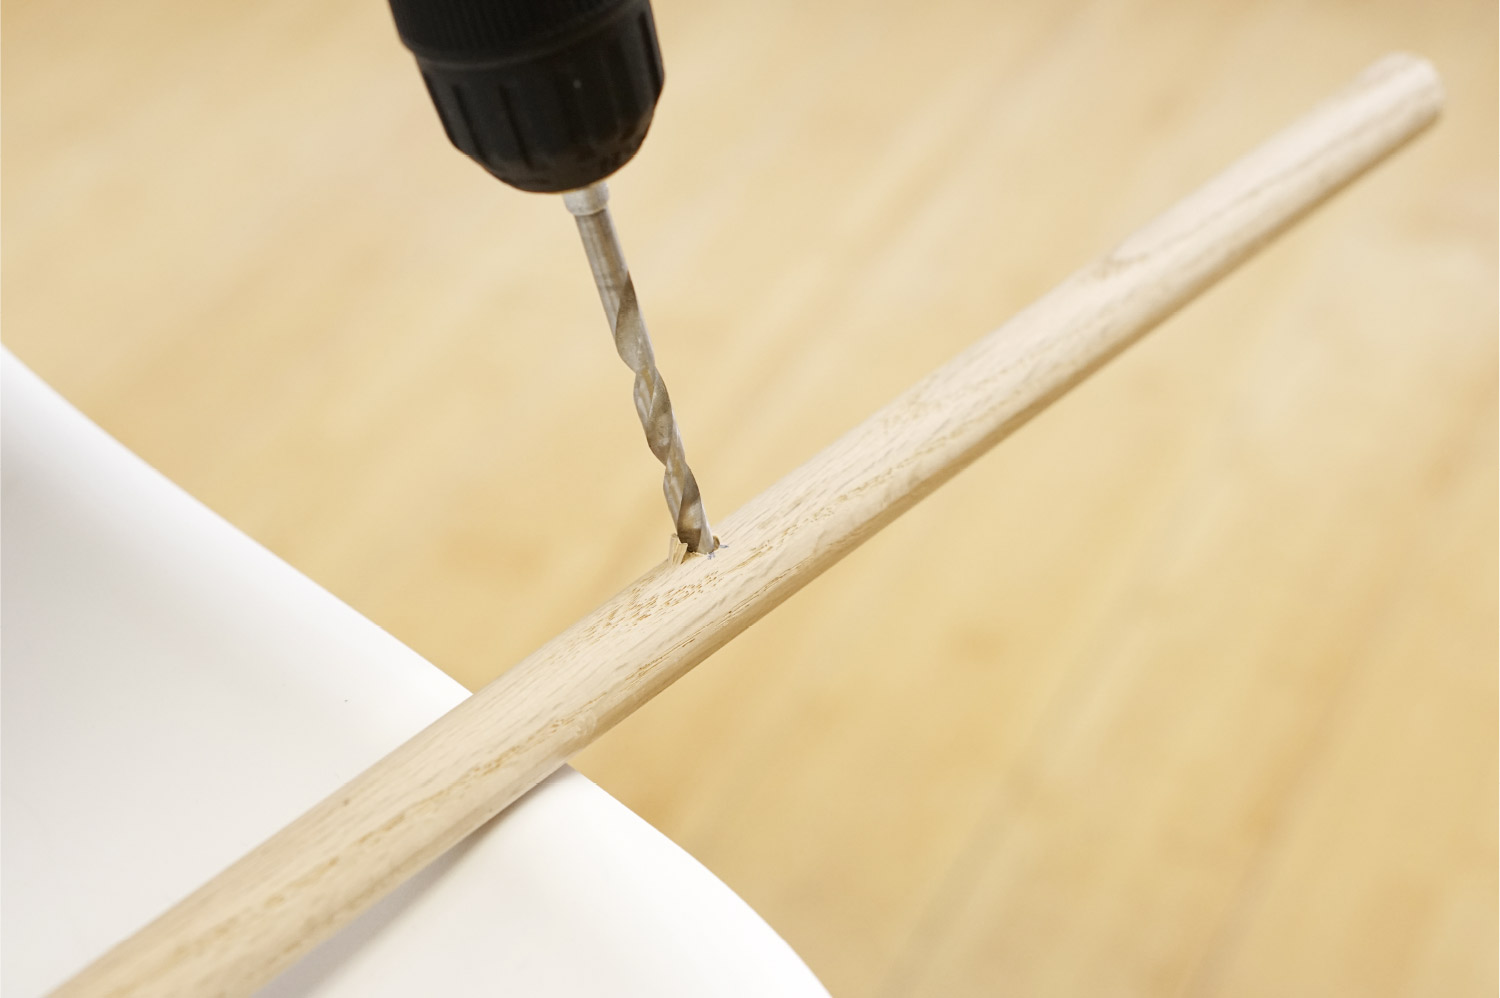
We drilled them 10 inches from the top. You’ll want to use a drill bit equal to or larger than the circumference of your rope. Sand around the holes you drilled to avoid splinters!
Step 2: Thread your rope through the dowels, while the dowels are laid flat.
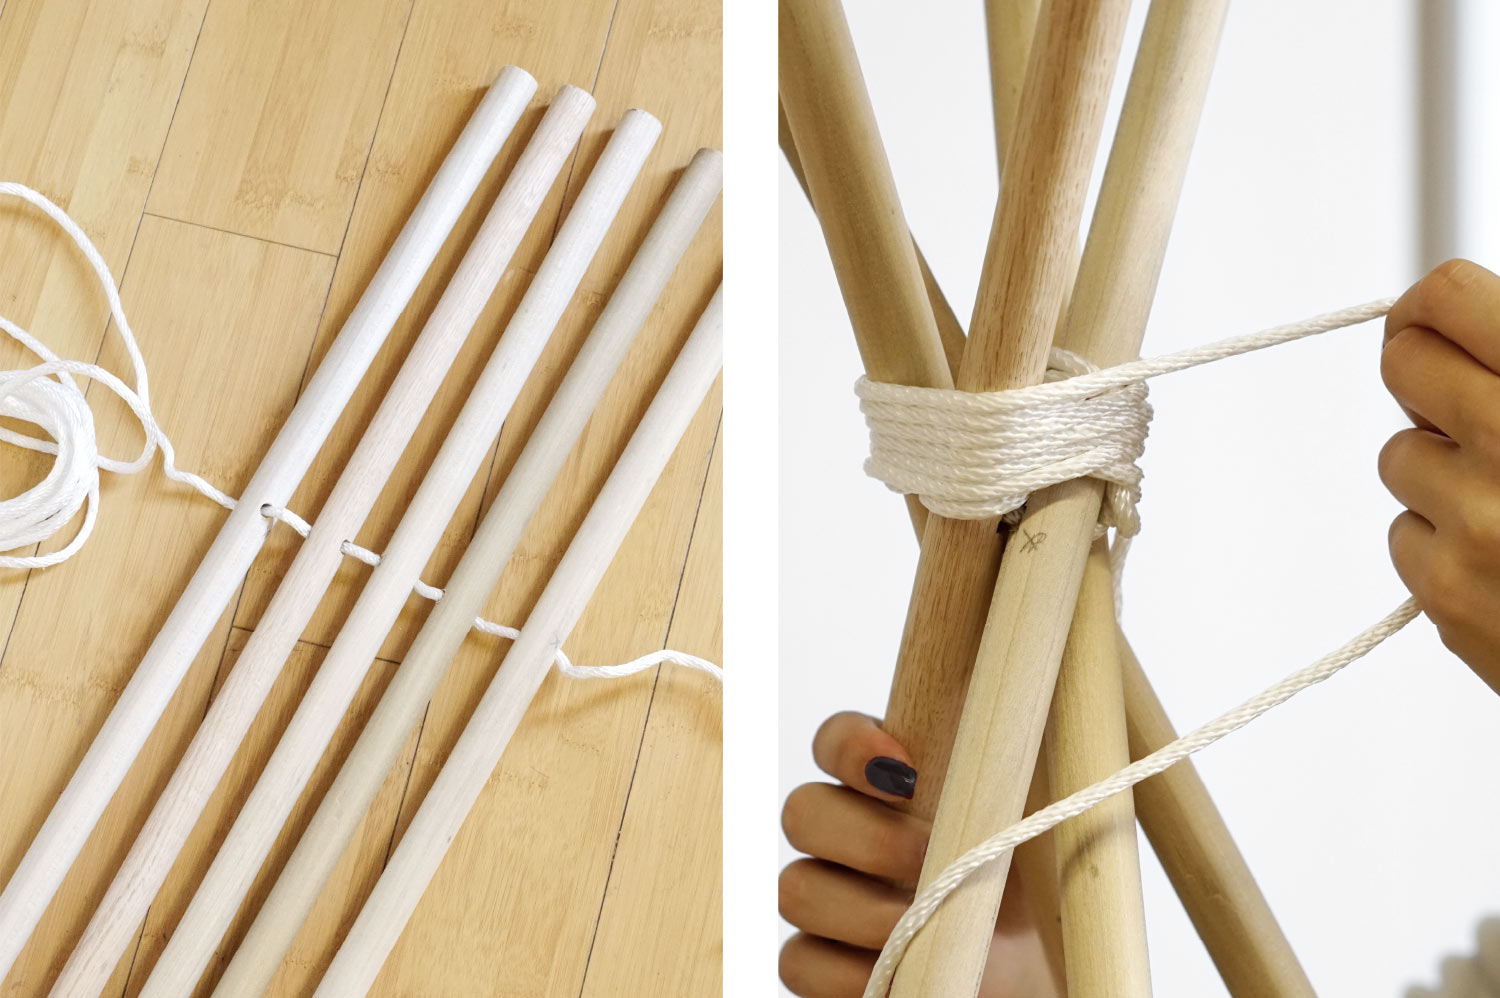
Tie a knot to secure. Stand the dowels up and arrange them into a teepee shape. Then, wrap remaining rope around dowels. We looped the rope around each individual dowel and then made a big circle around all of them. Once complete, tie off again and cut excess rope.
Step 3: Measure for your pattern.
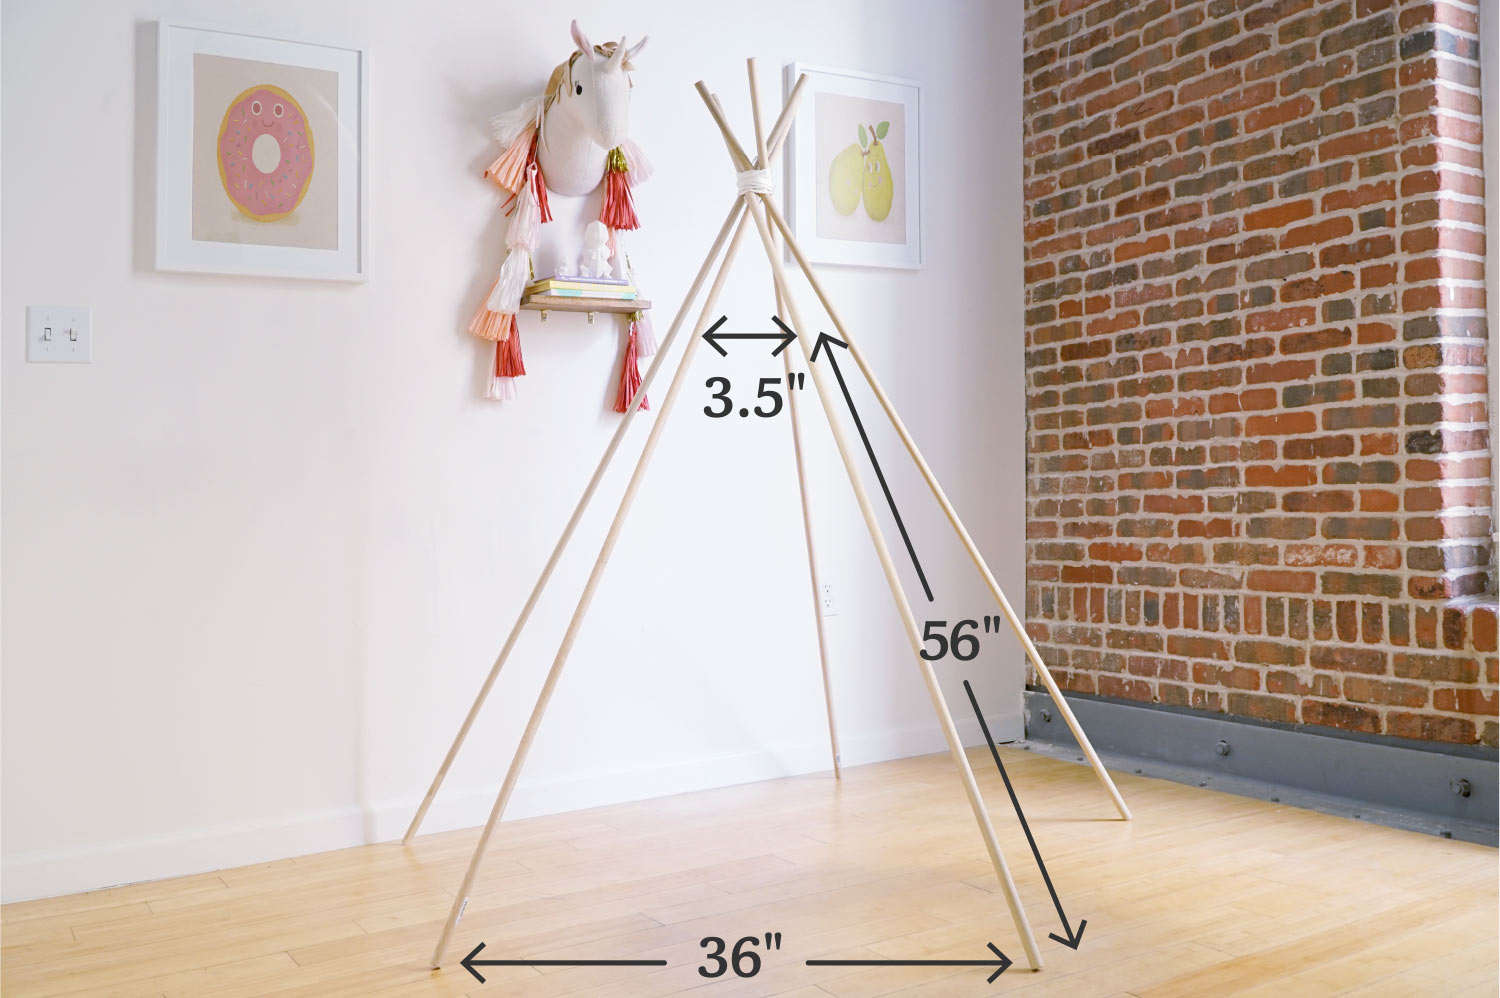
- Height measurement – Length from the bottom of the dowel upwards to where the fabric will start. This may be informed by the width of your fabric. Make sure you measure along the angled dowel as this is what the fabric will cover.
- Top width measurement – Distance between dowels where the top of the teepee covering will rest.
- Bottom width measurement – Distance between dowels at their widest point near the floor.
Step 4: Create your pattern and cut pieces.
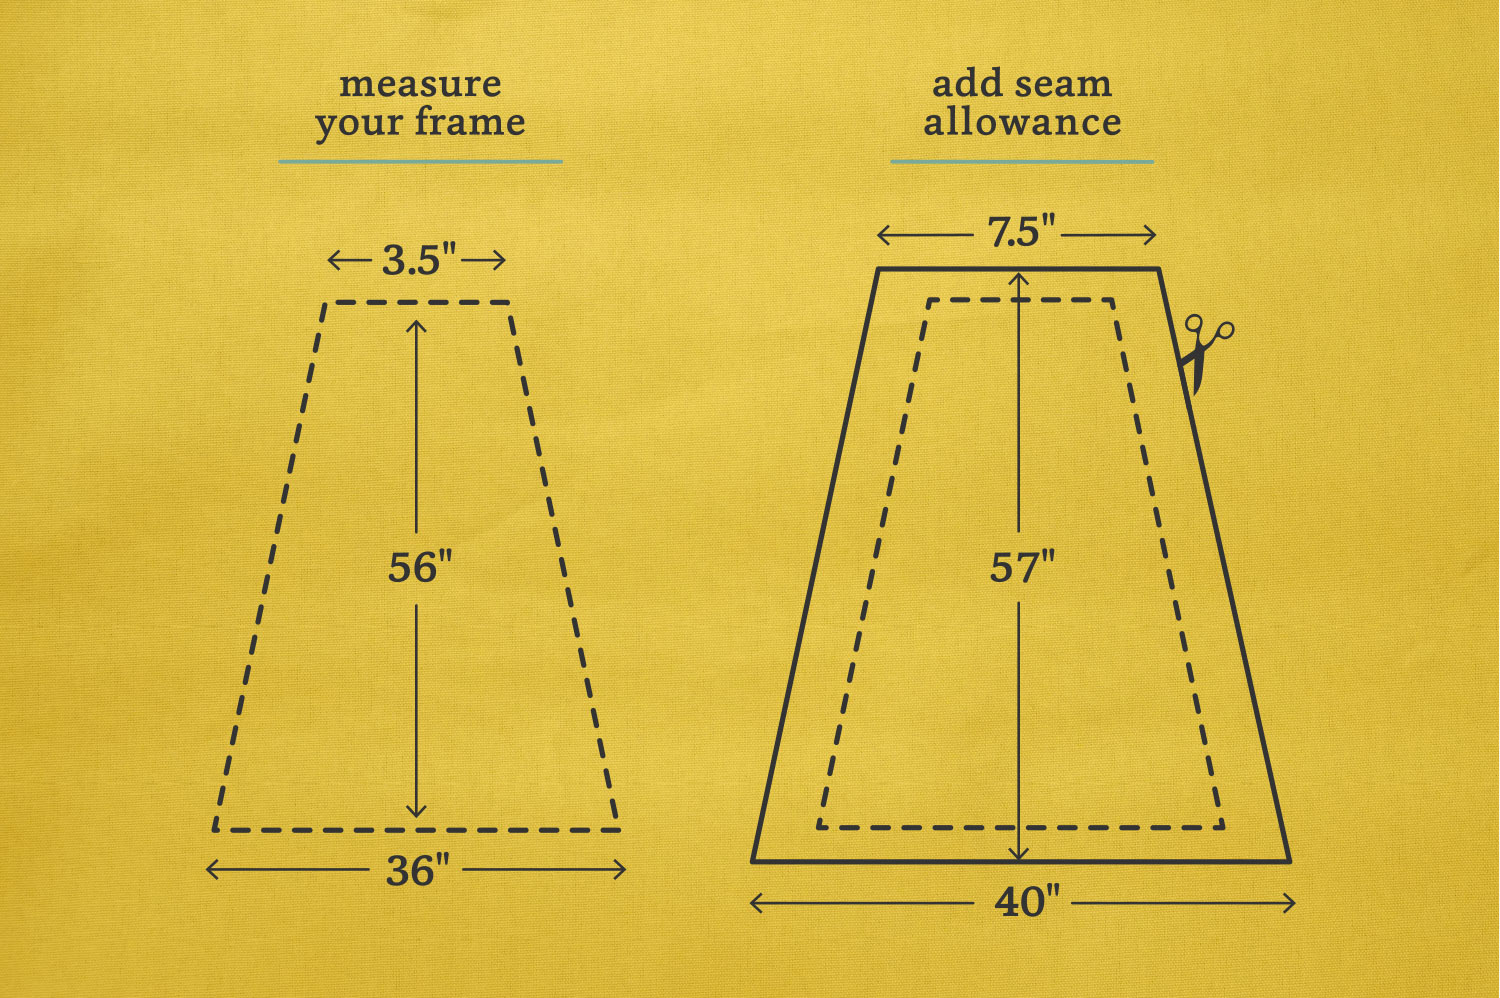
Add seam allowances to your measurements to find the dimensions of one panel. You’ll need as many panels as you have dowels. We used five dowels so we’re creating five panels (four solid, one printed). We added 1 inch total to the height, so we could create a ½ inch hem on both the top and bottom. We added 4 inches to the top and bottom width measurements. Here’s how we got 4 inches:
- Width seam allowance = width measurement + 2[(dowel width x 2) + ½ inch]
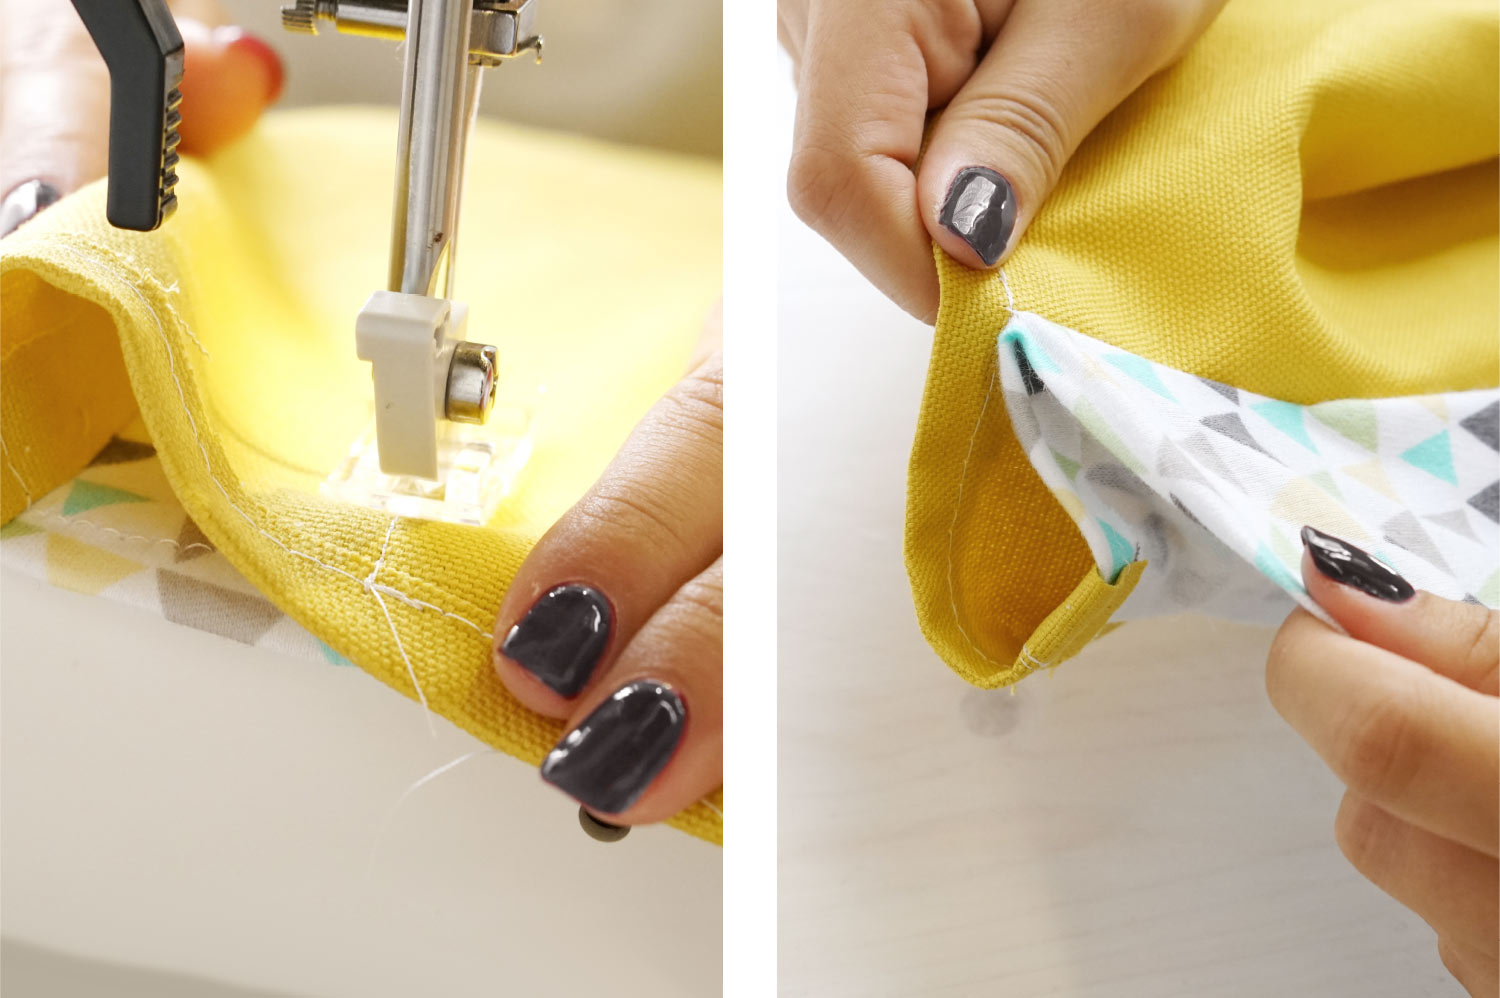
Step 5: Sew panels together right sides out.
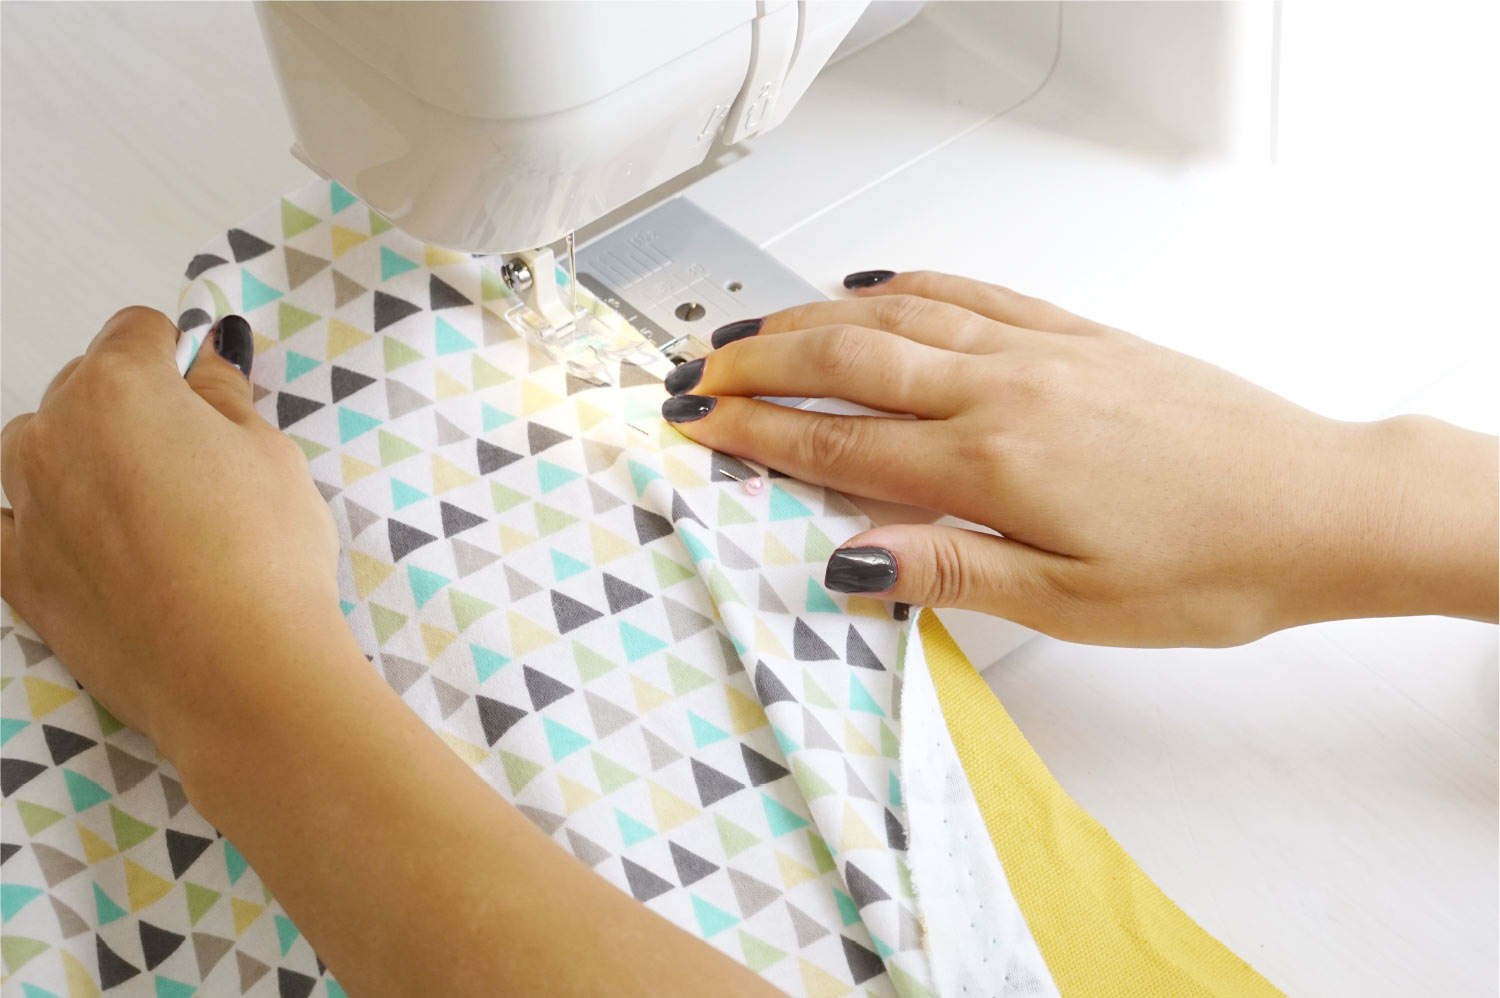
You should use a ½ inch seam. Once complete, the panels should form a circle. At this time, the seams will stick out on the outward-facing side of the teepee. Don’t worry! You’ll resolve that in step eight.
Step 6: Hem the top and bottom.
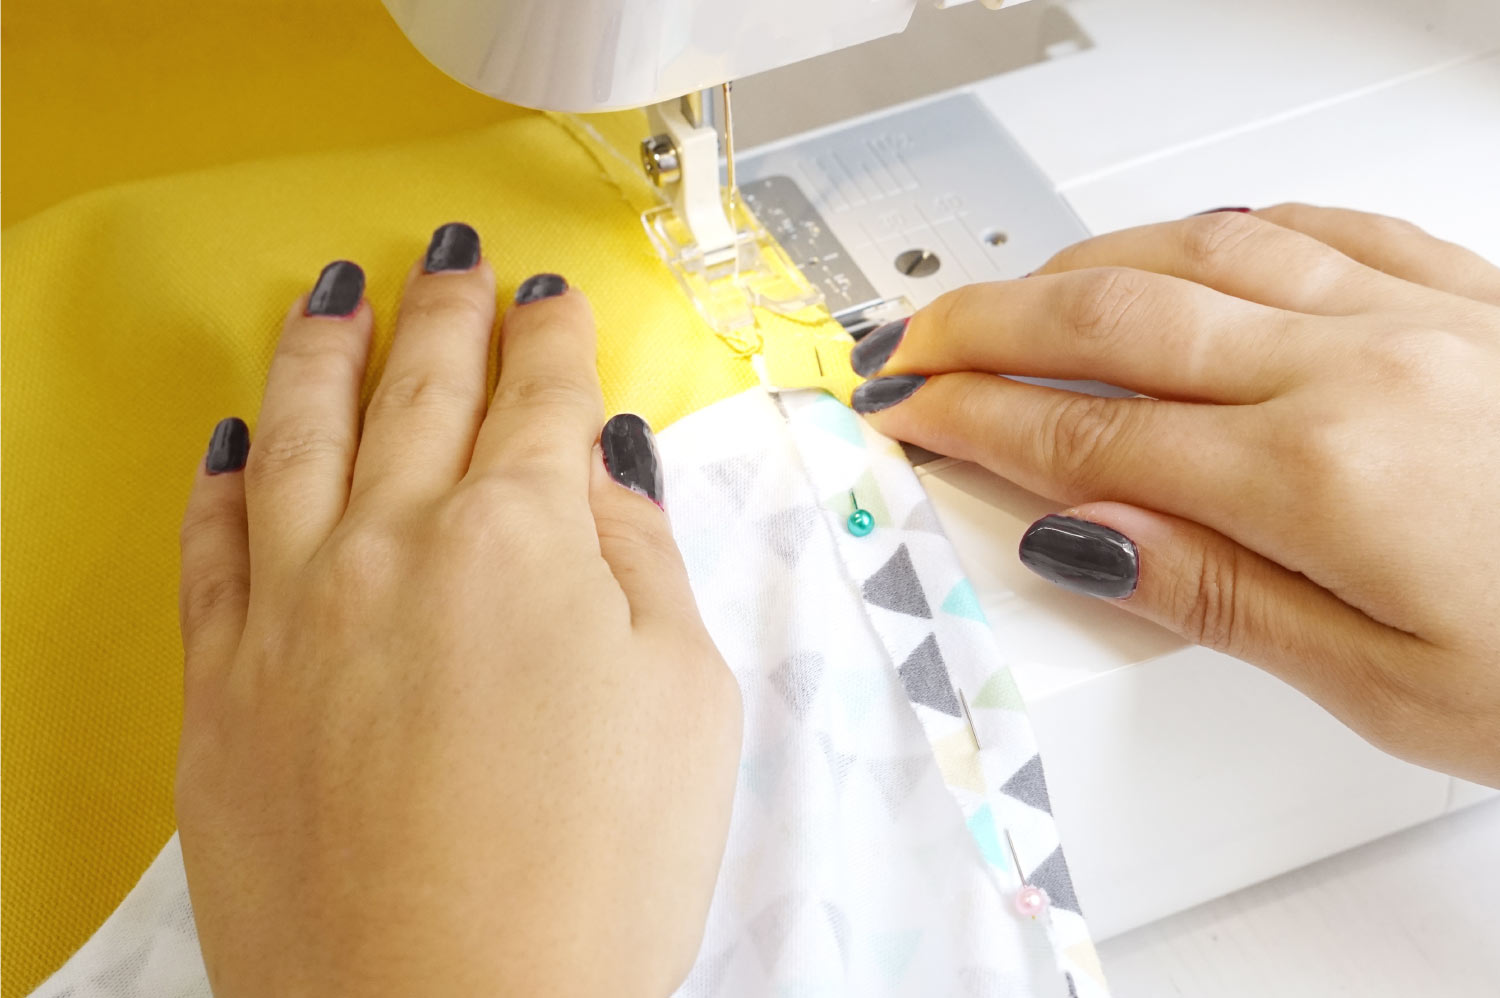
Using a ½ inch seam, hem the top and bottom of your teepee covering. The hem should go on the wrong side, opposite where the seams on the step above are sticking out.
Step 7: Sew the dowel slits with the right sides facing in.
Since our dowel was ¾ inches around, we doubled that and measured 1½ inches from the seam to make sure it was easy to slide the teepee covering on and off. You should sew five slits at each of the seams. If you’re not sure how big your slits should be, place your fabric around the dowel and mark. Add extra room to ensure the teepee covering is easy to get on and off.
Step 8: Decorate your door.
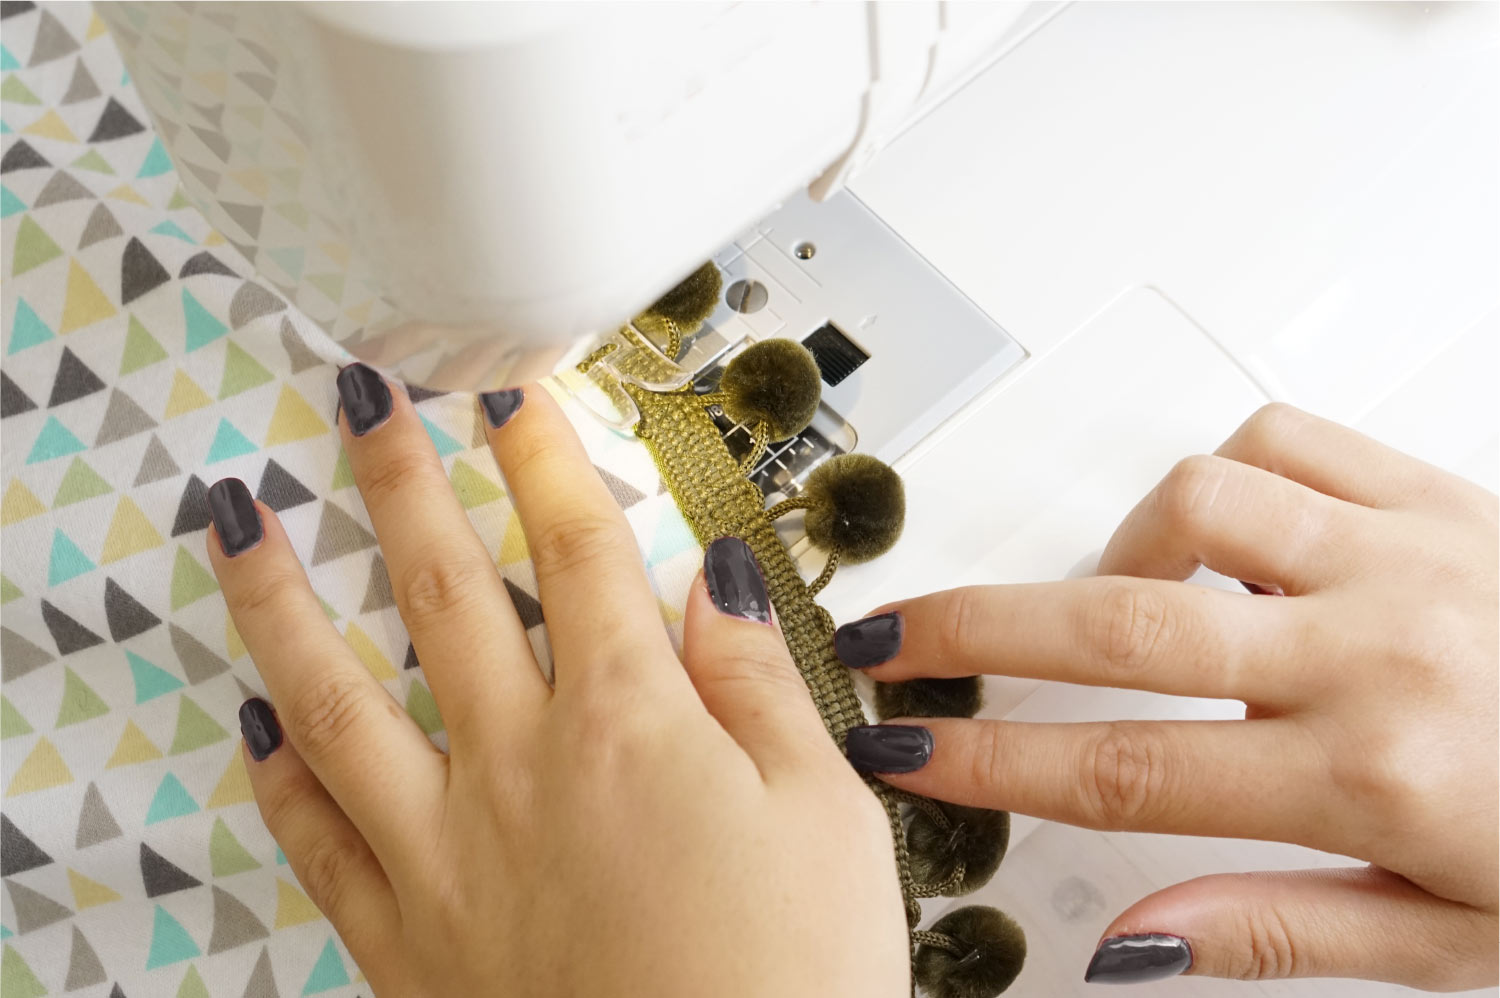
Cut your door slit up the middle of the front panel (ours was 40 inches). Finish the edges on each side of the door. This can be done with a serger, zigzag stitch or bias tape. We suggest using bias tape for a cleaner look if you’re not adding trim to your door. We also attached loops to the door and added buttons on the left and right sides of the teepee to pull the door flaps back.
Step 9: Assemble your teepee!
Turn fabric right side out. Lay dowels down, keeping them tied. They should collapse similar to an umbrella. Thread dowels through the slits. Then stand upright and space the dowels out to form your teepee.

Now that your teepee is assembled, make sure it’s warm and cozy by adding blankets, pillows, toys and books. If it’s a permanent fixture in your child’s room or play room, try starting a nightly tradition of choosing a book together and reading it in the teepee. If you need a few ideas, here are our favorite children’s books and how long it takes to read each.