Related Articles
Fun After-School Activities For Kids
Some days the kids come home from school seemingly sapped of energy. Other times they charge through the doorway like a whirlwind. Whatever their after-school mood, having some fun activities ready to go will keep your little loves occupied and active during those precious hours before dinner. You can choose pastimes that are noisy and energetic or quiet and somewhat sedate, tidy or messy, educational or just plain silly. And you can get in on the fun yourself, or set up the activity and let them go to town while you catch up on dinner (and maybe even take a little tea break). What matters is keeping their minds and bodies busy during after-school down time.
Improvise Works of Art
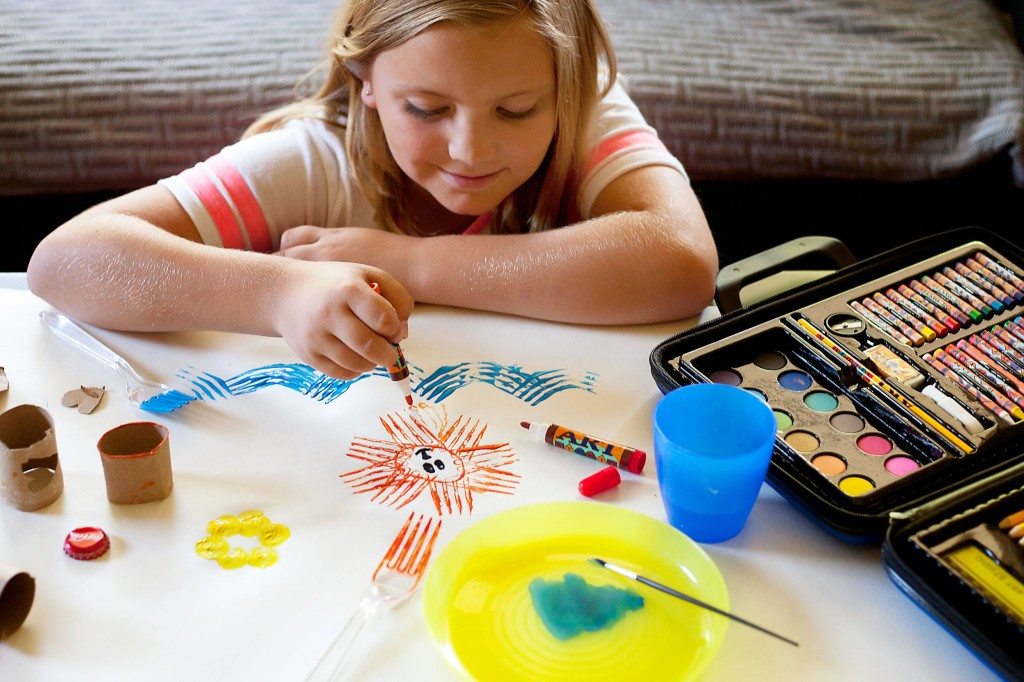
Introduce kids to the idea that they can create art with practically anything. Send the kids out on a little scavenger hunt around the house and yard to find things that will make creative stamps. Ask the kids to think about shapes and textures but make sure the items won’t be ruined by paint. Possible items to turn into stamps include paper towel tubes, bubble wrap, bottle caps, plastic forks, corks, paperclips, leaves and dandelions. While they’re out gathering, mom can get back to working on dinner.
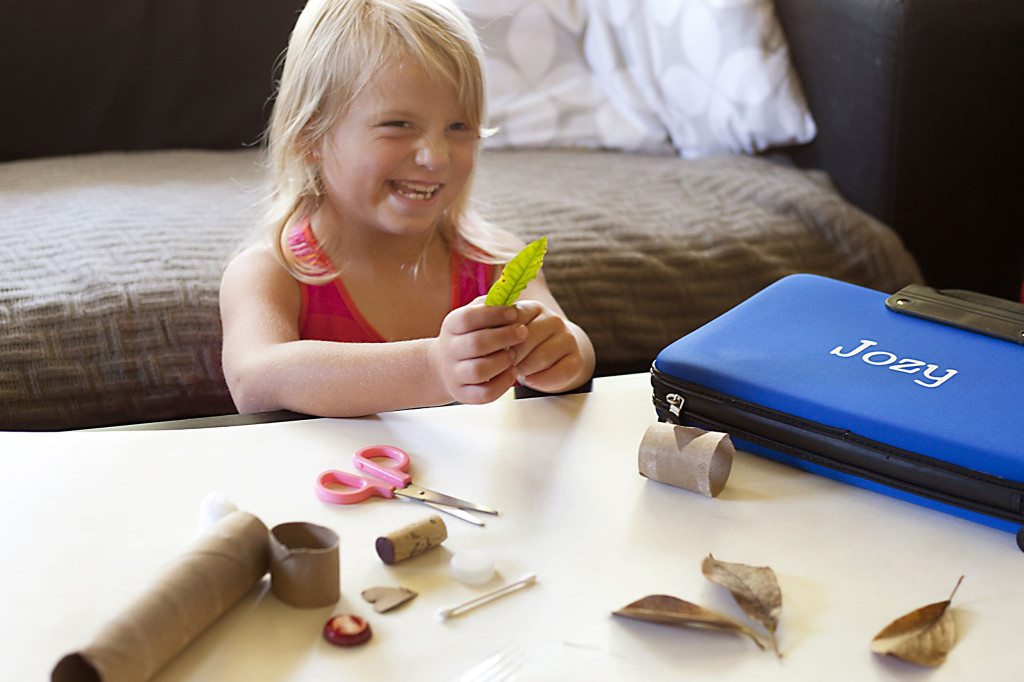
Send the kids on another hunt to gather items that could be used in place of paintbrushes. Explain that these items need to be used for brushing across the paper instead of stamping down on it. Ideas include cotton balls, cotton swabs, toothpicks, pine needles, sticks, grass and feathers, which should be washed if found outside.
Lay down a drop cloth on the table and let the kids have at it, experimenting with their new stamps and paint brushes using watercolors, oils or other types of paint from an art kit. Show the kids how to use the stamps and the brushes at first, since some can pull double duty. A plastic fork, for example, can be pressed into orange paint and stamped down on the paper to create a lion’s mane or dipped into blue paint and dragged across the paper to create ocean waves. Lay out markers and crayons as well as paints for them to finish their artwork. Once you’ve set the stage, you can leave them to finish their creations. Tell them you’re looking forward to them surprising you with their works of art.
Personalize Story Time
Read a storybook with the children, stopping every page or two to send them running in search of some specific “treasure” that matches the theme of the story. When the story shows a picture of or mentions, for example, an apple or a flower, ask the kids to run and find you an apple, flower, or something with a picture of an apple or flower on it. Just pick simple things you know you’ve got around the house. If you’re reading a storybook about Winnie the Pooh, ask the kids to bring you the honey from the kitchen when Pooh’s “Hunny” pot is pictured.
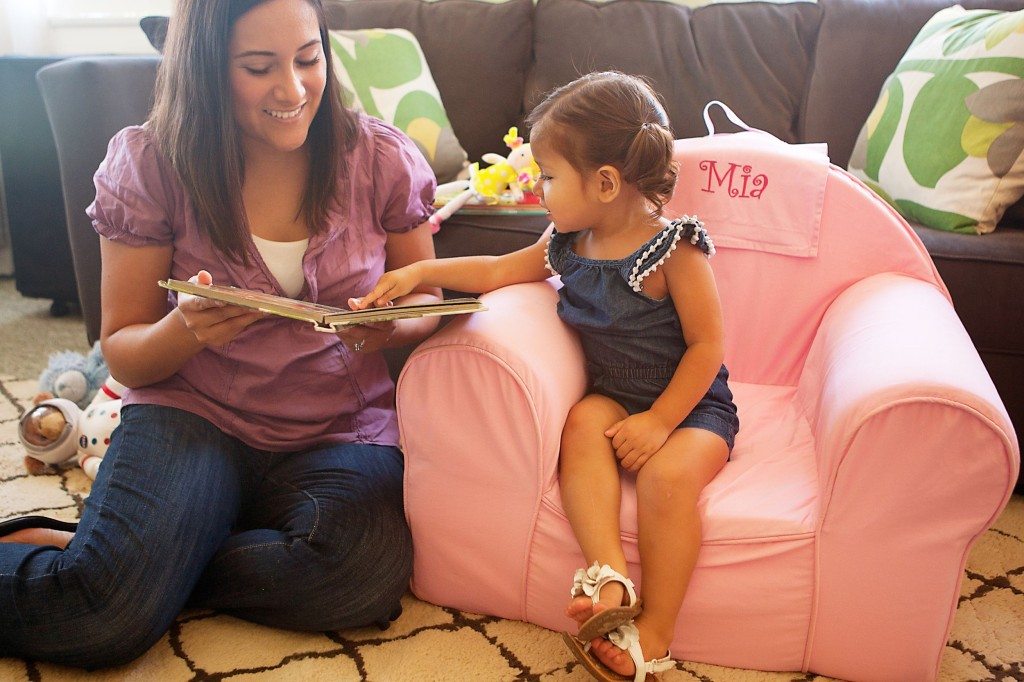
Don’t forget to include colors in your treasure hunt. While reading “Beauty and the Beast,” you could say, “Look at Belle’s pretty blue dress — can you find me something that’s blue?”
Turn story time into a conversation about your kid’s day at school. If a character in the book is happy, ask if anything made your daughter especially happy today. When Lightning McQueen is nervous before a big race in a “Cars” story book, ask your son about the last time he was nervous at school. Use the storyline to discuss events and experiences, whether silly or major milestones.
Sew It Up
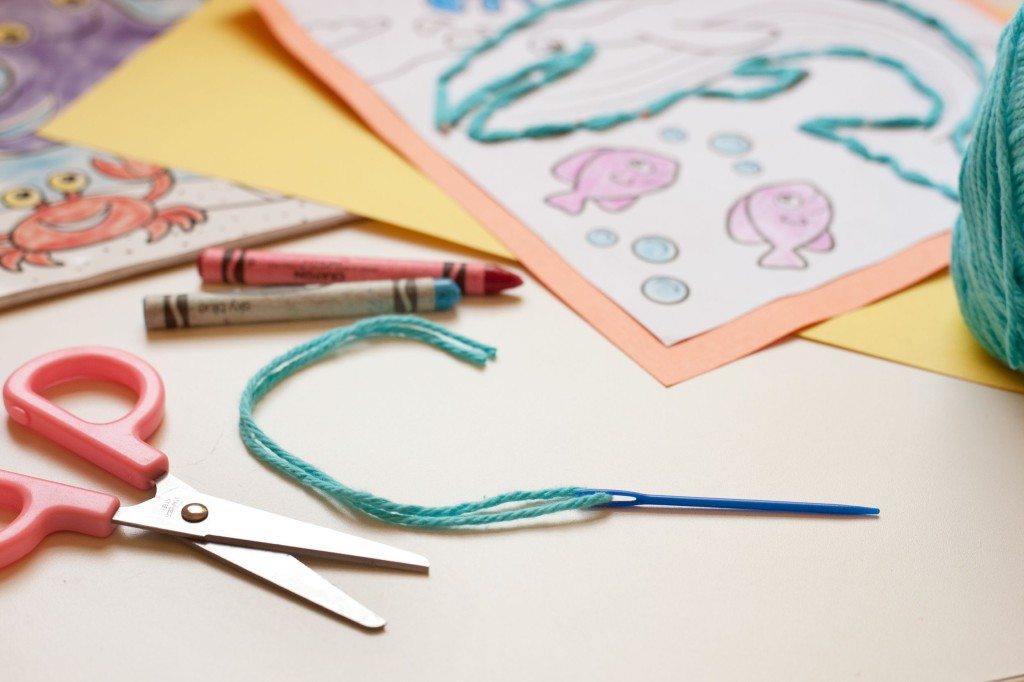
Create a new craft from a coloring book page by turning it into an easy introduction to sewing. Cut a page from a coloring book and glue it to a sheet of medium-weight cardstock or print a printable coloring page directly onto cardstock.
Take a sharp needle and poke holes through the card at regular intervals along the outlines of the picture. For younger children, make the holes 1 to 2 inches apart; for older children they can be closer together. Make the holes a little larger by poking a bamboo skewer through them. You don’t have to work along every line in the picture — just pick out a main character or motif.
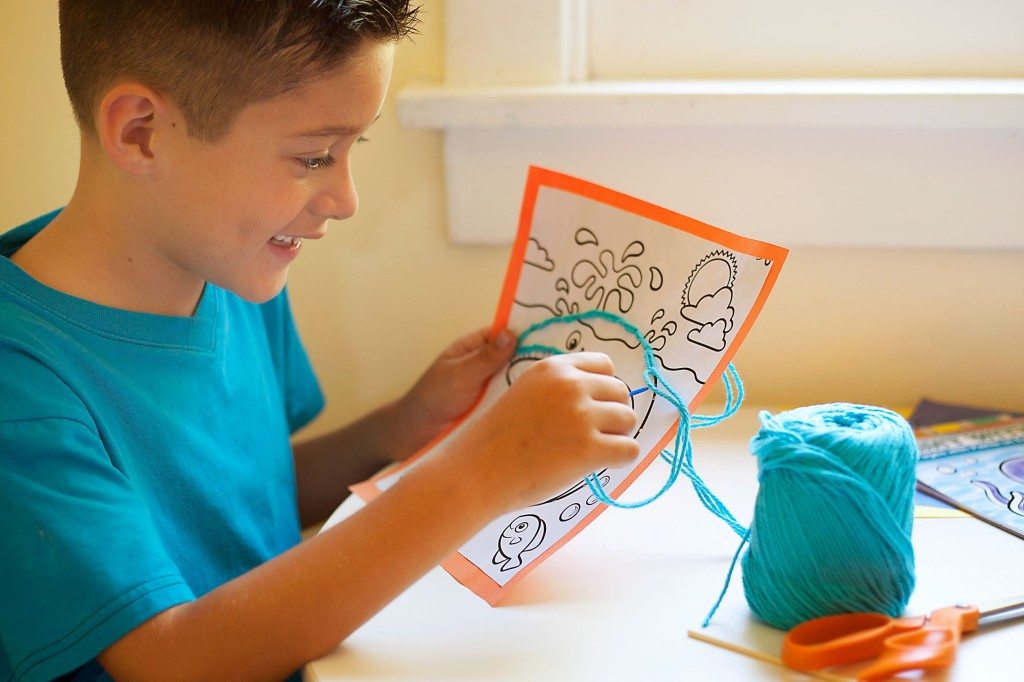
Write numbers next to the holes to show where to start, continue and end the stitching to create a colorful yarn outline around the image.
Give the kids lengths of different colored yarn and some plastic, large-eyed needles. Knot the ends of the yarn for younger children and ask older ones to tie a big knot in the ends before they start sewing. Show them how to thread the needles and sew up and down through the holes in the pictures, following the numbers in order. The kids can color the pages before or after sewing the outlines. Otherwise, these color-by-sewing pages are reusable — just unthread the yarn.
Hopscotch Obstacle Course
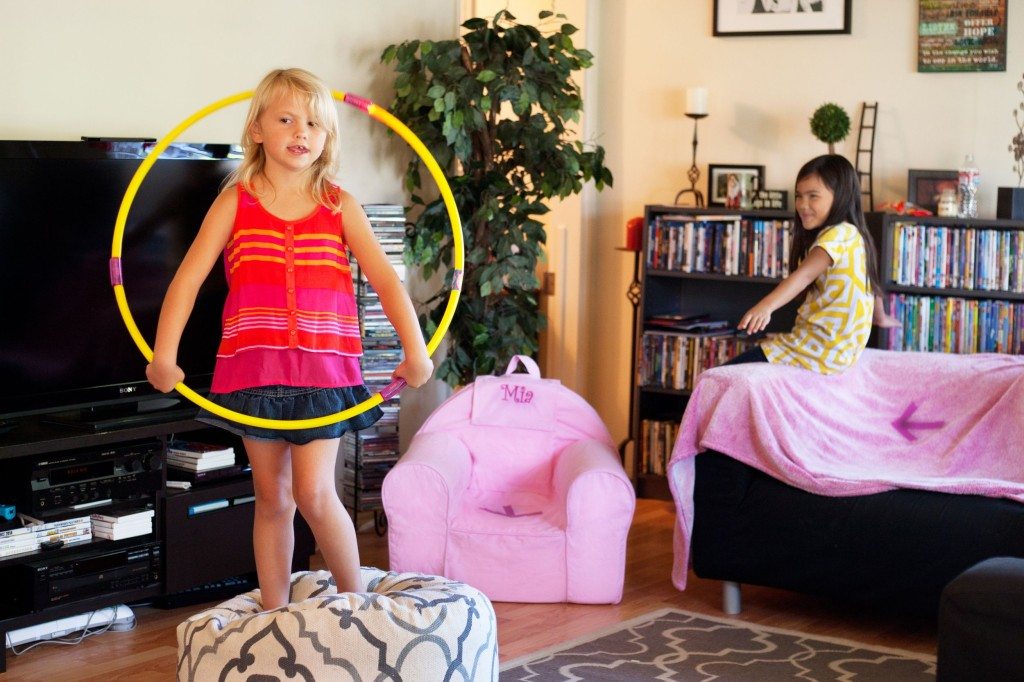
Create a fun obstacle course around your home and encourage the kids to burn off extra energy. Lay out items such as sofa cushions, chairs and hula hoops to hop, skip and jump across. Lay a sheet over a table to make a tunnel to crawl through. If you want to go a step further, stick strips of painter’s tape along the floor to create arrows marking the route through the obstacle course. Make a tape “X” on the floor to mark a place to do 10 jumping jacks or a somersault or put a jump rope on the ground to do five jumps.
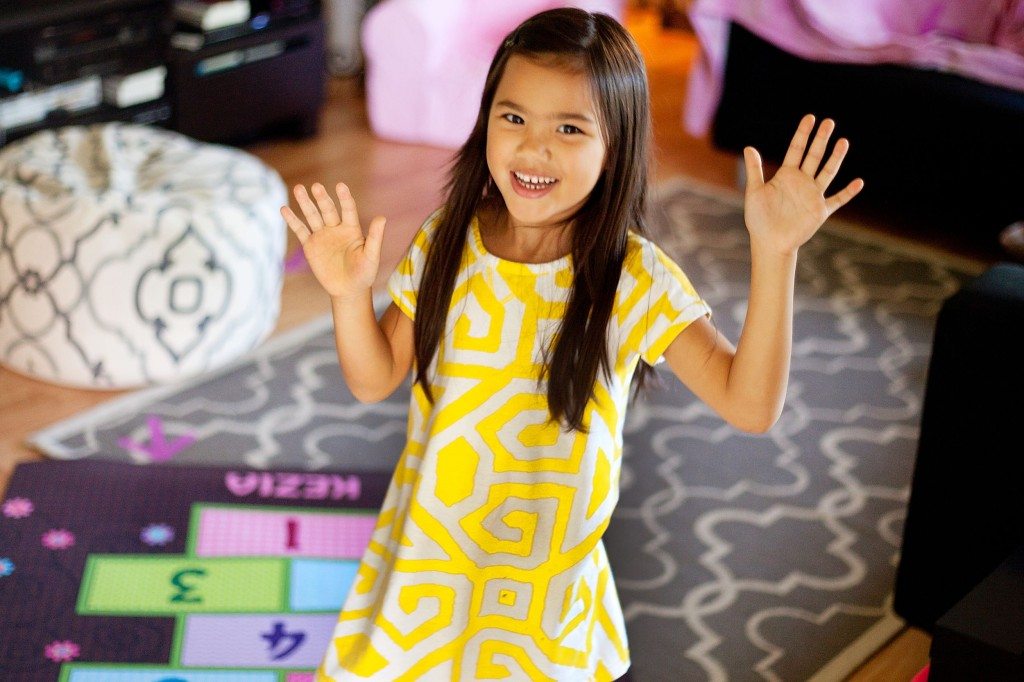
Include easy tasks at marked points along the route. The kids might have to stop and sing “Mary Had a Little Lamb,” or throw three beanbags into a bucket a few feet away. The spectators could shout improvised commands, like “stand on one leg for 10 seconds” or “close your eyes and spin around until I say stop.”
Place a hopscotch mat in front of an open doorway as the finishing line. Stick another strip or two of painter’s tape across the doorway for the kids to run through at the end of the course. Use a stopwatch and make the course a race, award points for every task completed correctly, or forget the competition and just keep things simple by letting the kids go wild.
Shake, Shake, Shake!
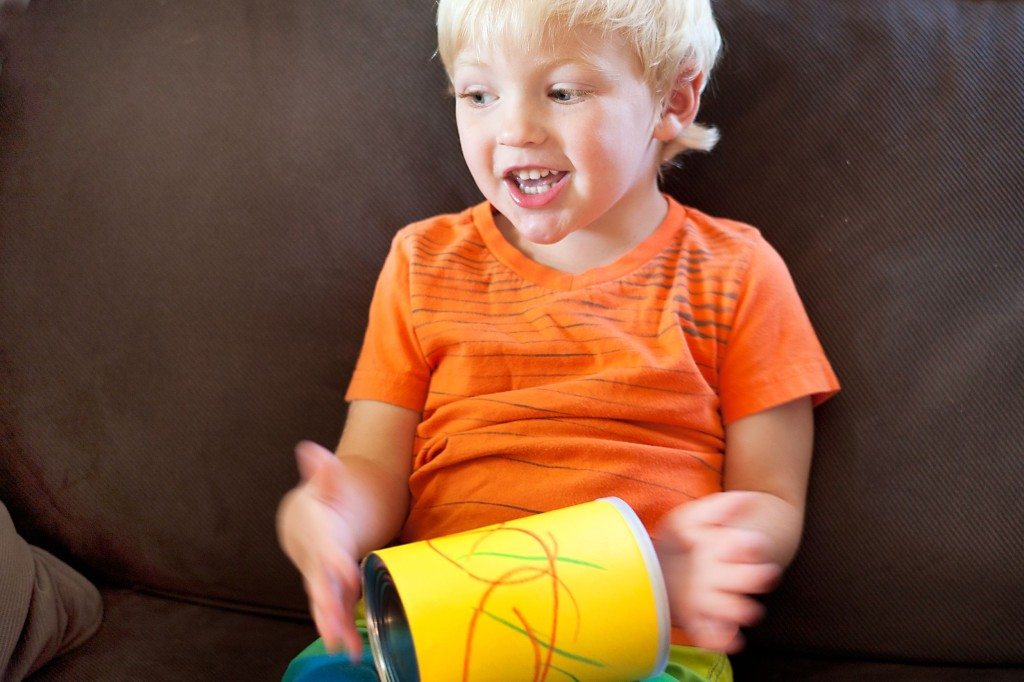
Rinse and dry an empty coffee can — the kind with a plastic lid. Fill the can with about a quarter-cup of dried beans, rice or lentils. Use multiple coffee cans and try different fillings to produce different sounds. The tin makes the sound noisy enough to satisfy rambunctious music makers, but not so loud as to give everyone else in the room a headache.
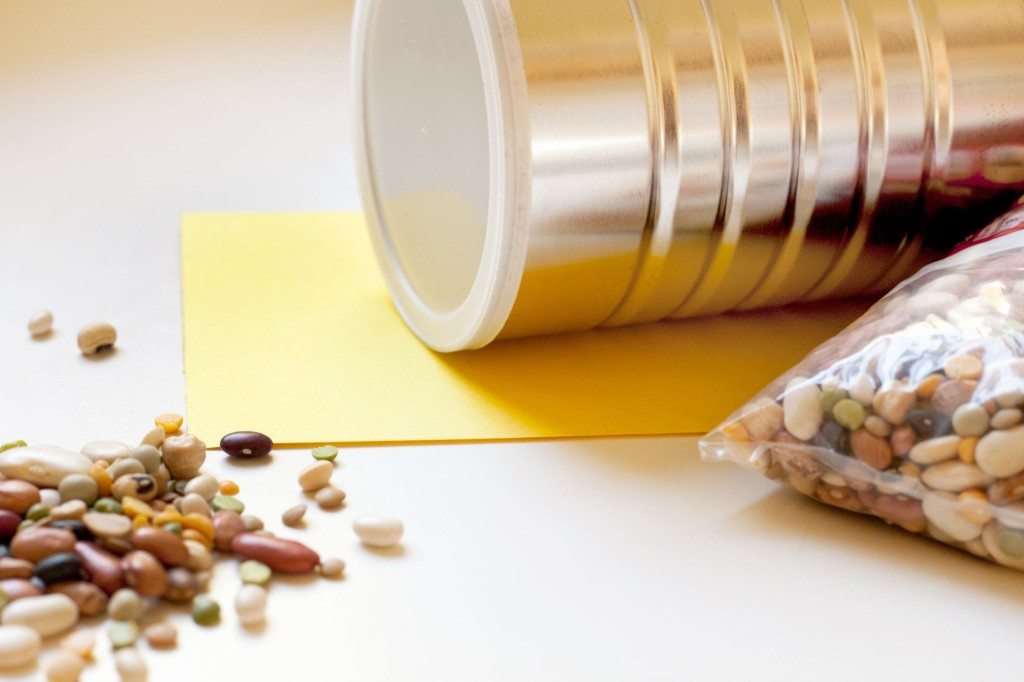
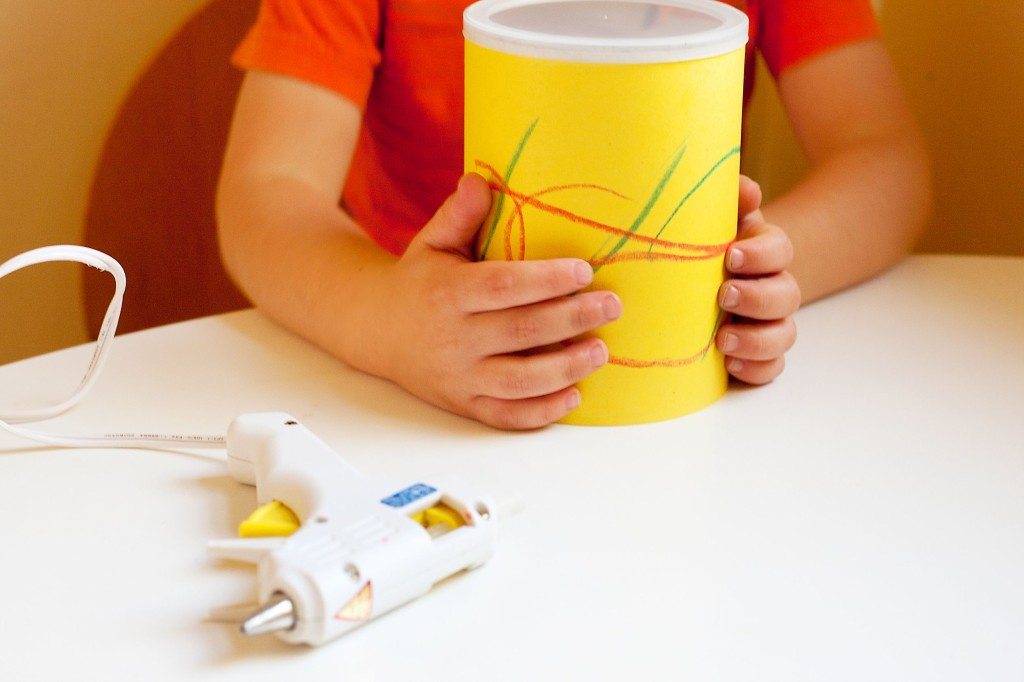
Squeeze a thin line of glue around the rim of the can, then replace the lid and wait for the glue to dry. Hot glue works best but must be used by an adult; children can use white glue themselves, which also is adequate.
Draw a rectangle the size of the can’s outer perimeter on a piece of construction paper. Have the kids draw or paint a design inside the rectangle, cut it out, then glue or tape it around the shaker. Or skip the glue and use contact paper instead. You just need to peel off the back and stick it directly to the can.
Share Your Ideas
How do you entertain your children when they get home from school? Share your favorite activities in the comments section below.
