


Related Articles
Homemade Face Paint Recipe and Color Chart
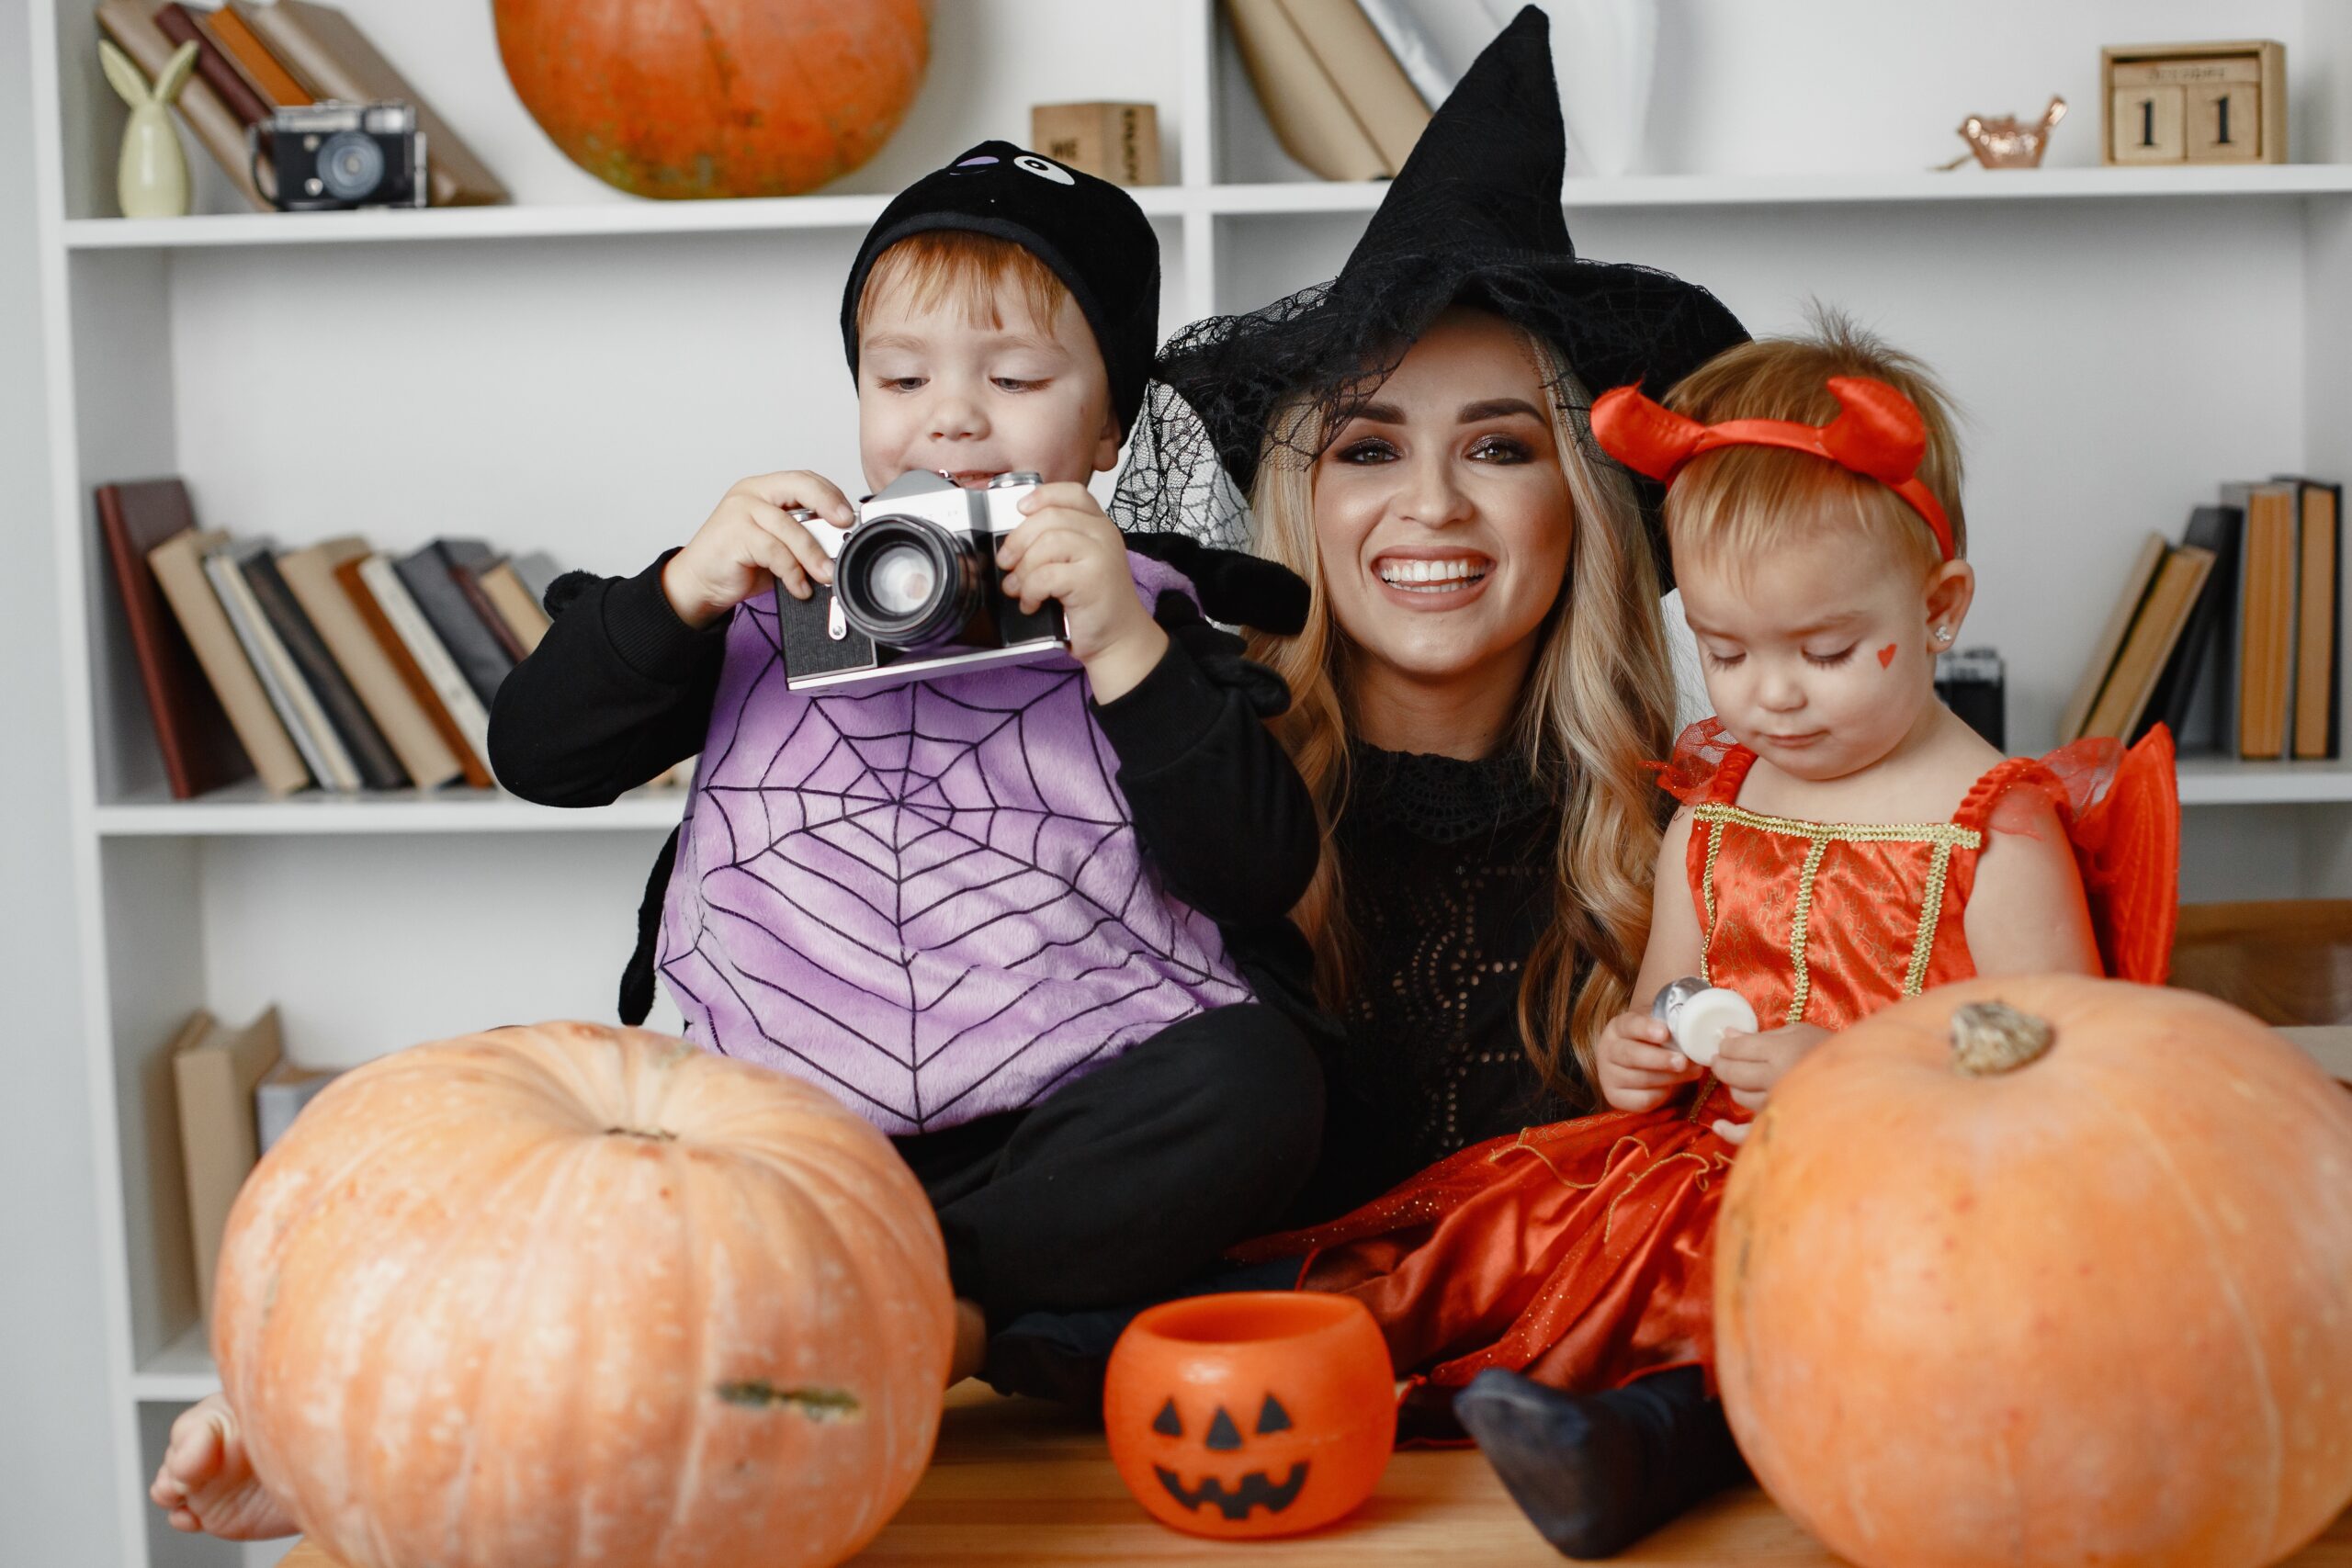
Get ready to elevate your Halloween experience and add a spooktacular twist to your costumes this year! Dive into the world of DIY face painting and transform into any Halloween character you desire. Forget about store-bought face paints laden with creepy chemicals—our homemade face paint is the potion you need for a toxin-free fright night. And the best part? It washes off effortlessly with just soap and water, making it a treat for both parents and kids, especially those with sensitive skin.
Once you’ve got your DIY face paint game on point, the Halloween fun really kicks into high gear! Paint your face to become your favorite creature of the night or whip up a dazzling superhero mask that’ll make everyone smile. With a rainbow of colors at your disposal, you’ll find the perfect shades to match your Halloween vision.
But that’s not all! Don’t forget to add a touch of spooky-ness to your Halloween fun with our personalized trick-or-treat bags. They’re the must-have accessory to make your spooky adventure even more delightful. So, this Halloween, let your creative juices flow, and let the trick-or-treating extravaganza begin!
Homemade Face Paint Recipe
To create a homemade, natural face paint, you’ll only need a few household ingredients. Begin by collecting all your materials, and place a rag down to prevent stains when mixing colors!
Ingredients
- 1 cup water
- 1 cup cornstarch
- 1 cup flour
- 1 cup lotion
- 1/4 teaspoon vegetable oil
- Food coloring
- Spoon
- Bowl
- Container
Directions
- Add water, cornstarch, flour and lotion to a bowl.
- Mix together ingredients and make sure the paint consistency is to your liking. If you want to thicken, add more cornstarch. To thin out the mixture, add water.
- Add food coloring.
- Store in an airtight container.
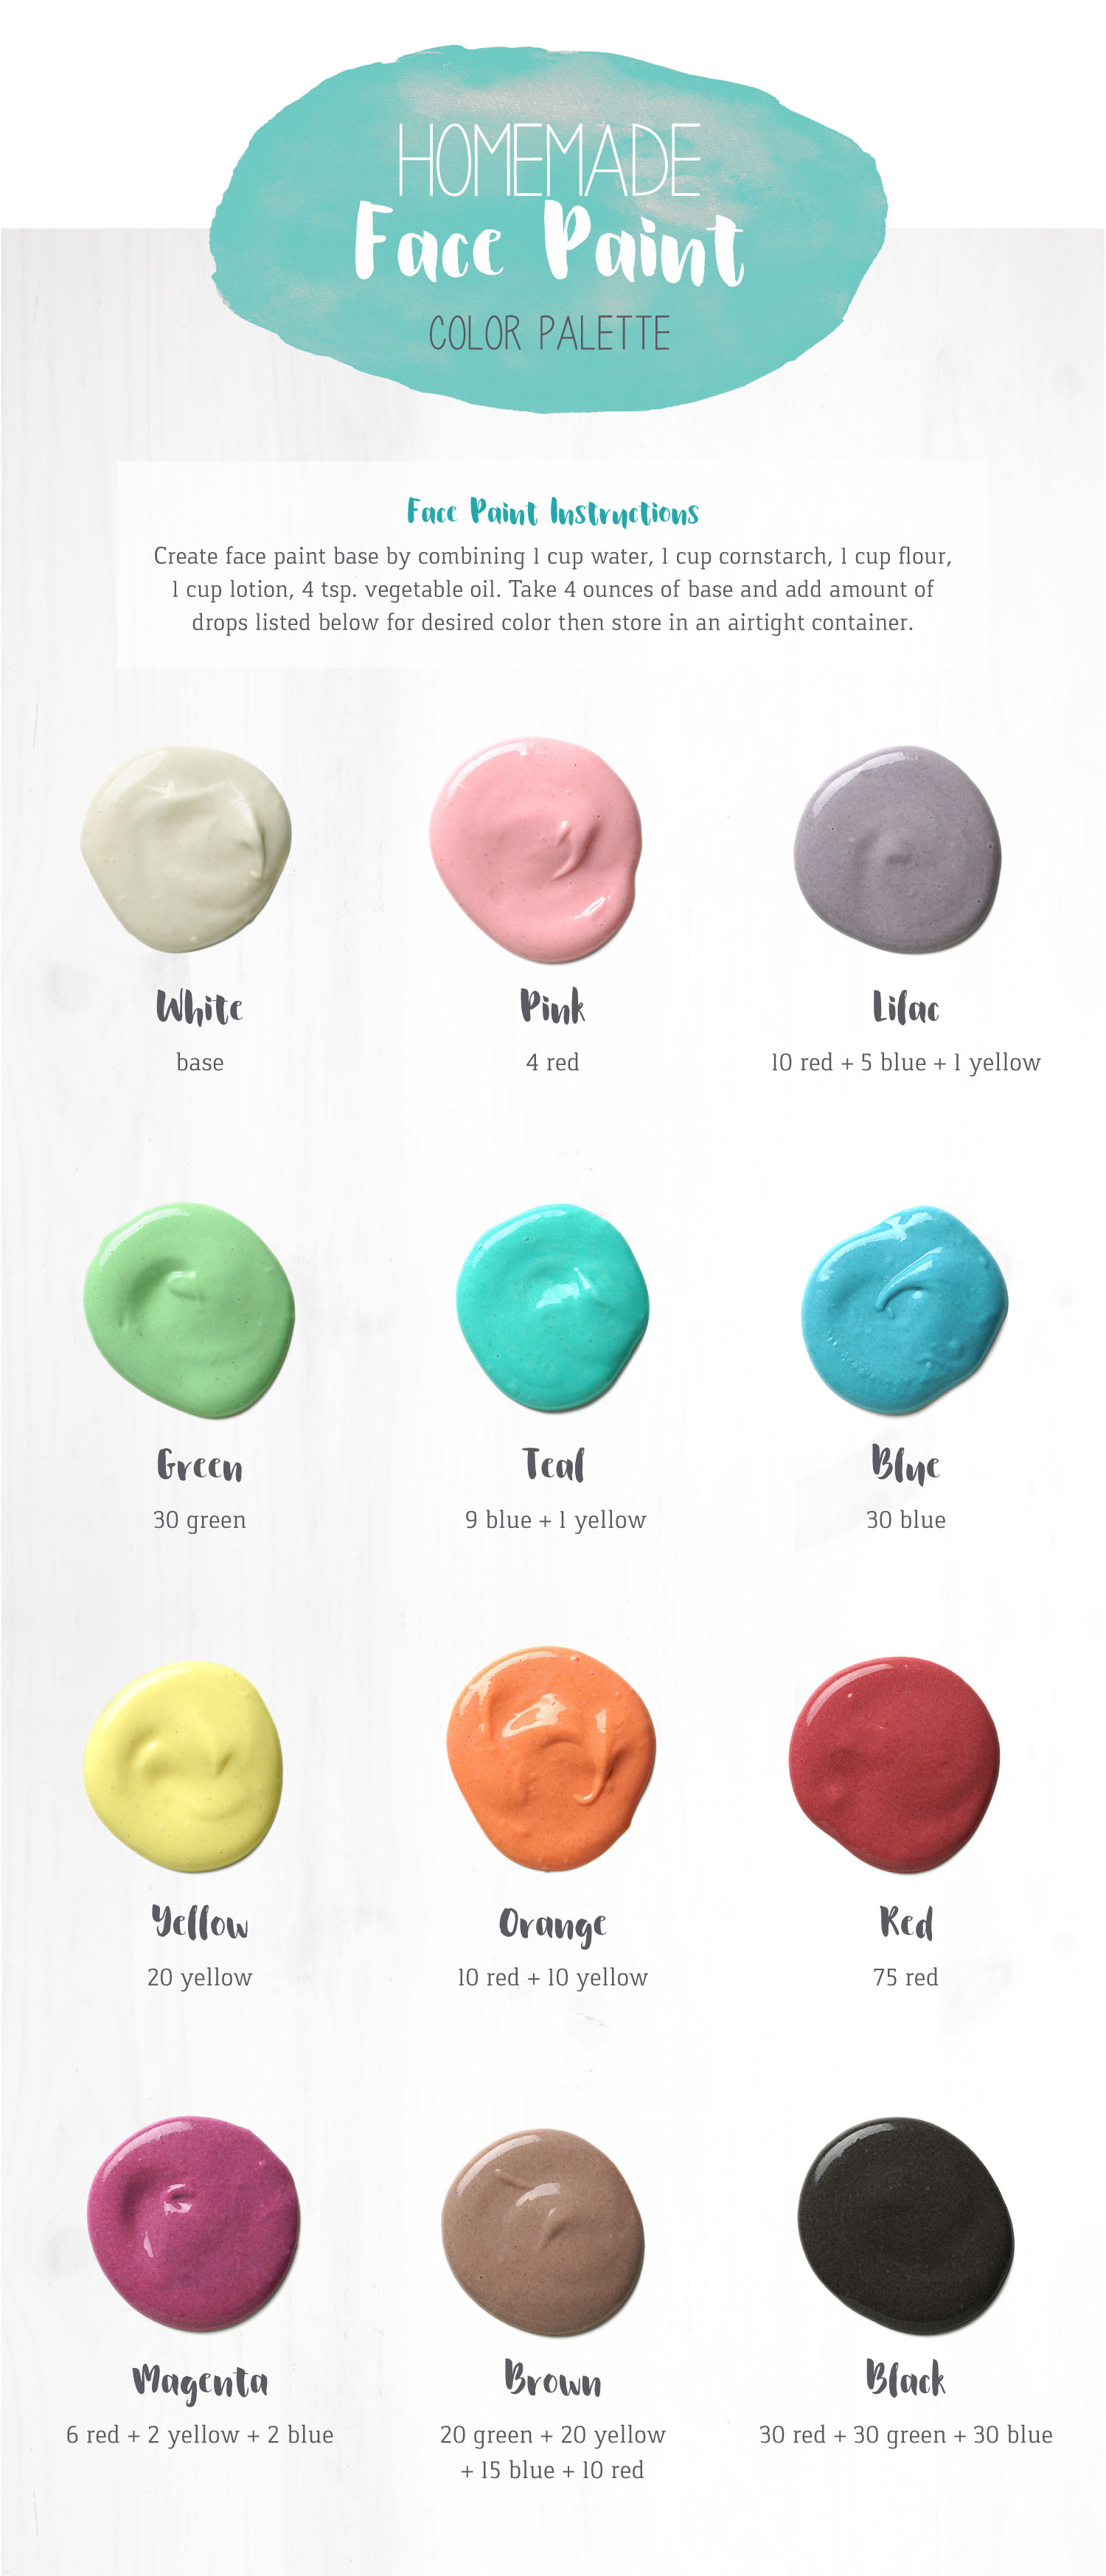
Homemade Face Paint Coloring Guide
No matter the costume you plan to wear, the color options are endless for homemade face paints. Try a few drops of yellow for the ultimate bee costume, or a mix of yellow and red drops for a tiger design.
Face Painting Designs
Once you’ve made your paint, it’s time to get started! Use a generous amount of paint or paint on a couple of layers to get an extra vibrant color. Here are a few design tutorials to inspire you!
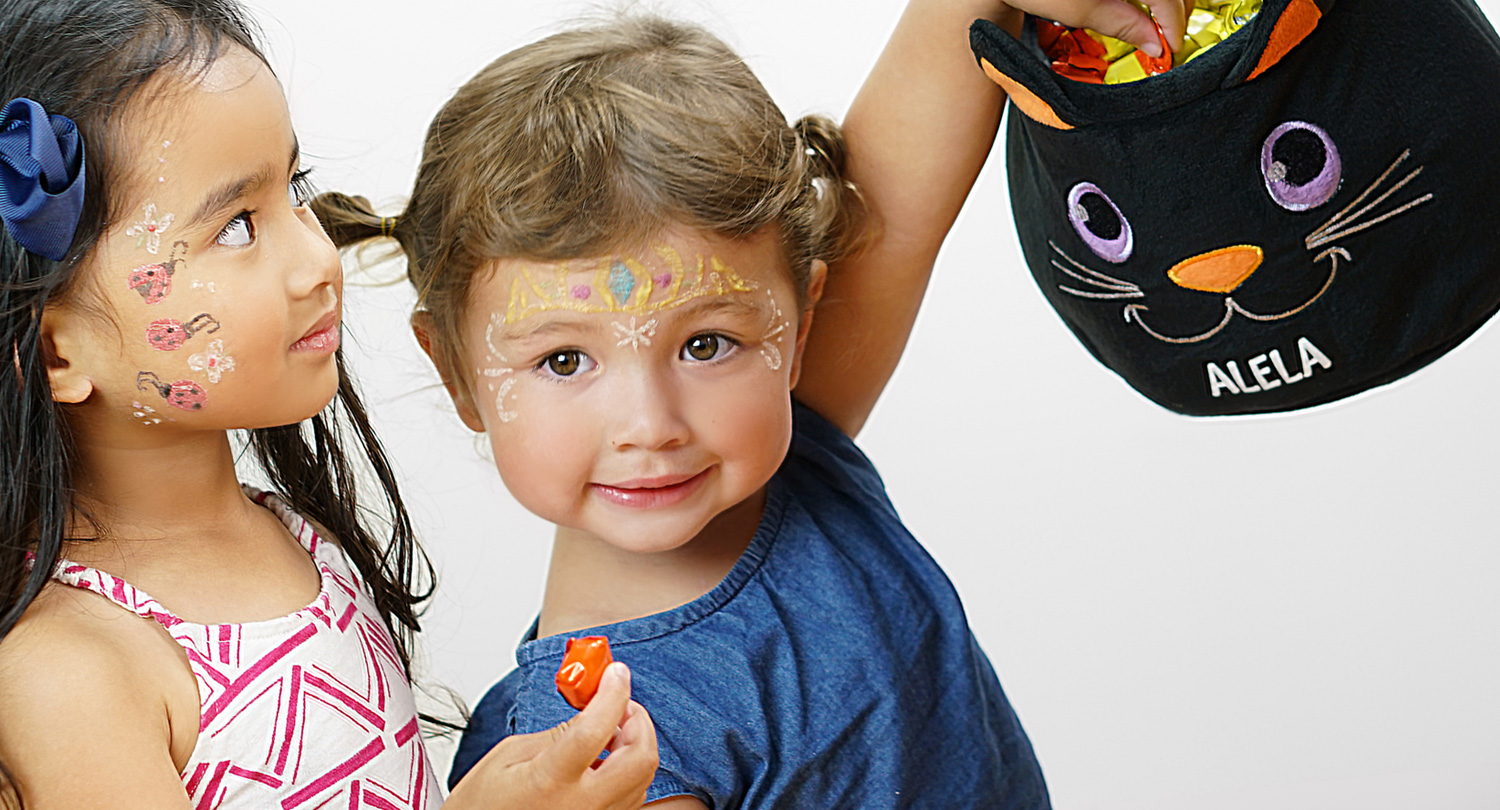
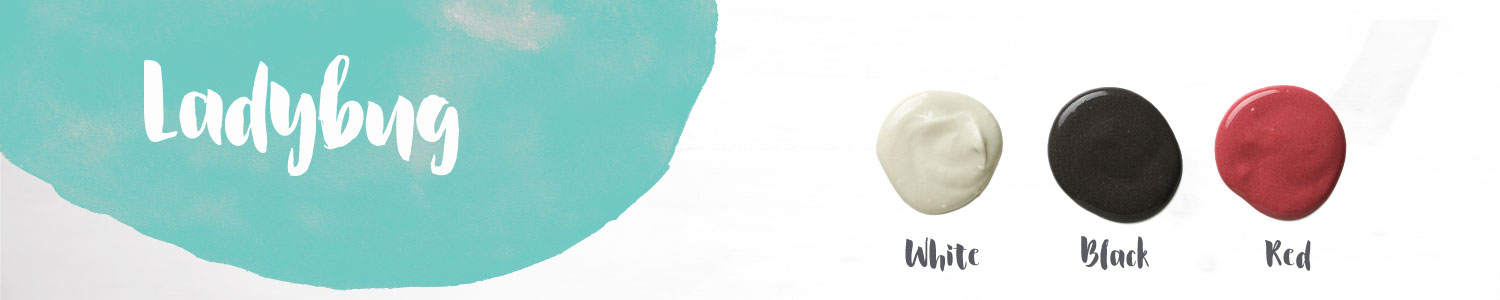 A ladybug is a fun face paint design that can be drawn on the side of your child’s face, and can be used for dress up or with her favorite costume. Ladybugs are considered good luck, so your little one will love the design and you’ll be thrilled with how easy it is to recreate.
 Step 1: Create the ladybug body. This can be done by creating red circles. If you’d like to add a black layer under the wings, leave a section of the circle unpainted like the first ladybug body above.
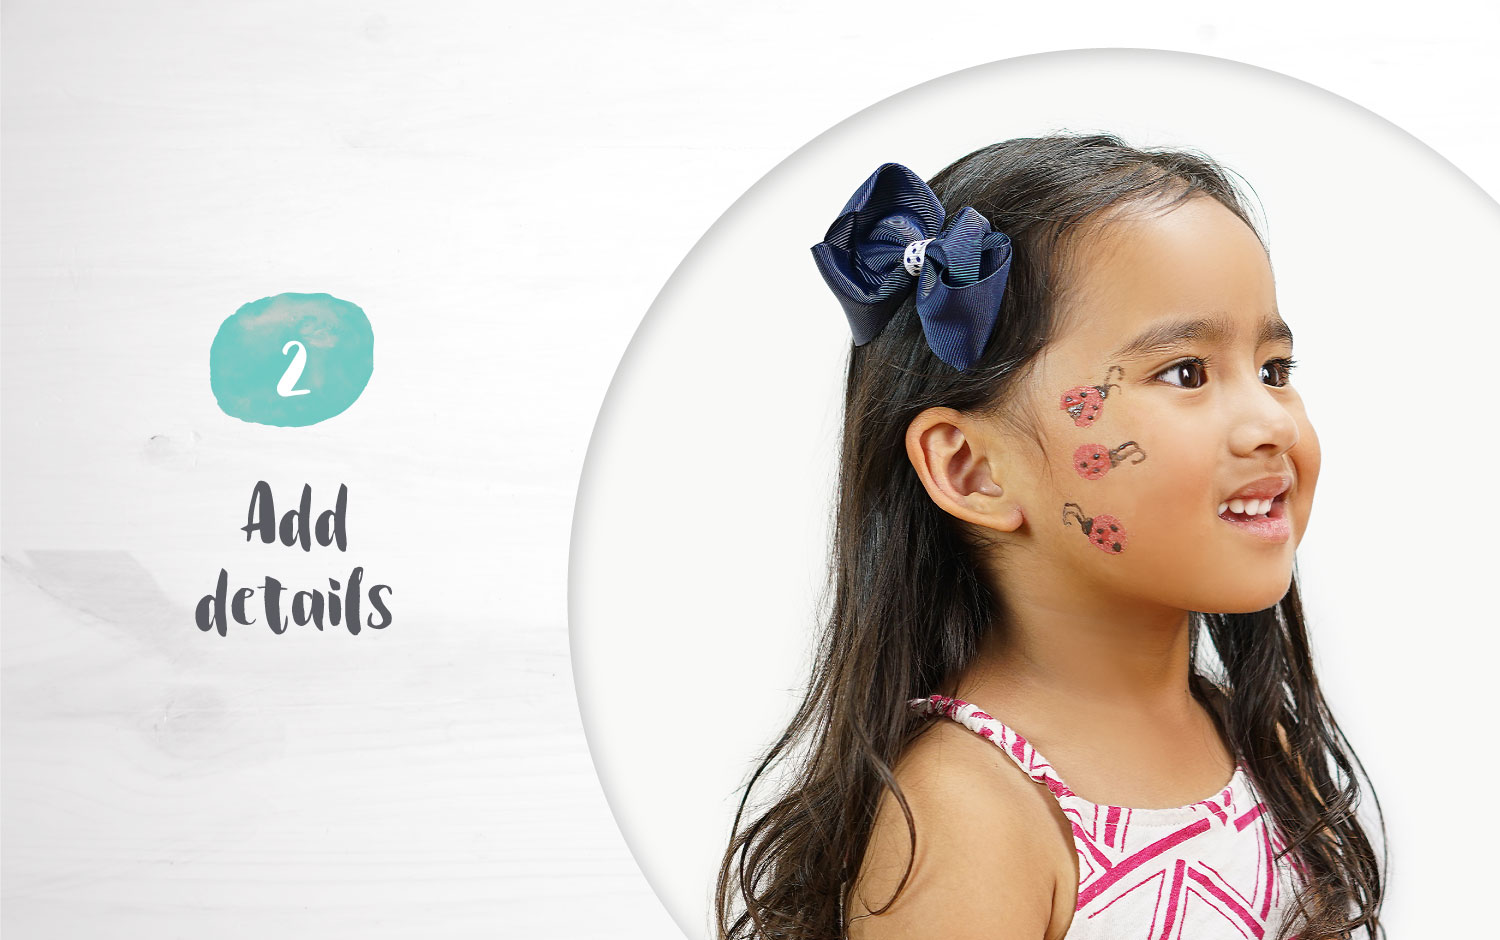 Step 2: Add details. With black face paint and a small paintbrush, add spots to the ladybugs’ bodies, along with the eyes and feelers. If you’d like to add more details, feel free to add sparkles or small designs as desired.
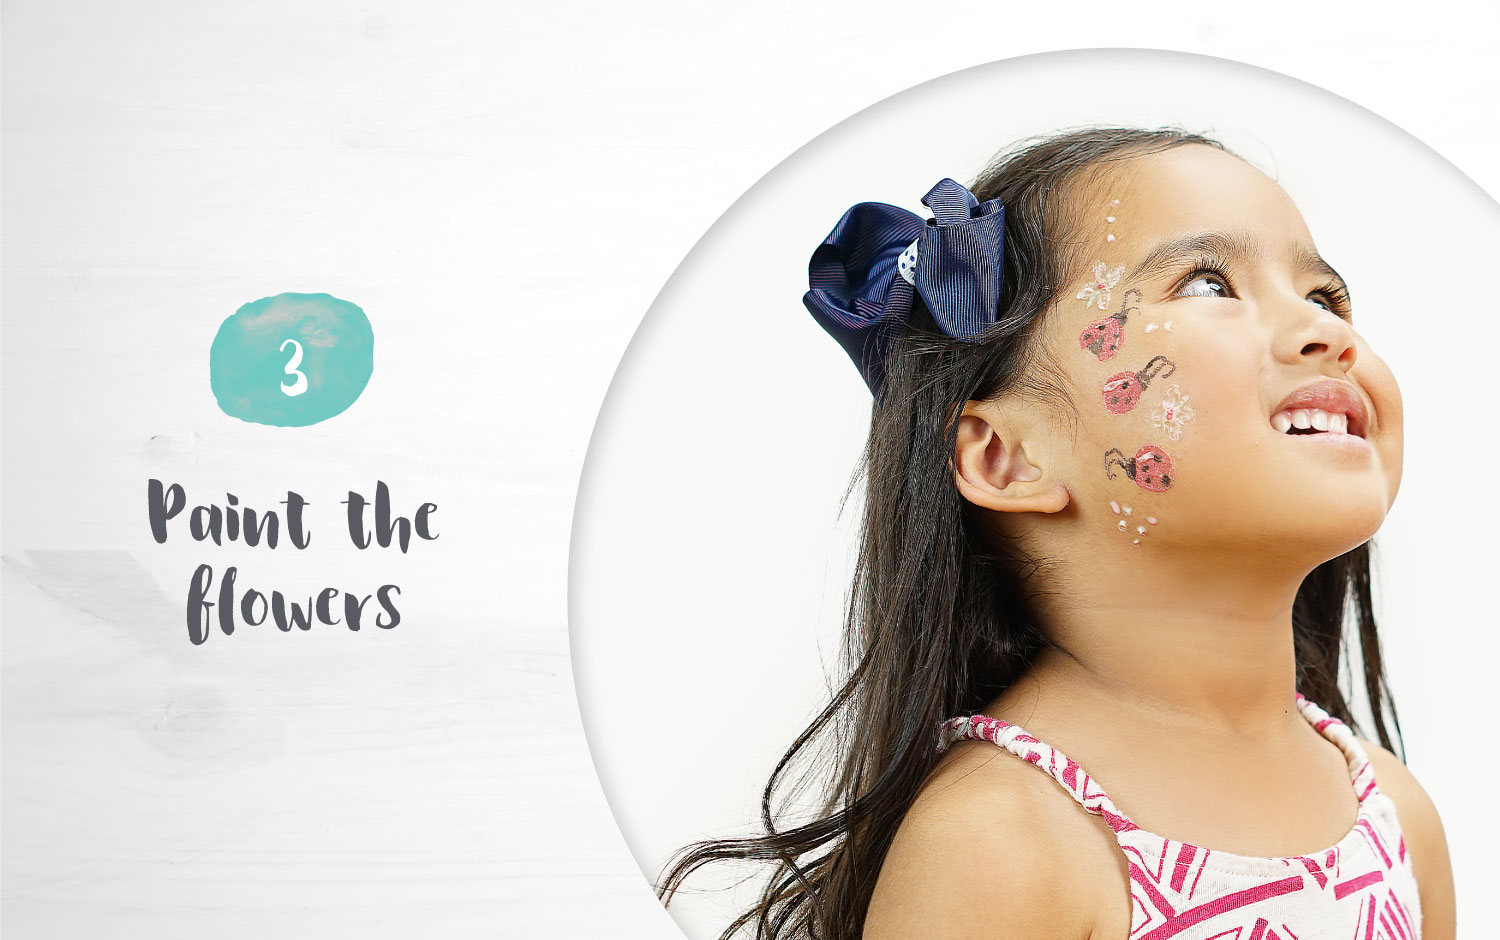 Step 3: Paint the flowers. For a flower design, use a small paintbrush and take the white face paint (or the base without any food dye) to create small petals. Add light pink face paint to the insides of the petals once dry.
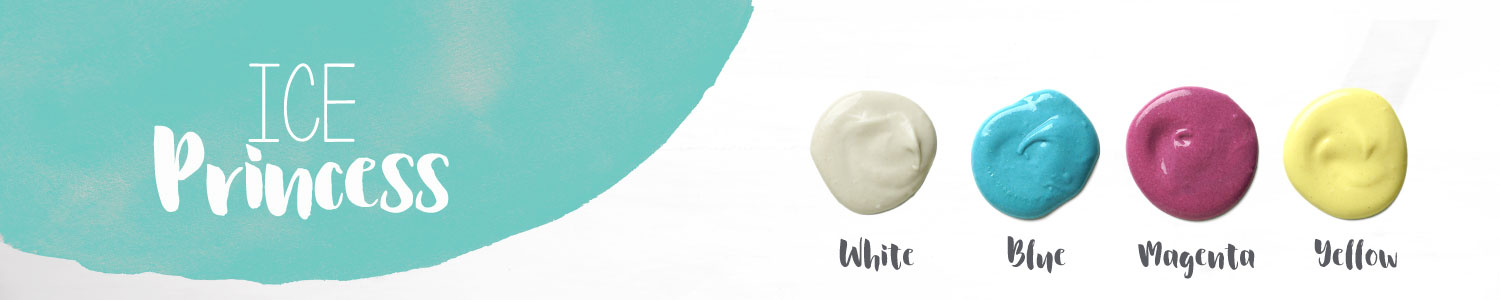 While a regular princess is fun, an ice princess adds that extra pizzazz. With a simple, elegant crown on their forehead, you can still see her face, and grab a few snapshots of her in her favorite princess dress. Bonus points: keep her hair up and away from the paint to keep the paint from getting rubbed off.
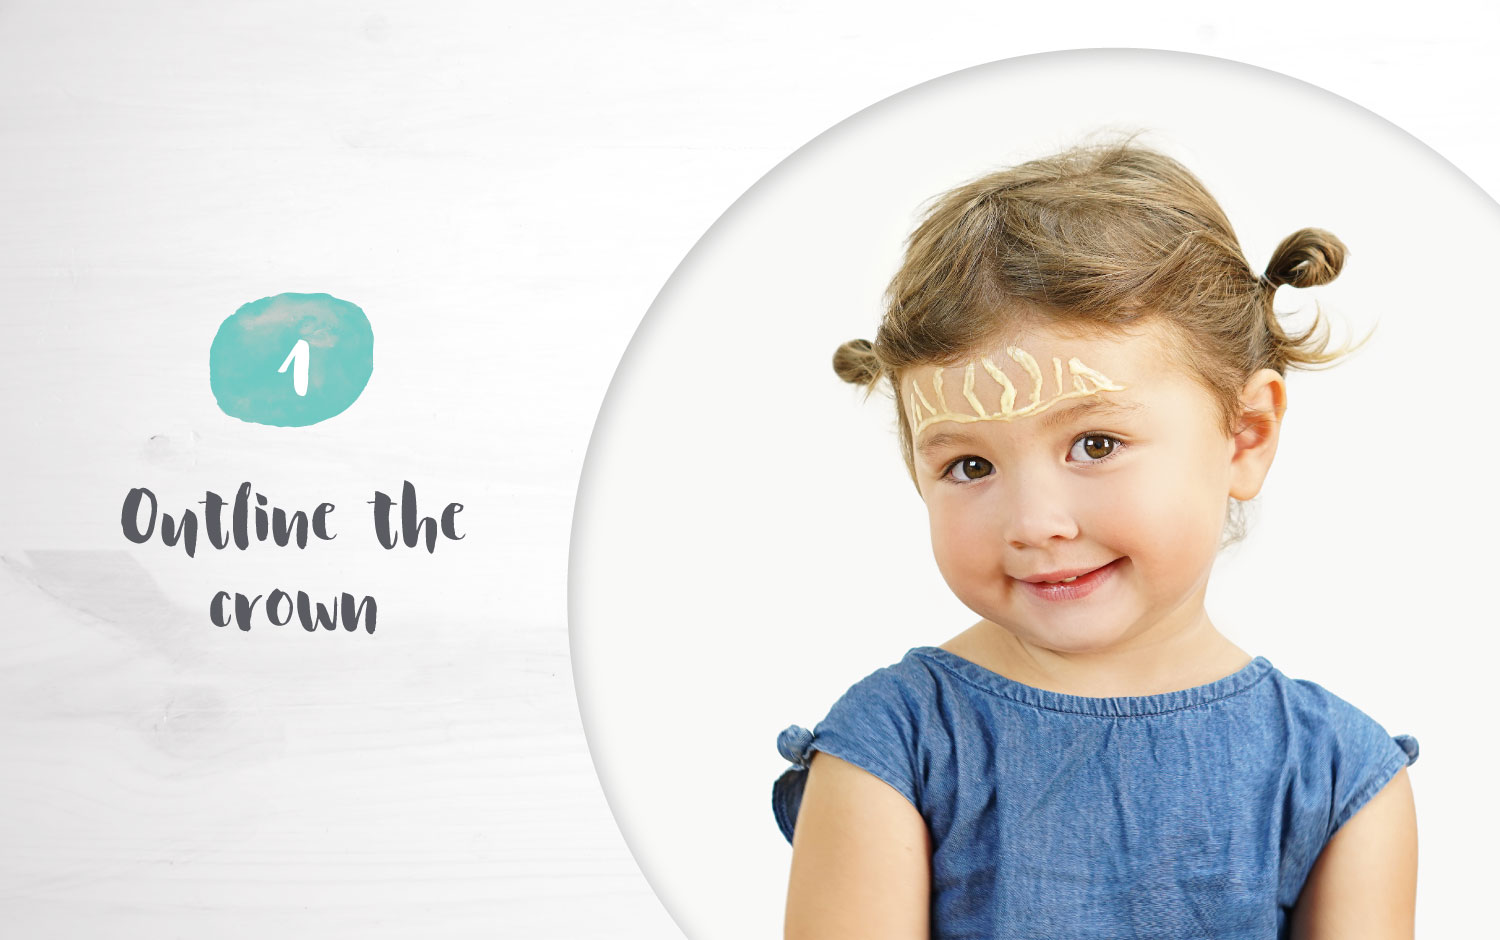 Step 1: Outline the crown. With a small to medium sized paintbrush and deep yellow face paint, create the princess crown base. Make sure to leave empty spaces for gems. Once dried, add glitter for extra glam.
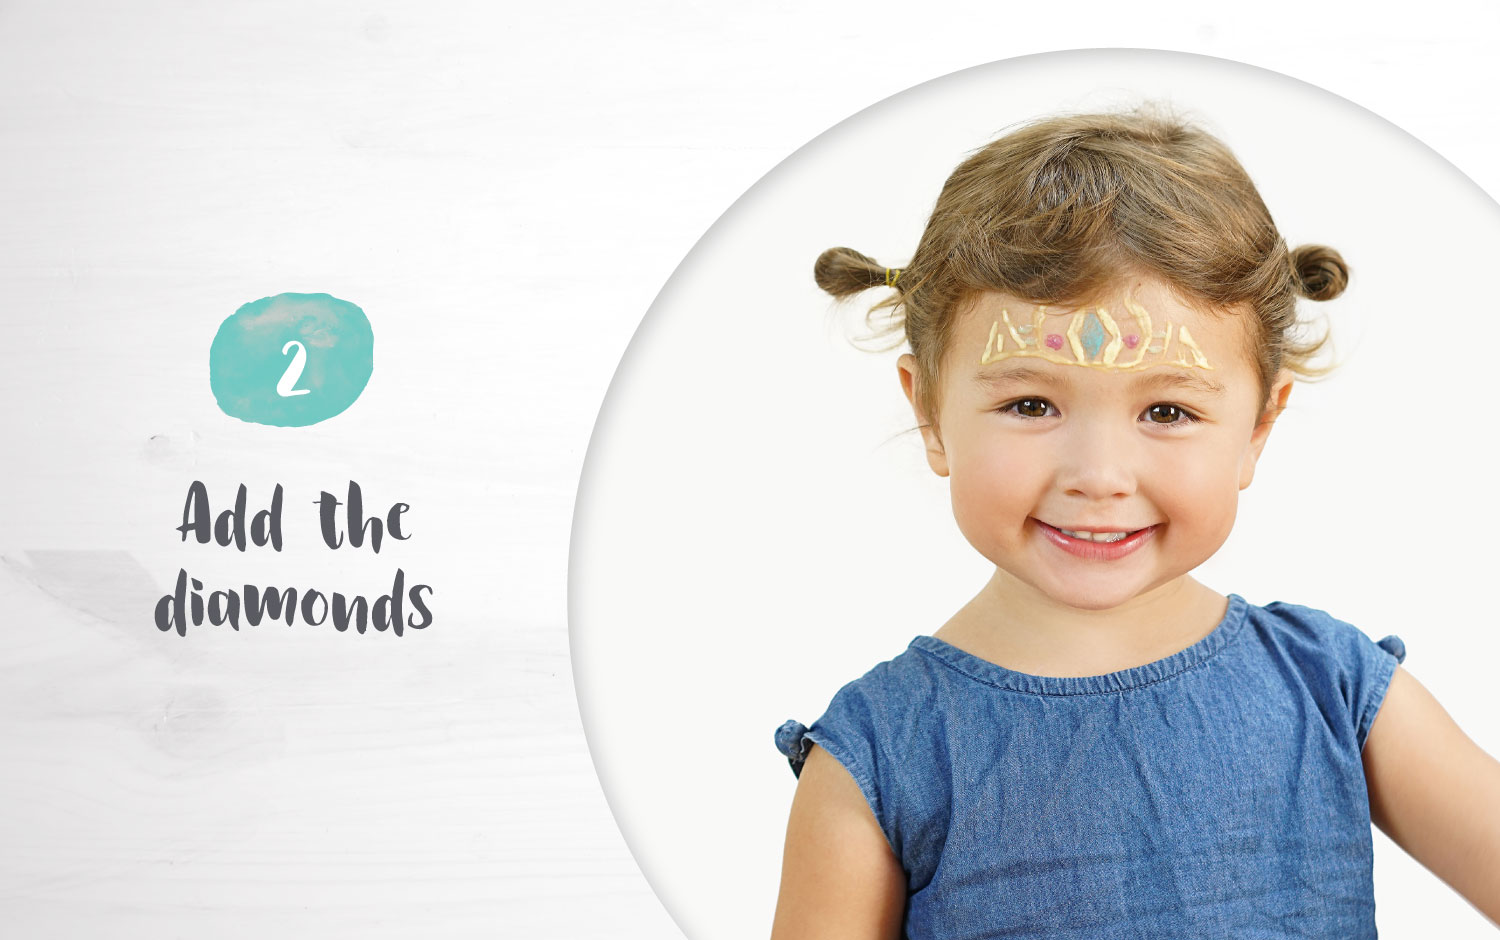 Step 2: Add the diamonds. Using teal face paint, create the diamond shape in the crown. Once dried, add a white sparkle to make it shine!
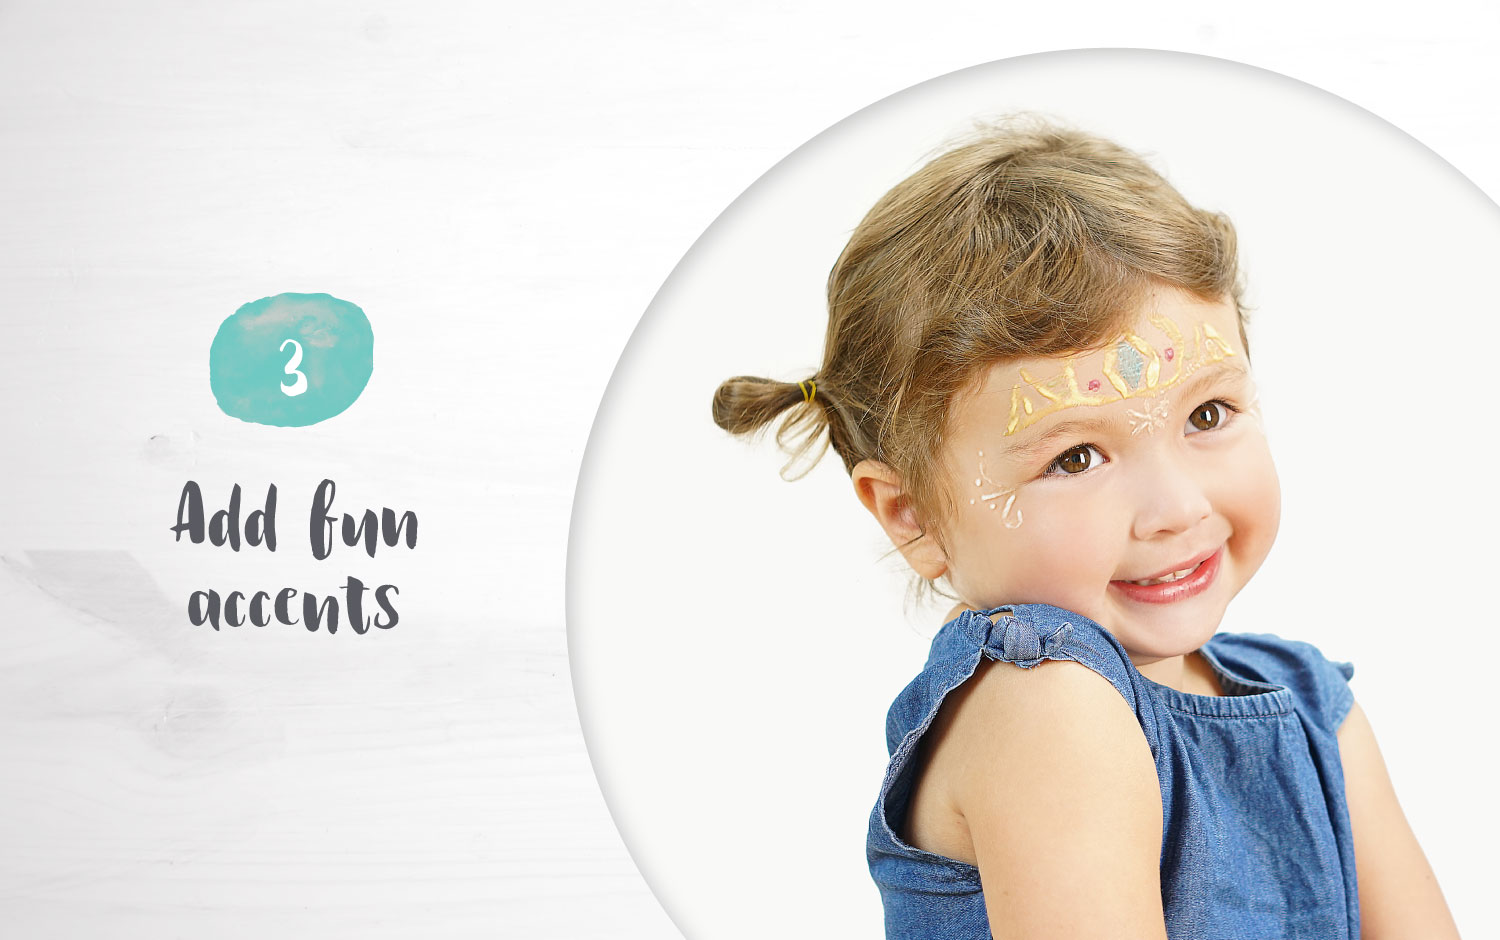 Step 3: Add fun accents. Using the white face paint, create designs on the sides of her eyes, and forehead. Try stars, or a snowflake for a snow princess look.
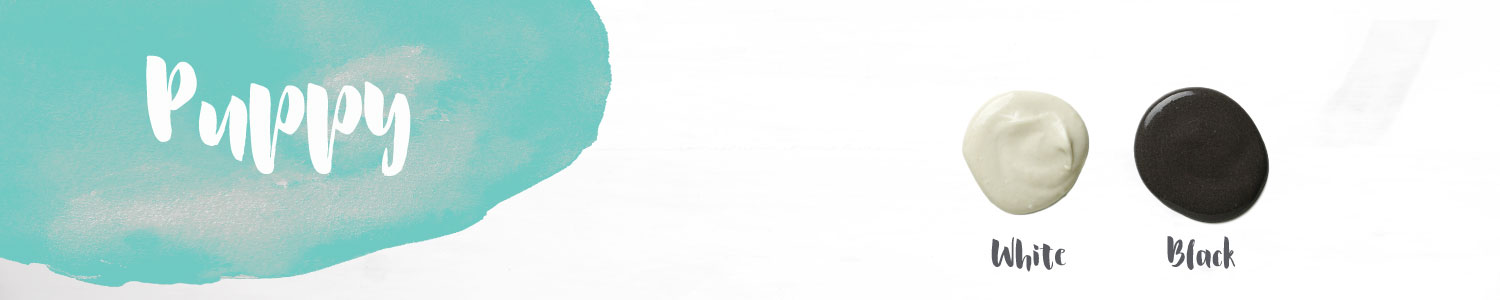 Another classic face paint idea is a puppy. With just two colors, it’s an easy go-to, with many ways to customize. You can DIY this costume, with black or brown clothing and dog ears to top off the look. Find out how simple it is to add the muzzle and other additional features below.
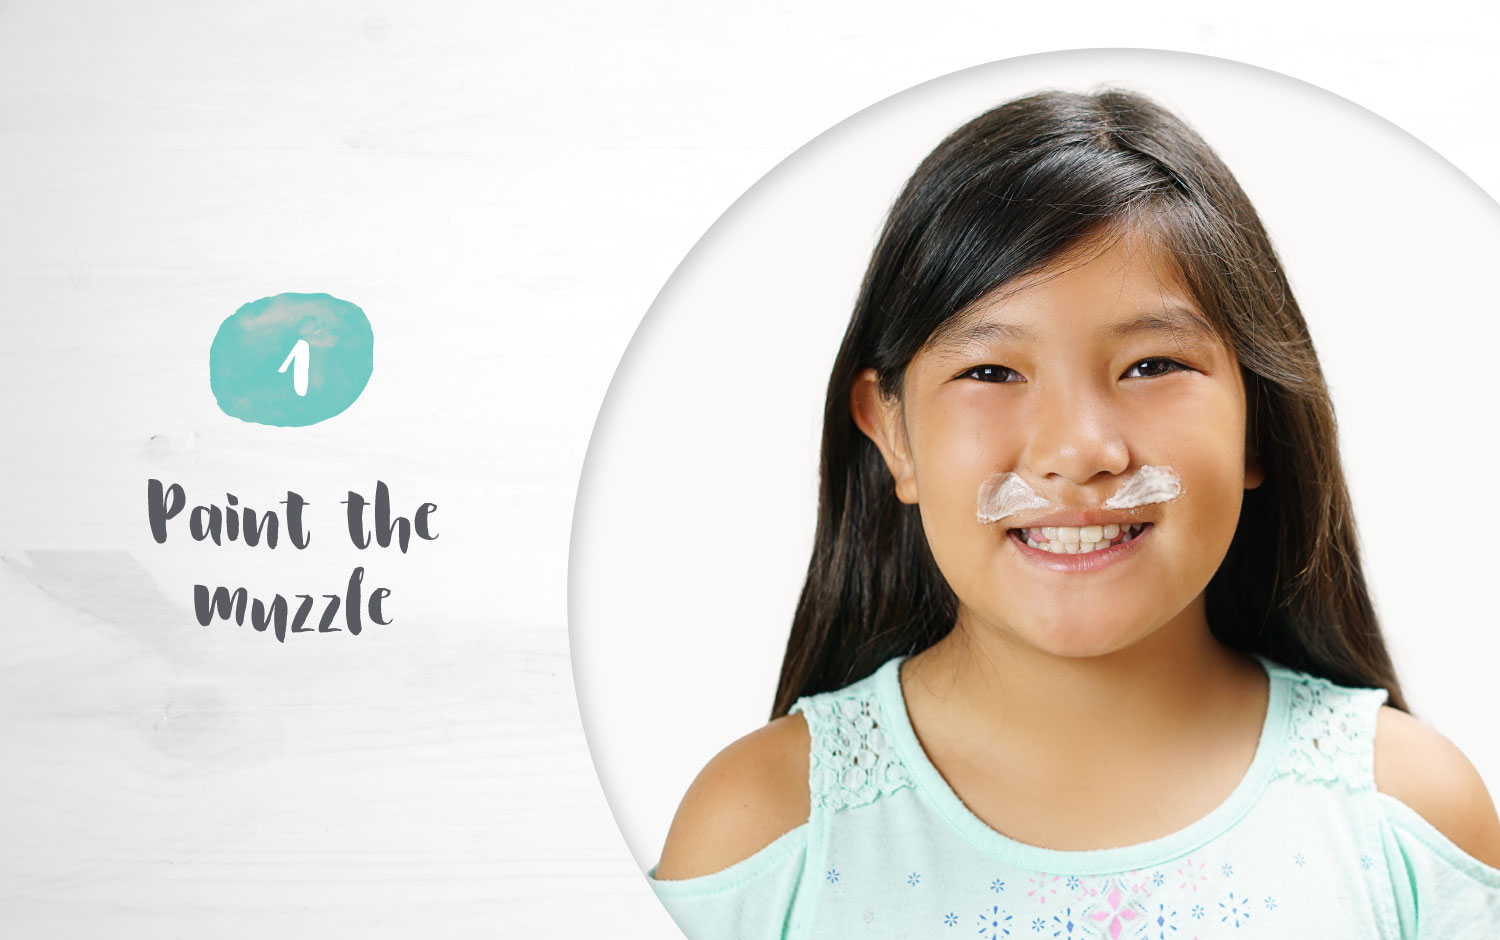 Step 1: Paint the muzzle. Using white face paint (the base without food dye), paint on the muzzle. It will look similar to a bow tie.
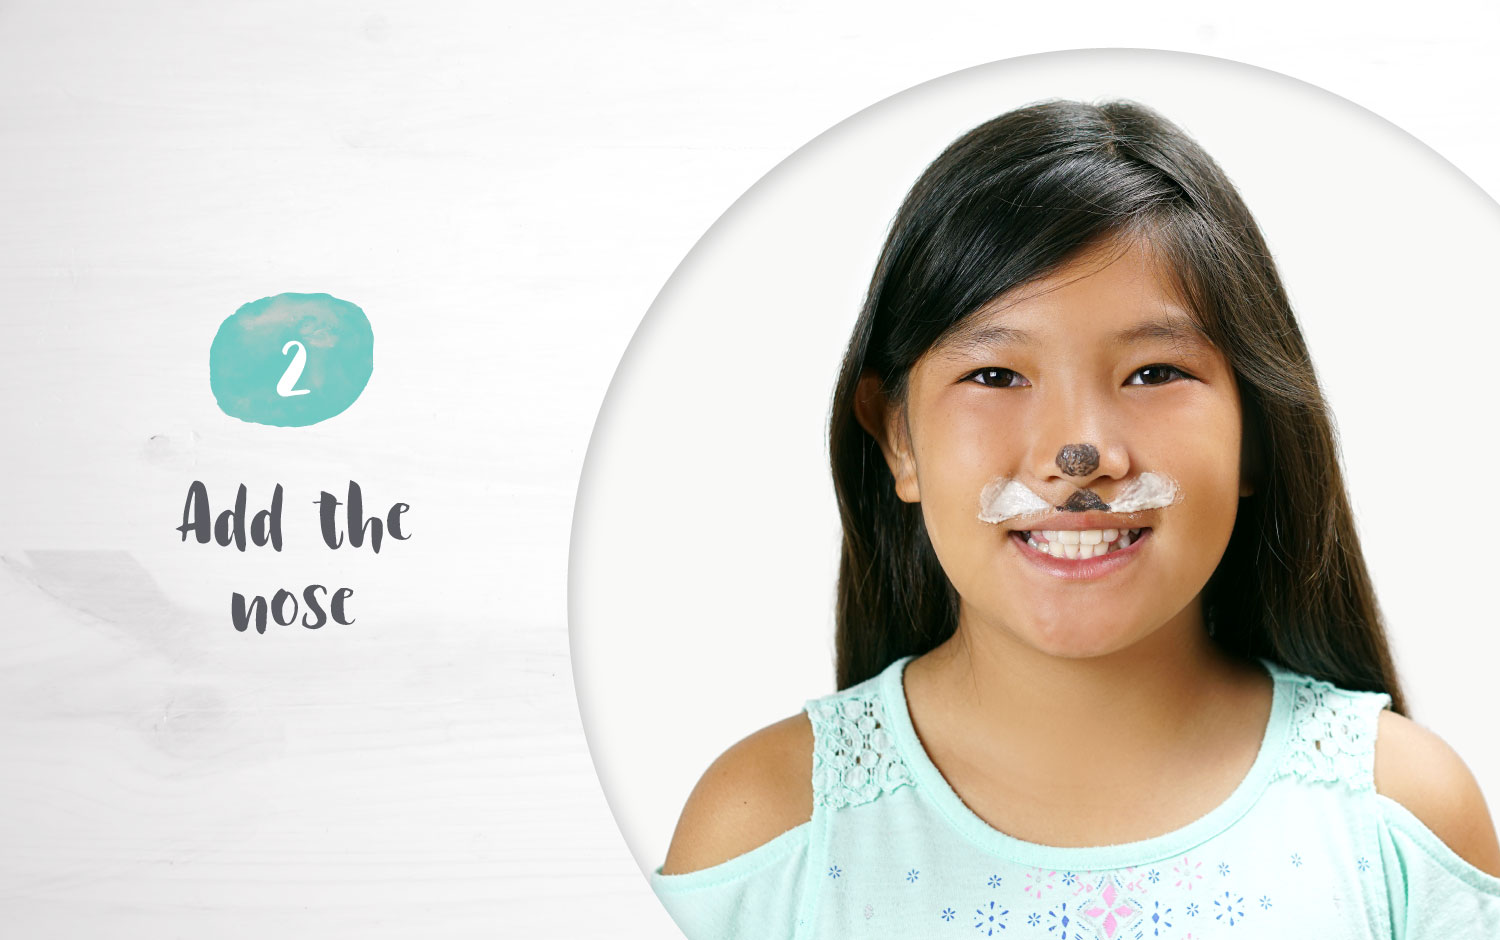 Step 2: Add the nose. Using black face paint, paint the tip of the nose and above the lip. This gives the illusion of a dog snout. Add a black dot for the nose.
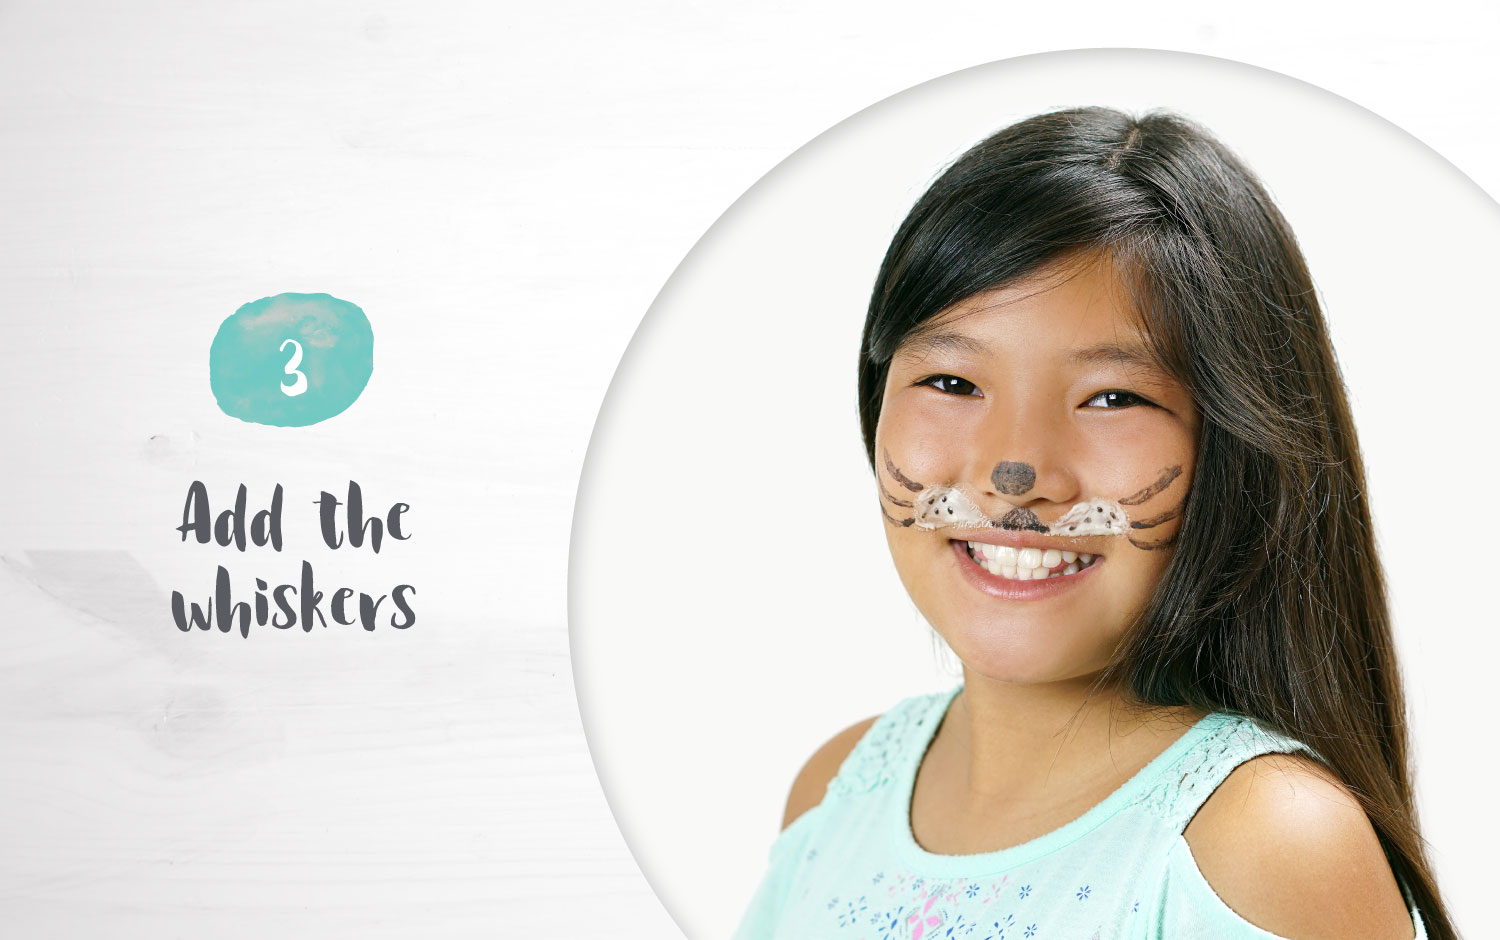 Step 3: Add the whiskers. Using black face paint, create whiskers outside the mouth, and repeat with white face paint.
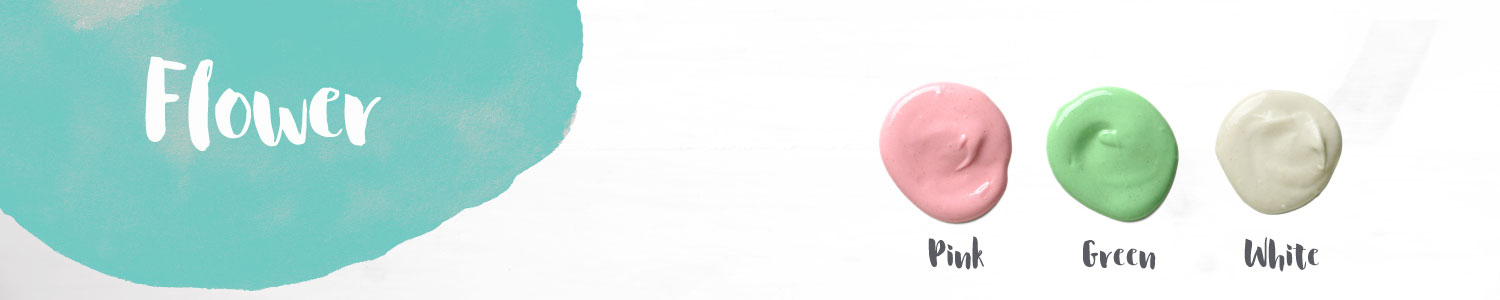 For a fun sleepover night or birthday party, try painting flowers for the kids. They’ll be thrilled to see a beautiful intricate design that you can vary based on the child’s preferences. This is a design for the side of their face, and uses pink, green and white face paint, but the colors can be interchangeable.
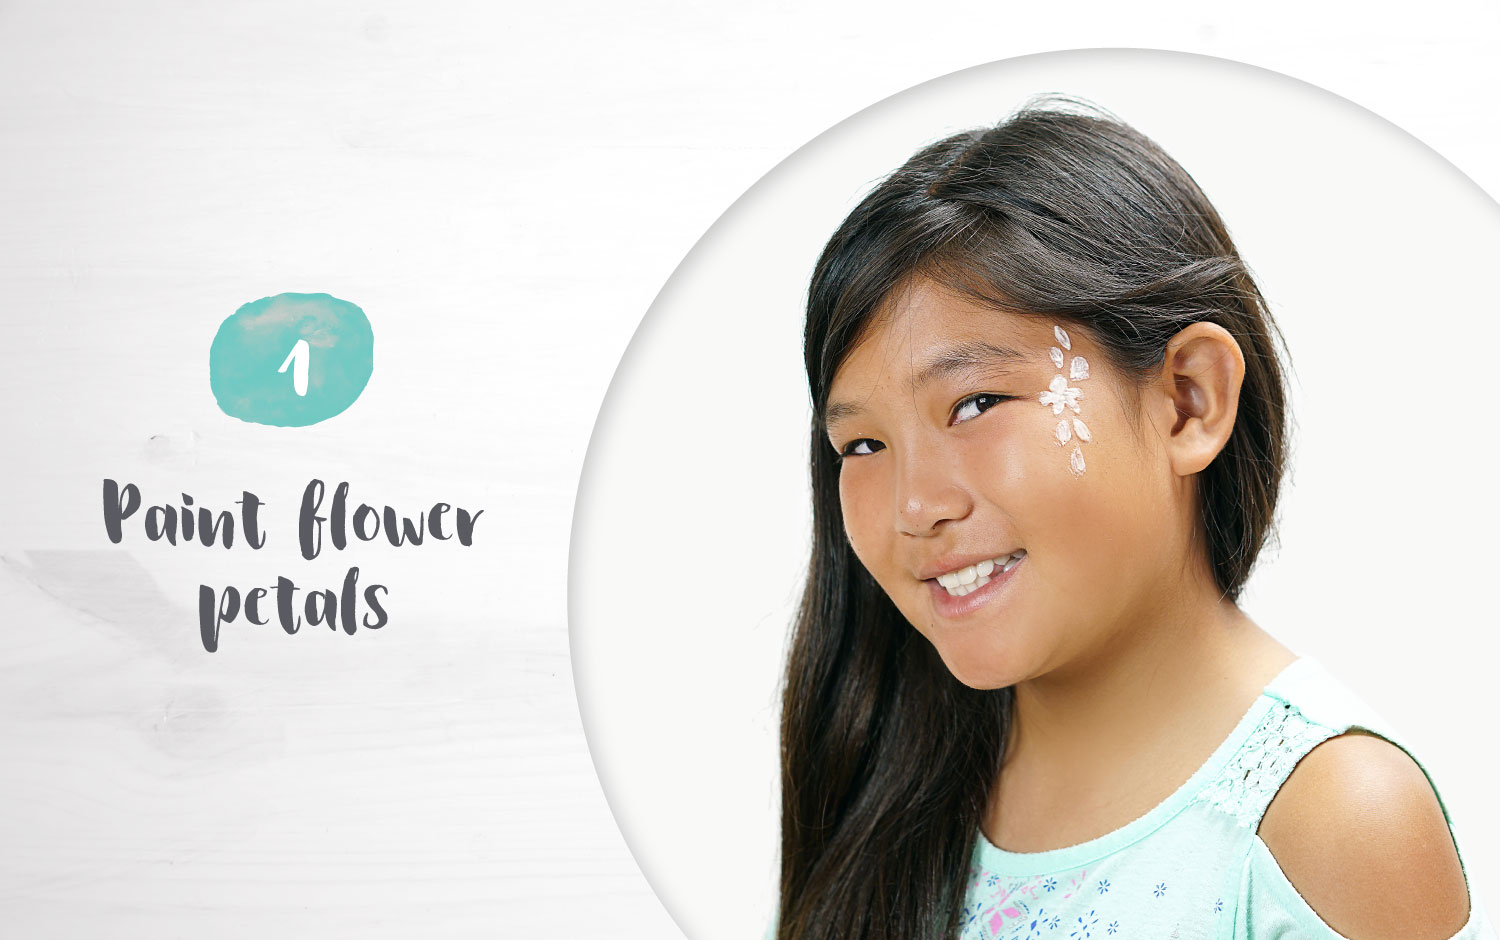 Step 1: Paint the flower petals. Using white face paint (base without food dye), create flower petals on the side of the face.
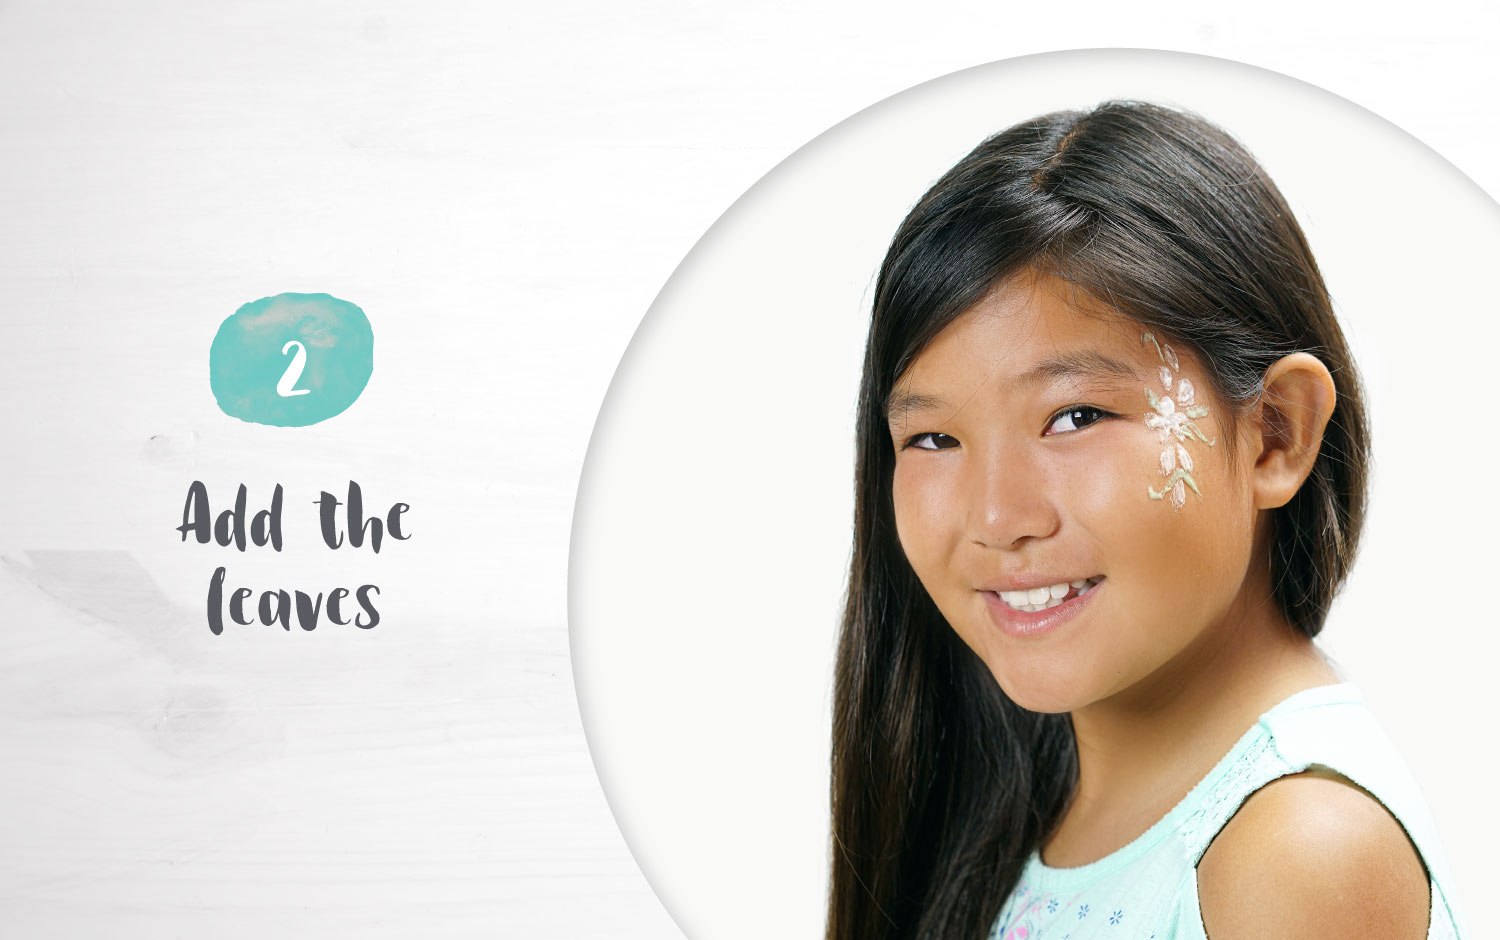 Step 2: Add the leaves. Take green face paint and create leaves coming off of the flower petals.
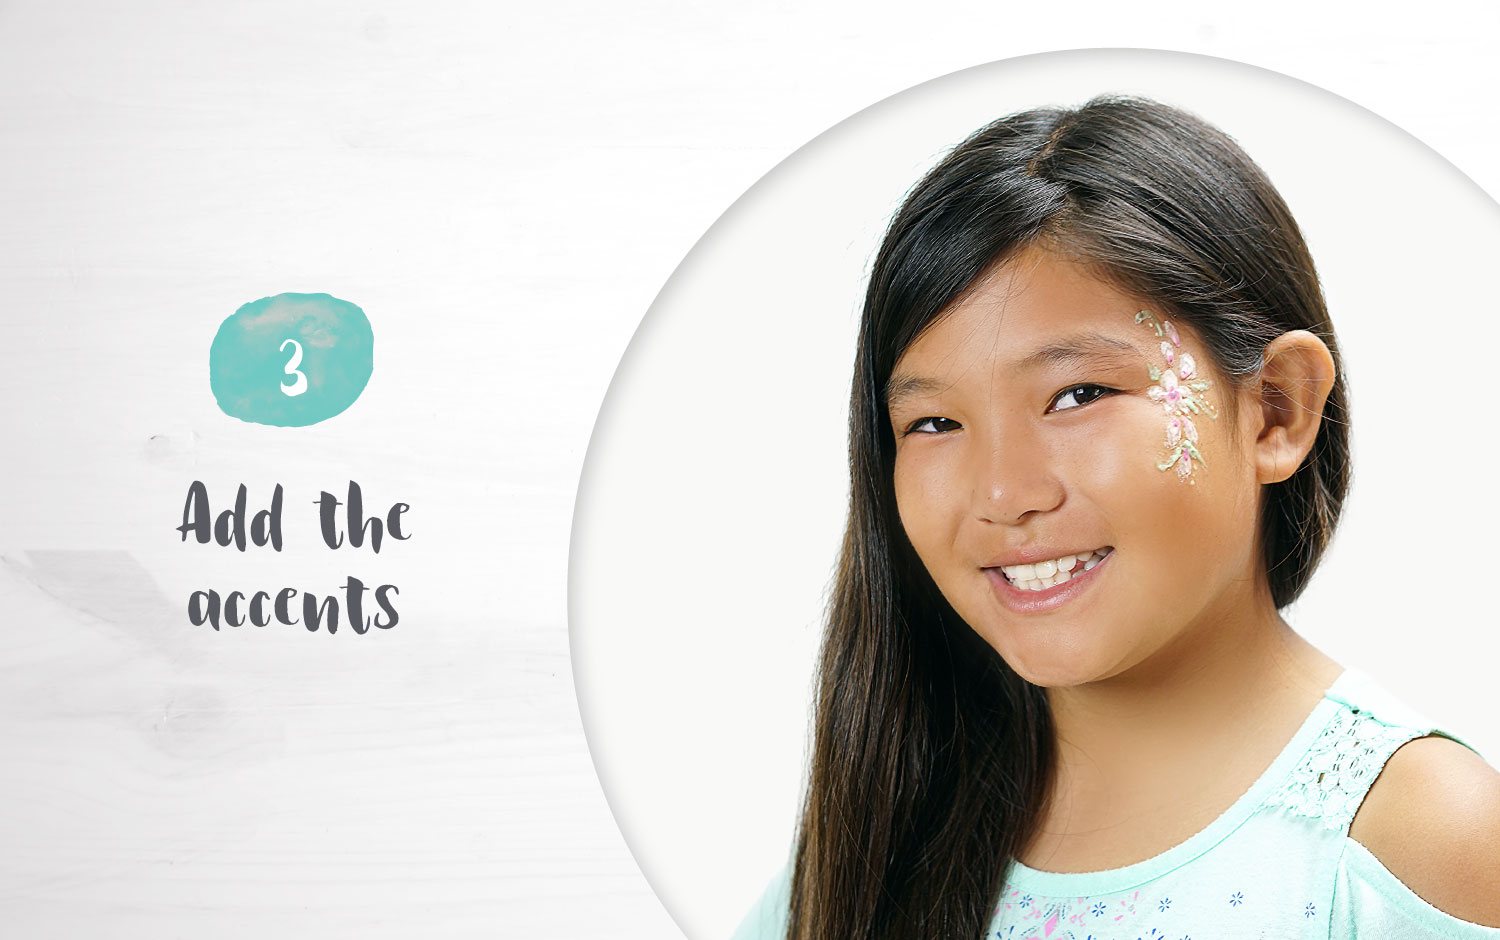 Step 3: Add the accents. Add pink to the inside of the flowers, and dots outlining the flowers.